Ingredients
Method
- Preheat and Prepare: First things first, preheat your oven to 180°C (160°C fan). Lightly grease a 2-litre (or 20x30cm) baking dish with a little butter.
- Prepare the Fruit: If you haven't already, wash and trim your rhubarb, then chop it into bite-sized 2cm pieces. Hull the strawberries and slice them in half. For very large strawberries, quartering them is a good idea to ensure they cook evenly.
- Mix the Filling: In a large bowl, combine the chopped rhubarb, strawberries, granulated sugar, cornflour, lemon juice, and vanilla extract. Gently toss everything together until the fruit is evenly coated. The cornflour is essential for thickening the juices as they bake.
- Assemble the Base: Pour the fruit mixture into your prepared baking dish and spread it out into an even layer.
- Make the Crisp Topping: In a separate bowl, whisk together the plain flour, rolled oats, light brown sugar, cinnamon (if using), and salt.
- Add the Butter: Add the cold, cubed butter to the dry ingredients. Using your fingertips, rub the butter into the flour mixture until it resembles coarse, damp breadcrumbs with some larger, pea-sized lumps remaining. What works best for me is to avoid overworking it; those little pockets of butter are what make the topping so good.
- Top the Crisp: Sprinkle the topping mixture evenly over the fruit in the baking dish. Don't press it down; we want a light, rustic texture.
- Bake to Perfection: Place the dish on a baking tray (to catch any potential drips) and bake for 45-50 minutes. You'll know it's ready when the topping is a deep golden brown and the fruit filling is bubbling enthusiastically around the edges.
- Rest Before Serving: This is an important step! Let the crisp cool on a wire rack for at least 15-20 minutes before serving. This allows the filling to set up a little, so it’s not too runny when you spoon it out.
Notes
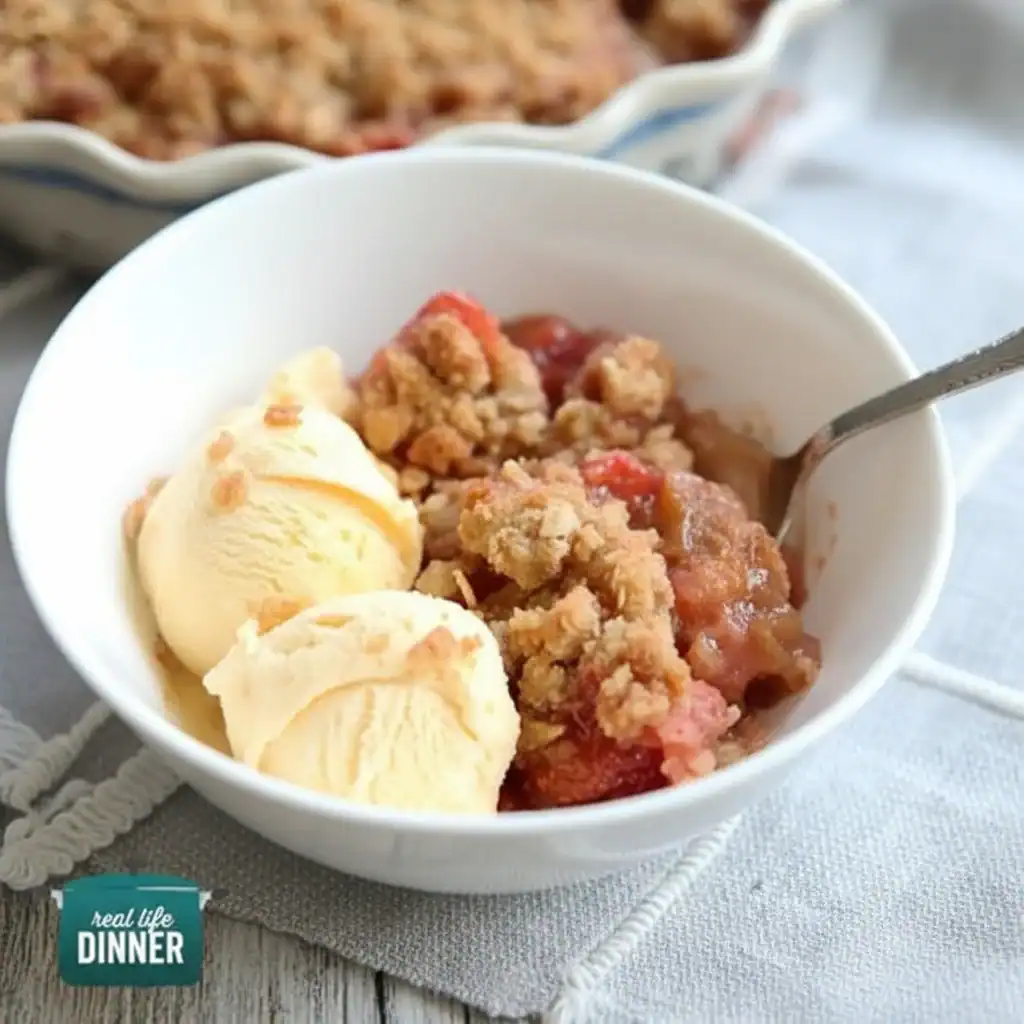
Delicious served warm with a scoop of vanilla ice cream or a dollop of fresh cream. Store leftovers covered in the refrigerator for up to 3 days.