Ingredients
Method
- Brine the Chicken: In a large bowl, whisk together the buttermilk, 1 tbsp salt, 1 tsp black pepper, and 1 tsp garlic powder. Add the chicken pieces, ensuring they are fully submerged. Cover the bowl with cling film and refrigerate for at least 4 hours, or overnight for the best results.
- Prepare the Seasoned Flour: In a separate large, shallow dish, combine the plain flour, cornflour, smoked paprika, garlic powder, onion powder, salt, black pepper, cayenne, and oregano. Whisk thoroughly until everything is evenly distributed.
- Set Up Your Dredging Station: Take the chicken out of the fridge about 30 minutes before you plan to fry it to let it come to room temperature. Set up a production line: your bowl of brined chicken, your dish of seasoned flour, and a clean wire rack set over a baking tray.
- Dredge the Chicken: Working one piece at a time, lift a piece of chicken from the buttermilk, allowing the excess to drip off. Place it in the seasoned flour and toss to coat completely. Press the flour into the chicken to make sure it adheres. For an extra craggy crust, dip it *back* into the buttermilk briefly, and then back into the flour for a second coating.
- Rest the Coated Chicken: Place the coated chicken pieces on the wire rack. Let them rest for 15-20 minutes. This step is crucial as it helps the coating 'set' and stick to the chicken during frying.
- Heat the Oil: Pour the oil into a large, heavy-bottomed pan or Dutch oven to a depth of about 4-5cm. Heat over a medium-high heat until it reaches 175°C (350°F). I find that using a cooking thermometer is the best way to maintain the correct temperature for perfectly cooked chicken.
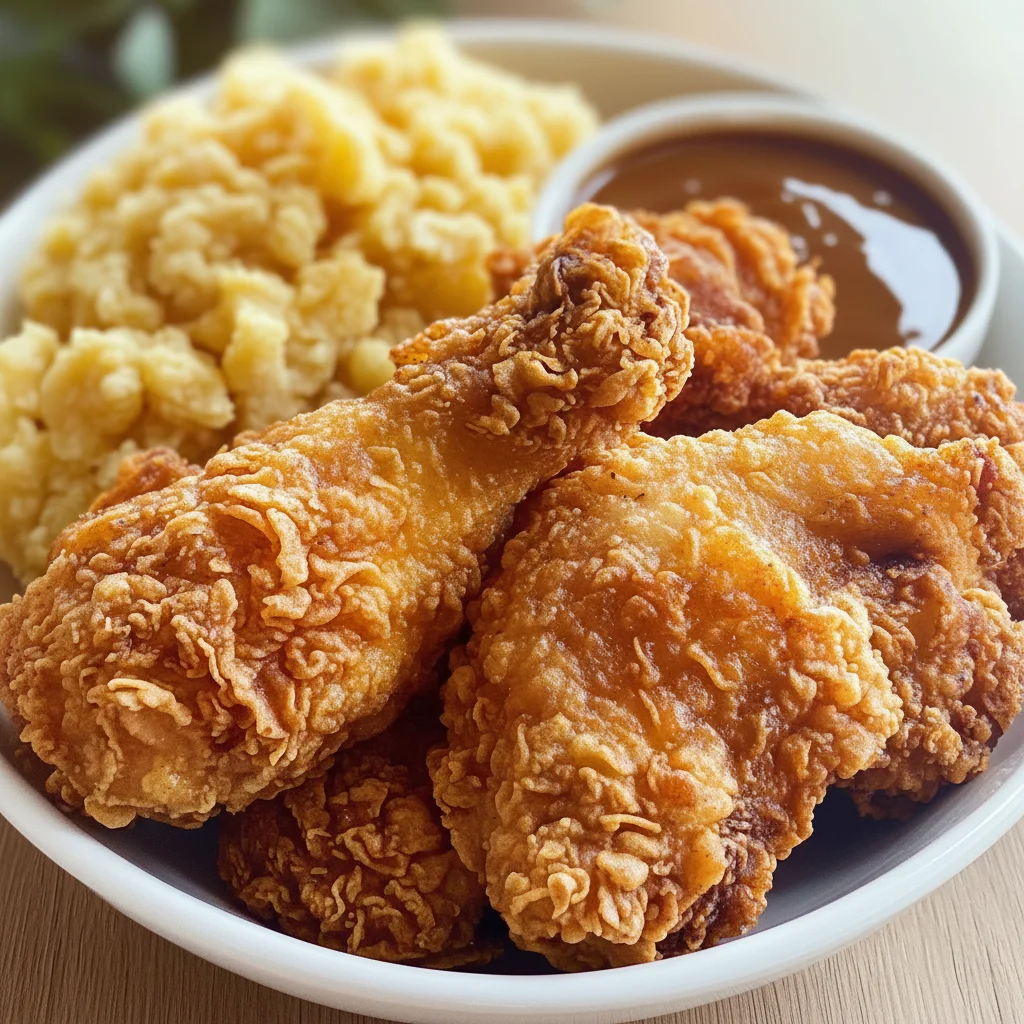
- Fry in Batches: Carefully place a few pieces of chicken into the hot oil, ensuring you don't overcrowd the pan. Fry for 6-8 minutes on each side, until the chicken is a deep golden brown and cooked through. The internal temperature should reach 75°C (165°F).
- Drain and Serve: Once cooked, remove the chicken from the oil using tongs and place it back on the wire rack to drain. This keeps the bottom from getting soggy. Let it rest for a few minutes before serving hot.
Notes
For the crispiest result, ensure the oil temperature is stable at 175°C (350°F). Resting the coated chicken before frying is a crucial step for a crust that sticks.