Chocolate Ice Cream Bowl
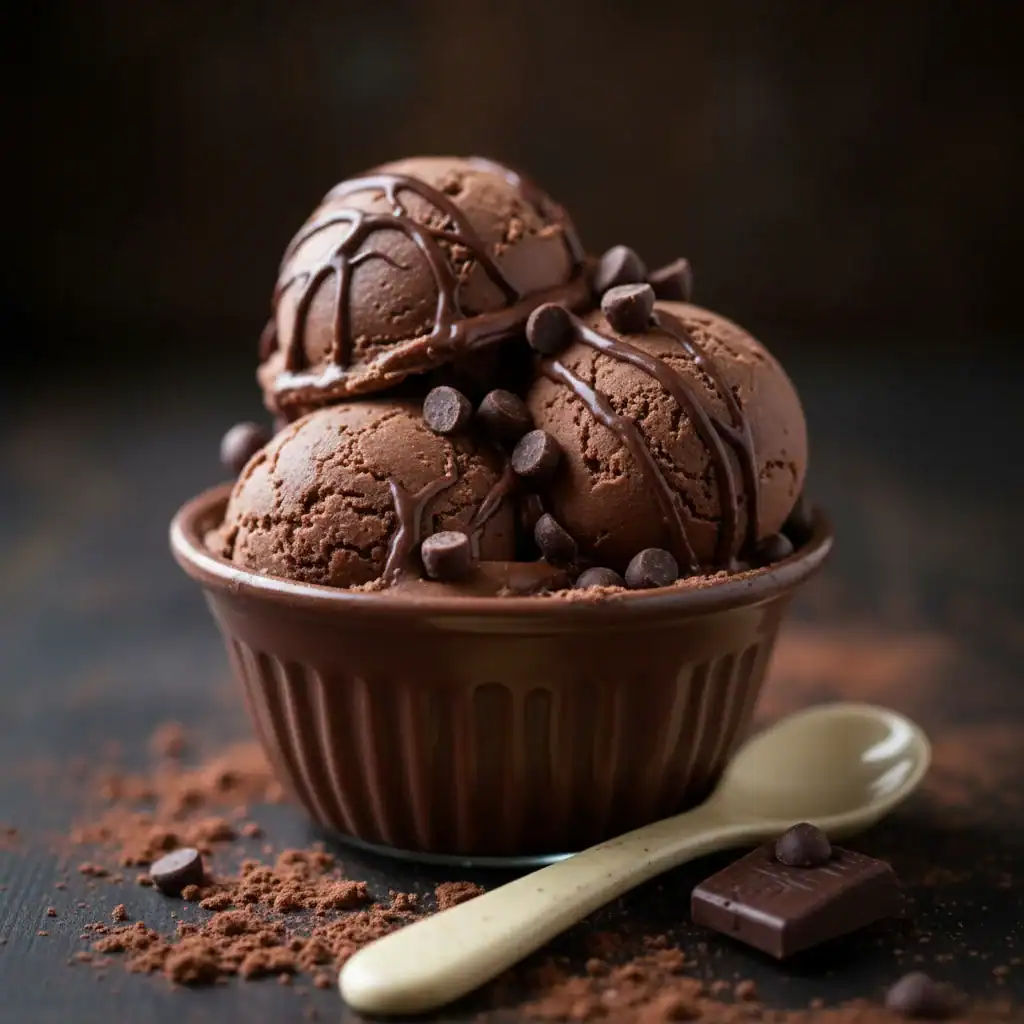
There’s something wonderfully theatrical about bringing dessert to the table. It’s that final, sweet flourish to a meal, a moment of pure indulgence we all look forward to. While a simple scoop of ice cream is always a delight, I’ve found a way to turn it into a truly memorable experience: serving it in a bowl you can eat. This isn’t just any bowl; it’s a delicate, crisp shell of pure chocolate that holds your favourite ice cream, sauce, and toppings. The best part is the sound it makes when you finally crack it open with your spoon, revealing the creamy treasure inside.
This recipe for a Chocolate Ice Cream Bowl is one I’ve been refining for years. It looks incredibly impressive, the kind of dessert that makes guests gasp a little when you set it down. Friends always ask me for this recipe after trying it at dinner parties, assuming it must be terribly complicated. But the truth is, with a bit of patience and a few simple tricks, you can create these stunning edible bowls in your own kitchen. It transforms a humble scoop of ice cream into an event.
It’s a fantastic project for a quiet afternoon, and the result is pure joy. Whether you’re planning a special dinner or just want to treat your family, these chocolate bowls are a brilliant way to add a touch of magic. They are ideal for when you want a dessert that is both a treat for the taste buds and a feast for the eyes, combining rich chocolate, creamy ice cream, and the fun of a surprise.
Recipe Overview
This recipe guides you through creating beautiful, edible bowls made entirely from chocolate, ready to be filled with your favourite ice cream. The process involves melting high-quality chocolate and using balloons to shape it into perfect, delicate bowls. The flavour is intensely chocolatey, with a satisfying snap that gives way to the smooth, cold ice cream inside. I remember being a bit worried the first time I tried this, but once I learned the trick to letting the chocolate cool just enough, they came out perfectly every single time.
- Prep Time: 20 minutes
- Cook Time: 5 minutes (for melting)
- Total Time: 1 hour 25 minutes (includes chilling)
- Servings: 6 bowls
- Difficulty: Medium
Why You’ll Love This Chocolate Ice Cream Bowl
- Genuine Chocolate Flavour: Using good quality dark chocolate with at least 70% cocoa solids gives the bowl a deep, rich flavour that isn’t overly sweet. It provides a wonderful, slightly bitter contrast to sweet vanilla ice cream.
- Active Time is Minimal: While the bowls need time to chill and set, the hands-on part of melting and dipping comes together in about 20 minutes.
- A Flexible Showstopper: You can use any type of chocolate you like – milk, white, or even swirl two together for a marbled effect. The fillings are entirely up to you, from different ice cream flavours to fresh fruit or whipped cream.
- Great for Special Occasions: This dessert works beautifully for birthdays, anniversary dinners, or any time you want to make a meal feel extra special. It’s a fantastic finale after a hearty main like my Bruschetta Chicken.
- Family Tested and Approved: My husband, who’s usually picky about desserts, asked for seconds! The kids adore the novelty of being allowed to break their bowls with a spoon.
Ingredients You’ll Need
The quality of your chocolate is key here, as it’s the star of the show. I recommend using a good-quality baking chocolate bar rather than chocolate chips, which can contain stabilisers that prevent them from melting as smoothly. I often use Green & Black’s Organic 70% Dark Chocolate because it has a fantastic flavour and a beautiful glossy finish when it sets.
- 300g good-quality dark chocolate (at least 70% cocoa solids), finely chopped
- 1 teaspoon coconut oil or vegetable oil (optional, for a glossy finish)
- 6 small balloons
- 1 litre of your favourite ice cream (vanilla, chocolate, or strawberry work well)
- For Serving (Optional):
- 100g chocolate chips (milk or white)
- A handful of fresh raspberries or sliced strawberries
- Chocolate or caramel sauce for drizzling
- Freshly whipped cream
Sara’s Tip: Make sure your balloons are of good quality. Cheaper ones can have a weaker structure and might pop from the temperature change, so it’s worth getting a reliable brand.
How to Make a Chocolate Ice Cream Bowl
The process is methodical but very satisfying. The most important step is ensuring your melted chocolate has cooled slightly before you dip the balloons. If it’s too hot, it can cause the balloon to pop, which I can tell you from experience, makes a spectacular mess!
- Prepare Your Workstation: Line a large baking tray with baking parchment. Inflate the 6 balloons until they are about 10-12cm in diameter (the size of a small dessert bowl). Don’t over-inflate them. Tie them securely. Wash and thoroughly dry the outside of each balloon to ensure they are clean.
- Melt the Chocolate: Place the finely chopped dark chocolate and the optional coconut oil in a heatproof bowl. Set the bowl over a saucepan of gently simmering water (a bain-marie), ensuring the bottom of the bowl doesn’t touch the water. Stir occasionally until the chocolate is completely melted and smooth. Alternatively, you can melt it in the microwave in 30-second bursts, stirring in between. For a detailed guide on different methods, BBC Good Food has a great article on how to melt chocolate.
- Cool the Chocolate: This is a crucial step. Remove the bowl of melted chocolate from the heat and let it cool for 5-7 minutes. It should be lukewarm to the touch, not hot. If it’s too warm, it will slide right off the balloon or cause it to pop.
- Create the Base: Spoon a small circle of melted chocolate (about 3cm wide) onto the prepared baking parchment for each bowl. This will create a flat base for your chocolate bowls to stand on.
- Dip the Balloons: Holding a balloon by its knot, carefully dip the rounded bottom into the lukewarm chocolate. Swirl it gently to coat it evenly, creating a bowl shape about halfway up the balloon. I find that a gentle twisting motion helps create a clean line.
- Set the Bowls: Immediately after dipping, place the chocolate-coated balloon onto one of the chocolate circles you made on the parchment paper. This will anchor it. Repeat with the remaining balloons.
- First Chill: Place the baking tray with the balloons into the refrigerator and chill for about 15 minutes, or until the chocolate is just starting to set.
- The Second Coat (Optional but Recommended): For a sturdier bowl, remove the tray from the fridge and carefully apply a second coat of chocolate over the first. This helps prevent breakage. Return the tray to the fridge.
- Final Chill: Chill the bowls in the fridge for at least 1 hour, or until the chocolate is completely hard and firm to the touch.
- Release the Bowls: Once fully set, it’s time for the big reveal. Hold the chocolate bowl gently and use a pin or the tip of a small knife to puncture the balloon near the knot. The balloon will deflate slowly, pulling away from the inside of the chocolate shell. Carefully peel away and discard the balloon.
- Fill and Serve: Your beautiful chocolate bowls are ready! Just before serving, take your ice cream out of the freezer to soften slightly. Place a generous scoop or two into each chocolate bowl, top with chocolate chips, fresh berries, a drizzle of sauce, and enjoy immediately.
Tips From My Kitchen
- Temperature Control is Everything: The most common mistake is using chocolate that’s too hot. It must be cool enough that you can comfortably touch it. If it’s too cool, it will be too thick to dip. Aim for the consistency of a thick sauce.
- The Secret to a Sturdy Bowl: I learned that the double-dip method is the key to success. That second layer of chocolate provides the strength needed to hold the ice cream and withstand an eager spoon without shattering prematurely.
- Make-Ahead Magic: You can make the empty chocolate bowls up to 3 days in advance. Once the balloons are removed, store them in an airtight container in the fridge to keep them crisp and protected.
- Storage: Keep the empty bowls in a cool, dry place. The fridge is best, especially in warmer weather, to prevent them from softening. Don’t stack them, as they are fragile.
Equipment You’ll Need
- Baking tray and baking parchment
- Good-quality small balloons
- Heatproof bowl and a small saucepan (for a bain-marie)
- Spatula or wooden spoon
- Pin or small sharp knife
Delicious Variations to Try
Once you’ve mastered the basic technique, it’s great fun to experiment. These bowls are a blank canvas for your creativity!
- White Chocolate & Sprinkles: Use good-quality white chocolate for the bowls. After dipping, and before the chocolate sets, sprinkle the rim with colourful hundreds-and-thousands for a fun, celebratory look.
- Nutty Crunch: Add finely chopped toasted hazelnuts or almonds to the melted chocolate before dipping, or sprinkle them around the rim for a lovely texture. This variation is wonderful filled with coffee or salted caramel ice cream.
- A Hint of Spice: For an adult twist, add a pinch of cayenne pepper or chilli powder to the melted dark chocolate. The subtle heat at the end is a wonderful surprise against the cold, sweet ice cream. It’s a fantastic dessert idea if you’ve served something like my Black Pepper Chicken for dinner.
What to Serve With Your Chocolate Ice Cream Bowl
While the bowl itself is the star, what you put inside and alongside it can elevate the experience even further.
- Classic Ice Cream Flavours: You can’t go wrong with a high-quality vanilla bean ice cream. Its simplicity allows the rich dark chocolate of the bowl to shine. Strawberry or mint choc chip are also excellent choices.
- Fresh Fruit: A handful of sharp-tasting fresh raspberries, sliced strawberries, or even some passionfruit pulp cuts through the richness beautifully and adds a vibrant splash of colour.
- A Warm Drink: Serve these alongside a freshly brewed espresso or a strong cup of coffee. The warmth of the coffee contrasts wonderfully with the cold dessert, and the bitter notes complement the chocolate perfectly.
Frequently Asked Questions
Chocolate Ice Cream Bowl
Ingredients
Method
- Prepare Your Workstation: Line a large baking tray with baking parchment. Inflate the 6 balloons until they are about 10-12cm in diameter (the size of a small dessert bowl). Don't over-inflate them. Tie them securely. Wash and thoroughly dry the outside of each balloon to ensure they are clean.
- Melt the Chocolate: Place the finely chopped dark chocolate and the optional coconut oil in a heatproof bowl. Set the bowl over a saucepan of gently simmering water (a bain-marie), ensuring the bottom of the bowl doesn't touch the water. Stir occasionally until the chocolate is completely melted and smooth. Alternatively, you can melt it in the microwave in 30-second bursts, stirring in between. For a detailed guide on different methods, BBC Good Food has a great article on how to melt chocolate.
- Cool the Chocolate: This is a crucial step. Remove the bowl of melted chocolate from the heat and let it cool for 5-7 minutes. It should be lukewarm to the touch, not hot. If it's too warm, it will slide right off the balloon or cause it to pop.
- Create the Base: Spoon a small circle of melted chocolate (about 3cm wide) onto the prepared baking parchment for each bowl. This will create a flat base for your chocolate bowls to stand on.
- Dip the Balloons: Holding a balloon by its knot, carefully dip the rounded bottom into the lukewarm chocolate. Swirl it gently to coat it evenly, creating a bowl shape about halfway up the balloon. I find that a gentle twisting motion helps create a clean line.
- Set the Bowls: Immediately after dipping, place the chocolate-coated balloon onto one of the chocolate circles you made on the parchment paper. This will anchor it. Repeat with the remaining balloons.
- First Chill: Place the baking tray with the balloons into the refrigerator and chill for about 15 minutes, or until the chocolate is just starting to set.
- The Second Coat (Optional but Recommended): For a sturdier bowl, remove the tray from the fridge and carefully apply a second coat of chocolate over the first. This helps prevent breakage. Return the tray to the fridge.
- Final Chill: Chill the bowls in the fridge for at least 1 hour, or until the chocolate is completely hard and firm to the touch.
- Release the Bowls: Once fully set, it's time for the big reveal. Hold the chocolate bowl gently and use a pin or the tip of a small knife to puncture the balloon near the knot. The balloon will deflate slowly, pulling away from the inside of the chocolate shell. Carefully peel away and discard the balloon.
- Fill and Serve: Your beautiful chocolate bowls are ready! Just before serving, take your ice cream out of the freezer to soften slightly. Place a generous scoop or two into each chocolate bowl, top with chocolate chips, fresh berries, a drizzle of sauce, and enjoy immediately.
Notes
Creating these chocolate bowls is such a rewarding process, and seeing the delight on people’s faces makes it worth every moment. It’s a little bit of kitchen craft that results in a truly spectacular dessert. I hope you have as much fun making (and eating) them as my family and I do. If you give this recipe a go, please let me know how you get on in the comments below!
Happy creating,
Sara


