Winter Wonderland Chocolate Chip Cookies Baking
There’s a special kind of magic that fills a home when the scent of baking cookies wafts from the kitchen, especially on a crisp winter afternoon. It’s a fragrance that signals comfort, warmth, and the joy of sharing something delicious. If you’re hoping to bake that wonderful, cosy feeling into a festive treat, then you are in for a treat. We are excited to guide you through our fantastic Winter Wonderland Chocolate Chip Cookies Baking journey, where we’ll create cookies that taste as heavenly as they look.
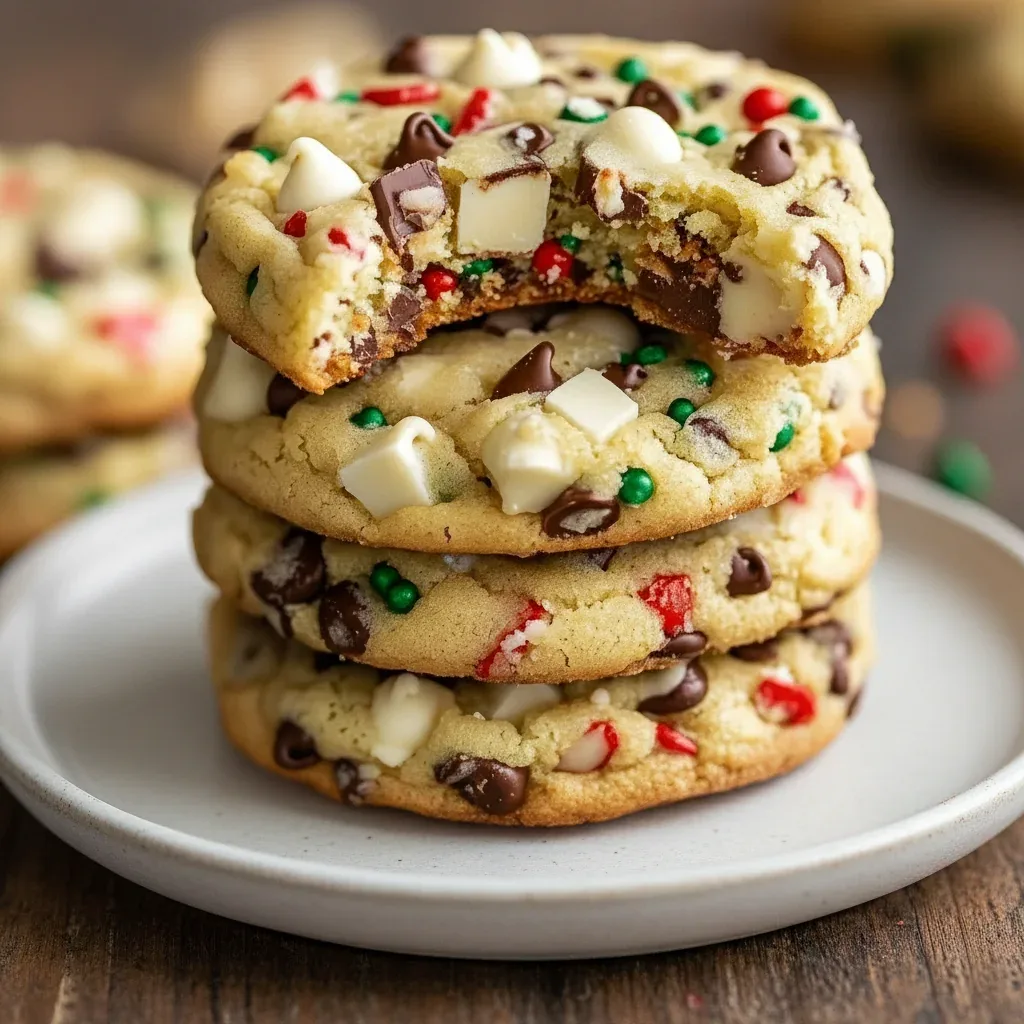
With this recipe, we’ll elevate the humble chocolate chip cookie into a stunning seasonal masterpiece. We will walk you through the steps to achieve irresistibly soft and chewy cookies, packed with molten chocolate chips. To finish, we’ll show you how to adorn them with a delicate white chocolate drizzle and a shimmer of festive sprinkles. Let’s get our ovens warmed up and begin making some edible winter magic!
Why You’ll Love This Recipe
- Perfectly Textured: We reveal our secrets for achieving that sought-after texture: crisp, golden edges that give way to a soft and chewy middle.
- Visually Stunning: The snowy white chocolate and sparkling sprinkles give these cookies a breathtaking, festive appearance, making them ideal for holiday parties or as thoughtful homemade gifts.
- Incredibly Versatile: This recipe serves as a brilliant foundation. We encourage you to add your own creative flair, perhaps with a dash of spice or some crunchy nuts, to truly make it your own.
- Simple for All Bakers: Our clear, step-by-step guidance ensures a delightful and foolproof baking experience, whether you’re a seasoned baker or just starting out.
- The Ultimate Comfort Treat: These cookies perfectly embody the essence of winter cosiness, making them the ideal companion to a steaming mug of hot chocolate on a cold evening.
Ingredients
- 225g unsalted butter, softened to room temperature
- 150g soft light brown sugar
- 100g granulated sugar
- 2 large free-range eggs
- 1 tsp pure vanilla extract
- 300g plain flour
- 1 tsp bicarbonate of soda
- 1/2 tsp salt
- 200g milk or dark chocolate chips (or a mixture of both)
- 100g white chocolate, for drizzling
- 2-3 tbsp festive sprinkles (think whites, silvers, and blues)
A Step-by-Step Guide to Winter Wonderland Chocolate Chip Cookies Baking
Putting together these wonderful cookies is a truly joyful activity that will fill your kitchen with the most amazing festive smells. We have outlined each step to make your holiday baking experience as smooth and enjoyable as possible. Let’s get started!
Step 1: Creaming the Butter and Sugars
The key to an exceptional cookie lies in the initial creaming of the butter and sugars. In a large mixing bowl, use an electric or stand mixer to beat the softened butter with both the light brown and granulated sugars. Mix on a medium setting for around 3–4 minutes, until the mixture becomes noticeably lighter in colour and has a fluffy consistency. This step is vital as it whips air into the dough, resulting in a wonderfully tender cookie.
Step 2: Adding the Wet Ingredients
Now it’s time to incorporate the wet ingredients. Add the eggs to the bowl, one at a time, ensuring you mix well after each one. After the eggs are fully blended in, add the vanilla extract. Use a spatula to scrape down the sides of the bowl to make sure everything is mixed together evenly for a smooth, creamy consistency.
Step 3: Combining the Dry Ingredients
In a separate bowl, it’s time to combine the dry ingredients. Whisk the plain flour, bicarbonate of soda, and salt together. This ensures the leavening agent and seasoning are distributed uniformly, which helps avoid any unwelcome salty bites in your finished cookies.
Step 4: Bringing It All Together
Now, gently introduce the dry ingredients to the wet mixture. Mix on a low speed, stopping as soon as the flour is just incorporated. It’s really important not to overmix here, as this can make the cookies tough. A few flour streaks are perfectly fine. Lastly, use a spatula to carefully fold in the chocolate chips.
Step 5: The Secret to Perfect Texture – Chilling the Dough!
Here comes the most vital stage for achieving wonderfully thick and chewy Chocolate Chip Cookies that hold their shape beautifully. Cover your dough with cling film and place it in the refrigerator for at least one hour, though overnight is even better. Chilling the dough allows the butter to solidify, which slows down the spreading process during baking. It also gives the flavours time to develop and intensify. To learn more about the science behind this, King Arthur Baking offers a fantastic explanation.
Step 6: Baking to Golden Perfection
When it’s time to bake, preheat the oven to 180°C (160°C Fan/Gas Mark 4) and line a couple of large baking trays with baking parchment. Take scoops of the chilled dough—about two tablespoons per cookie—and roll them into balls. Arrange them on your prepared trays, making sure to leave a generous amount of space between each one to allow for spreading.
Bake for 10–12 minutes. You’re looking for golden-brown edges while the centres still appear slightly underdone. The cookies will continue to firm up on the hot tray once removed from the oven. Allow them to cool on the trays for about five minutes before moving them to a wire rack to cool completely.
Step 7: Creating the Winter Wonderland Magic
Once the cookies are thoroughly cool, it’s time for the magical finishing touches! Melt your white chocolate, either gently in a heatproof bowl over a pan of simmering water or carefully in the microwave in short 20-second intervals. Using a spoon or a small piping bag, drizzle the melted chocolate over the cookies. Before the chocolate sets, quickly scatter your festive sprinkles on top. Let the chocolate harden completely before you serve or store your gorgeous Winter Wonderland Cookies.
Top Tips for the Best Winter Cookies
To help make your baking session a complete success, we’ve put together a few of our favourite tips and tricks. These small adjustments can significantly improve the quality of your Winter Cookies.
- Use Room Temperature Ingredients: For a smoother, more cohesive dough, ensure your butter and eggs have had time to come to room temperature before you start.
- Don’t Overcrowd the Baking Tray: Always give your cookies ample room to spread out. If they are placed too close together, they may bake into each other and won’t cook as evenly. We suggest about 6–8 cookies on a large tray.
- Measure Flour Correctly: Using digital scales to weigh your flour will give you the most consistent and accurate results. If using cups, spoon the flour in and level it off with the back of a knife.
- Experiment with Flavours: Don’t hesitate to add a personal festive spin! A half teaspoon of cinnamon or a hint of nutmeg can be added to the dry ingredients. You could also try swapping some chocolate chips for chopped walnuts, pecans, or even some festive dried cranberries.
These cookies are a delightful finale to a cosy family meal. If you’re planning a quiet night in, consider making a satisfying main like our Garlic Parmesan Chicken Pasta Recipe before you settle in with these lovely festive bakes.
Storing Your Festive Creations
To keep your cookies fresh and tasty, proper storage is key. After they have cooled and the chocolate has set, place them in an airtight container. They will stay lovely at room temperature for up to five days. Adding a slice of bread to the container is a great trick to help maintain their softness.
You can also get ahead by preparing the dough in advance. The unbaked cookie dough balls can be frozen on a tray before being transferred to a freezer-safe bag, where they can be stored for up to three months. They can be baked straight from the freezer—just add an extra 2-3 minutes to the baking time. This is a perfect way to have a warm, homemade dessert ready after a quick meal like these Sticky Chicken Rice Bowls.
FAQ
Conclusion: Share the Winter Magic
We believe that baking is about so much more than simply following instructions; it’s about creating cherished memories, spreading happiness, and enjoying moments of pure comfort. This Winter Wonderland Chocolate Chip Cookies recipe is a wonderful way to embrace that spirit. The process itself is as enjoyable as the final product, filling your home with festive cheer and rewarding you with a batch of cookies that are as beautiful as they are tasty.
So, go ahead and gather your ingredients, put on some cheerful winter tunes, and prepare to create some edible magic. We truly hope you’ll try this recipe and even add your own personal touches. Please feel free to share photos of your amazing cookie creations on social media—we would be absolutely delighted to see them! Happy baking!
Recipe Card

Ingredients
- 225g unsalted butter, softened to room temperature
- 150g soft light brown sugar
- 100g granulated sugar
- 2 large free-range eggs
- 1 tsp pure vanilla extract
- 300g plain flour
- 1 tsp bicarbonate of soda
- 1/2 tsp salt
- 200g milk or dark chocolate chips (or a mixture of both)
- 100g white chocolate, for drizzling
- 2-3 tbsp festive sprinkles (think whites, silvers, and blues)
Instructions
- Cream Butter & Sugars: In a large bowl, beat the softened butter, brown sugar, and granulated sugar with an electric mixer for 3-4 minutes until light and fluffy.
- Add Wet Ingredients: Beat in the eggs one at a time, followed by the vanilla extract. Scrape down the sides of the bowl to ensure everything is evenly combined.
- Combine Dry Ingredients: In a separate bowl, whisk together the plain flour, bicarbonate of soda, and salt.
- Make the Dough: Gradually add the dry ingredients to the wet mixture, mixing on low speed until just combined. Be careful not to overmix. Fold in the chocolate chips.
- Chill the Dough: Cover the dough and refrigerate for at least 1 hour (or overnight for best results). This step is essential for thick, chewy cookies.
- Bake the Cookies: Preheat oven to 180°C (160°C Fan/Gas Mark 4). Roll dough into 2-tablespoon-sized balls and place on parchment-lined baking trays, leaving ample space for spreading. Bake for 10-12 minutes, until edges are golden. Let them cool on the tray for 5 minutes before moving to a wire rack to cool completely.
- Decorate: Once the cookies are completely cool, melt the white chocolate and drizzle it over them. Immediately top with festive sprinkles before the chocolate sets.


