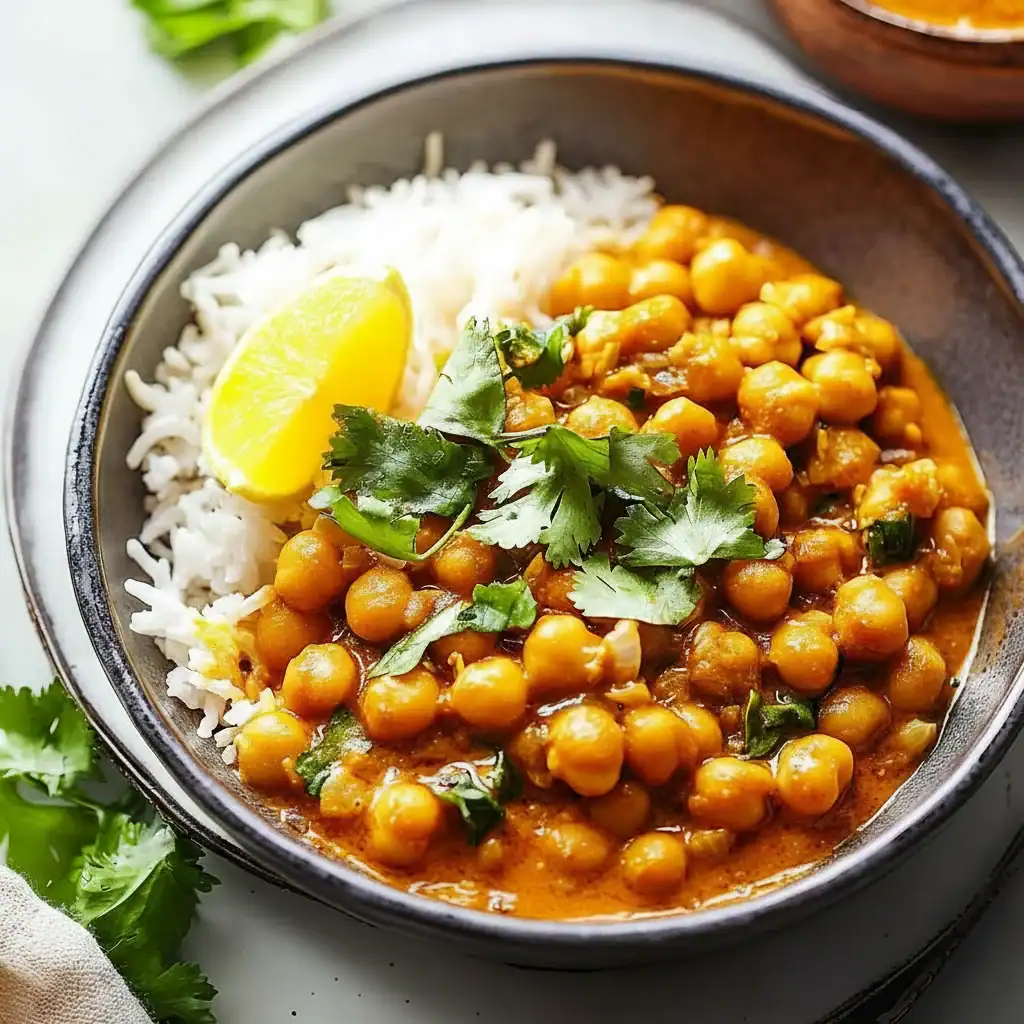
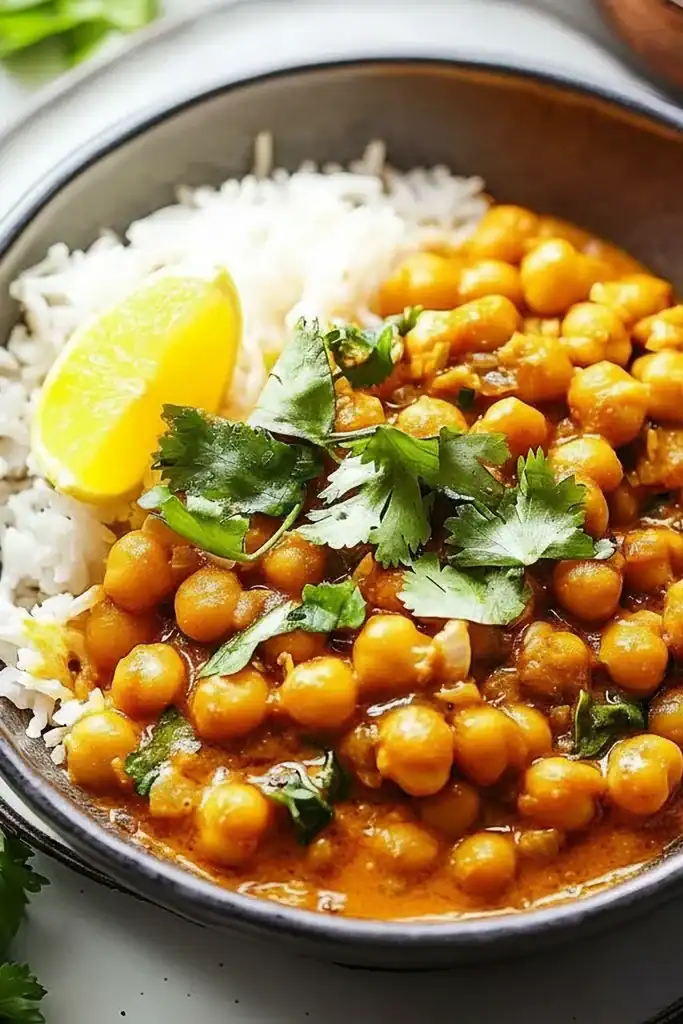
Vegetarian Chickpea Curry Recipe Dinner
There are some meals that feel like a warm hug in a bowl, and for me, this creamy, fragrant chickpea curry is exactly that. It’s the recipe I turn to on a drizzly Tuesday evening when I need something nourishing and satisfying that doesn’t require hours in the kitchen. I make this at least once a week – it’s become a family favourite. The magic of this dish lies in its simplicity and the depth of flavour we manage to build in a relatively short amount of time. The sauce is rich with coconut milk, tangy from a squeeze of fresh lime, and humming with a gentle warmth from ginger, garlic, and a carefully chosen blend of spices.
This isn’t just a recipe for vegans or vegetarians; it’s a dish for anyone who appreciates wholesome, flavourful food. The chickpeas provide a wonderful, hearty texture and a good dose of protein, making it a truly substantial meal. It works beautifully for a midweek dinner when you’re short on time but also stands up as a lovely centrepiece for a casual weekend meal with friends. We’ll build the flavours step-by-step, starting with a fragrant base and letting everything simmer together until the kitchen smells absolutely divine. It’s a straightforward recipe that delivers consistently delicious results.
Recipe Overview
This Chickpea Curry Recipe brings together store-cupboard staples to create a wonderfully aromatic and creamy dish. Expect a luscious coconut-based sauce infused with ginger, garlic, and a balanced spice mix. The chickpeas remain tender, and the spinach wilts into the sauce beautifully. I’ve found that letting it rest for five minutes off the heat before serving really allows the flavours to meld together perfectly.
- Prep Time: 10 minutes
- Cook Time: 25 minutes
- Total Time: 35 minutes
- Servings: 4 people
- Difficulty: Easy
Why You’ll Love This Chickpea Curry Recipe
- Genuine Flavour: The taste is deeply savoury and aromatic. We create this by ‘blooming’ the spices in oil, which unlocks their essential oils and prevents a raw, dusty taste. The creamy coconut milk balances the warmth of the cumin and turmeric, and a final squeeze of lime juice brightens everything up.
- Ready in Under 40 Minutes: From chopping the onion to spooning it over rice, this entire meal comes together in about 35 minutes, making it ideal for busy weeknights.
- Flexible Recipe: This recipe is a fantastic base. You can stir in a few handfuls of cubed sweet potato or butternut squash with the onions (they’ll need a little longer to cook), or add some frozen peas in the last five minutes of simmering for a pop of sweetness.
- Great for Meal Prep: This curry tastes even better the next day! It’s a brilliant choice for making a big batch on Sunday to enjoy for lunches throughout the week. The flavours deepen beautifully overnight.
- Family Tested: My whole family enjoys this, even the fussy eaters. It’s mild enough for sensitive palates but flavourful enough for adults. It always gets compliments when we have guests over.
Ingredients You’ll Need
Most of these ingredients are likely already in your pantry. For the coconut milk, I always recommend using a full-fat version for the creamiest, most luscious sauce. I find brands like Aroy-D or Chaokoh give a consistently rich result without separating. Tinned chickpeas are your best friend here, making this a truly convenient meal.
- 1 tbsp coconut oil (or vegetable oil)
- 1 large brown onion, finely chopped
- 2 cloves of garlic, minced or finely grated
- 2 cm piece of fresh ginger, peeled and finely grated
- 1 tsp ground turmeric
- 1 tsp ground cumin
- 1 tsp ground coriander
- ½ tsp mild chilli powder (or to taste)
- 1 tbsp tomato purée
- 400g tin of chopped tomatoes
- 400ml tin of full-fat coconut milk
- 2 x 400g tins of chickpeas, drained and rinsed
- 150g fresh spinach
- 1 lime, juiced
- Sea salt and freshly ground black pepper, to taste
- Fresh coriander, to serve
Sara’s Tip: Don’t be tempted to use light coconut milk. The full-fat version is essential for that rich, creamy texture and to prevent the sauce from splitting. The fat content helps emulsify the sauce and carries the flavour of the spices much more effectively.
How to Make This Chickpea Curry Recipe
The process for this curry recipe is straightforward. We’ll focus on building layers of flavour, starting with the aromatics and spices, before letting everything simmer into a cohesive, delicious sauce. It’s a very relaxing dish to cook.
- Sauté the Aromatics: Heat the coconut oil in a large, heavy-bottomed pan or Dutch oven over a medium heat. Add the chopped onion and a pinch of salt. Cook for 8-10 minutes, stirring occasionally, until the onion is soft, sweet, and translucent. Don’t rush this step; it builds a crucial flavour base.
- Add Ginger and Garlic: Add the minced garlic and grated ginger to the pan. Cook for another minute, stirring continuously until they are fragrant. Be careful not to let them burn, as this will make the curry taste bitter.
- Bloom the Spices: Stir in the ground turmeric, cumin, ground coriander, and chilli powder. Cook for 30-60 seconds, stirring constantly. You’ll notice the spices become very fragrant – this is called ‘blooming’ and it’s key for a deep, rounded flavour. I find this step makes all the difference between a good curry and a great one.
- Create the Sauce Base: Add the tomato purée and cook for another minute, stirring to coat the onions and spices. Pour in the tinned chopped tomatoes, breaking up any large pieces with your spoon. Let this mixture bubble away for 2-3 minutes to cook off the raw tomato taste.
- Simmer the Curry: Pour in the full-fat coconut milk and add the drained chickpeas. Stir everything together well, season with salt and pepper, and bring to a gentle simmer. Reduce the heat to low, cover the pan, and let it cook for 15 minutes. This gives the chickpeas time to absorb all those lovely flavours.
- Wilt the Spinach and Finish: Remove the lid and add the fresh spinach to the pan. It might look like a lot, but it will wilt down significantly. Stir it into the curry until it has completely wilted, which should only take a minute or two.
- Final Touches: Turn off the heat. Squeeze in the juice of one lime and stir through. Have a taste and adjust the seasoning if needed – it might need a little more salt or another squeeze of lime to brighten it up. Let it stand for 5 minutes before serving.
- Serve: Garnish generously with fresh coriander and serve hot with fluffy basmati rice, naan bread, or quinoa.
Tips From My Kitchen
- Temperature Control: Once you add the coconut milk, maintain a gentle simmer, never a rolling boil. Boiling coconut milk, especially for a prolonged period, can cause it to split or become grainy. A low, gentle heat keeps the sauce smooth and creamy.
- The Secret Step: For a slightly thicker, richer sauce, I learned that you can take about a quarter of the chickpeas and mash them with a fork before adding them back to the pot. This releases their starch and helps to thicken the curry naturally without any flour or cornflour.
- Make-Ahead: This curry is fantastic for making ahead. You can cook it completely, let it cool, and store it in the fridge. The flavours will actually deepen and improve overnight. Simply reheat gently on the hob until piping hot.
- Storage: Store any leftovers in an airtight container in the refrigerator for up to 4 days. You can also freeze this curry. Let it cool completely, transfer to a freezer-safe container, and freeze for up to 3 months. Thaw overnight in the fridge before reheating.
Equipment You’ll Need
You don’t need any specialist equipment for this curry recipe, just a few kitchen basics.
- Large frying pan or a heavy-bottomed casserole dish/Dutch oven
- Sharp knife and chopping board
- Garlic press or fine grater
- Wooden spoon or spatula
Common Mistakes to Avoid
- Under-cooking the Onions: Rushing the first step and not allowing the onions to become truly soft and sweet will leave a harsh, raw onion flavour in your final dish. Give them the full 8-10 minutes they need to melt down.
- Boiling the Coconut Milk: As mentioned in the tips, bringing the curry to a rapid boil after adding the coconut milk is a common misstep. It can cause the sauce to separate and become oily. Keep it at a gentle, lazy simmer for the best texture.
- Skipping the Garnish: It might seem small, but the final squeeze of lime and handful of fresh coriander are not just for looks. The acidity from the lime cuts through the richness of the coconut milk, and the fresh herb adds a burst of freshness that lifts the entire dish. Don’t skip these finishing touches!
Delicious Variations to Try
This Chickpea Curry is a wonderful canvas for customisation. While it’s fantastic as is, it’s also fun to mix things up depending on what you have in the fridge.
- Add More Veggies: This is a great way to use up vegetables. Add diced sweet potato, butternut squash, or cauliflower florets along with the onions (they’ll need 15-20 minutes to soften). You could also stir in some green beans or bell pepper strips for the last 10 minutes of simmering.
- Make it Spicy: For those who like a bit more heat, add a finely chopped fresh red chilli along with the garlic and ginger, or increase the amount of chilli powder to a full teaspoon or more. A pinch of cayenne pepper also works well.
- Add a Different Protein: While chickpeas are the star, this curry sauce is a brilliant base for other things. If you’re not strictly vegetarian, you could add some king prawns for the last 5 minutes of cooking. It’s also a great way to use up leftover cooked chicken, similar to what you might do with my Lemon Garlic Chicken recipe; just stir it in at the end to heat through.
What to Serve With This Chickpea Curry Recipe
Choosing the right accompaniments can turn this lovely curry into a truly memorable meal. We love to have a few different things on the table to scoop up every last bit of the delicious sauce.
- Fluffy Basmati Rice: The classic pairing. Its neutral flavour and fluffy texture are perfect for soaking up the creamy curry sauce. A guide to making perfect rice can be found on sites like BBC Good Food.
- Warm Naan Bread: Essential for dipping! Whether you prefer plain, garlic, or peshwari naan, having a warm, soft flatbread on the side is always a good idea.
- A Simple Kachumber Salad: A refreshing side of finely diced cucumber, tomato, and red onion with a squeeze of lime juice and some fresh coriander provides a cool, crunchy contrast to the warm, rich curry.
- Drink Pairing: A cold lager or a crisp Sauvignon Blanc works beautifully. For a non-alcoholic option, a mango lassi is a traditional and delicious choice.
Frequently Asked Questions
Chickpea Curry Recipe
Ingredients
Method
- Sauté the Aromatics: Heat the coconut oil in a large, heavy-bottomed pan or Dutch oven over a medium heat. Add the chopped onion and a pinch of salt. Cook for 8-10 minutes, stirring occasionally, until the onion is soft, sweet, and translucent. Don't rush this step; it builds a crucial flavour base.
- Add Ginger and Garlic: Add the minced garlic and grated ginger to the pan. Cook for another minute, stirring continuously until they are fragrant. Be careful not to let them burn, as this will make the curry taste bitter.
- Bloom the Spices: Stir in the ground turmeric, cumin, ground coriander, and chilli powder. Cook for 30-60 seconds, stirring constantly. You'll notice the spices become very fragrant – this is called 'blooming' and it's key for a deep, rounded flavour. I find this step makes all the difference between a good curry and a great one.
- Create the Sauce Base: Add the tomato purée and cook for another minute, stirring to coat the onions and spices. Pour in the tinned chopped tomatoes, breaking up any large pieces with your spoon. Let this mixture bubble away for 2-3 minutes to cook off the raw tomato taste.
- Simmer the Curry: Pour in the full-fat coconut milk and add the drained chickpeas. Stir everything together well, season with salt and pepper, and bring to a gentle simmer. Reduce the heat to low, cover the pan, and let it cook for 15 minutes. This gives the chickpeas time to absorb all those lovely flavours.
- Wilt the Spinach and Finish: Remove the lid and add the fresh spinach to the pan. It might look like a lot, but it will wilt down significantly. Stir it into the curry until it has completely wilted, which should only take a minute or two.
- Final Touches: Turn off the heat. Squeeze in the juice of one lime and stir through. Have a taste and adjust the seasoning if needed – it might need a little more salt or another squeeze of lime to brighten it up. Let it stand for 5 minutes before serving.
- Serve: Garnish generously with fresh coriander and serve hot with fluffy basmati rice, naan bread, or quinoa.
Notes
I really hope you love making this creamy chickpea curry recipe as much as we enjoy eating it in our house. It’s one of those reliable, nourishing meals that proves that simple, wholesome ingredients can create something truly special. If you’re looking for other satisfying weeknight meals, you might also like my Sticky Chicken Rice Bowls. Please do leave a comment below and let me know how you get on – I love hearing from you! Happy cooking, Sara.