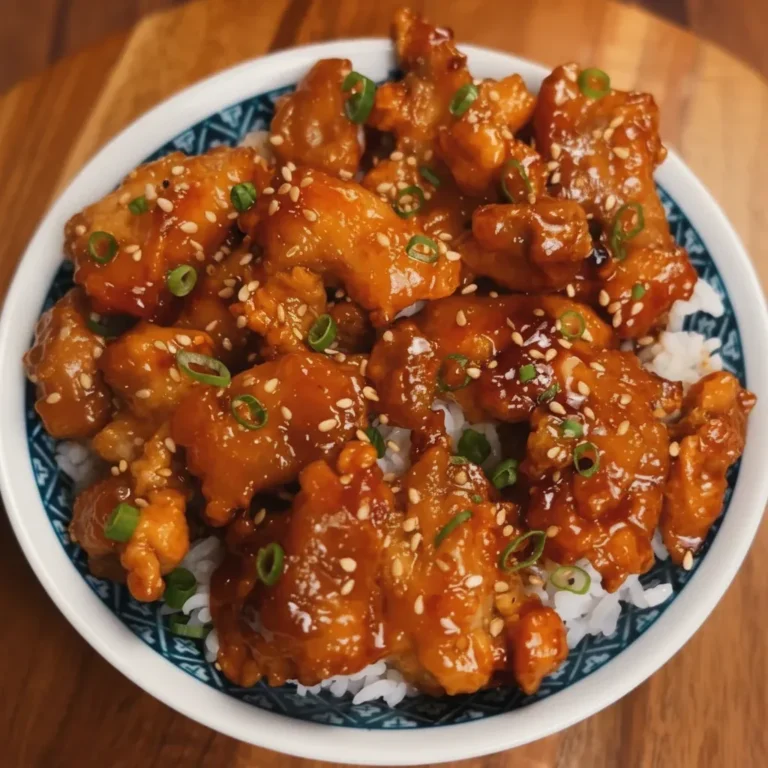
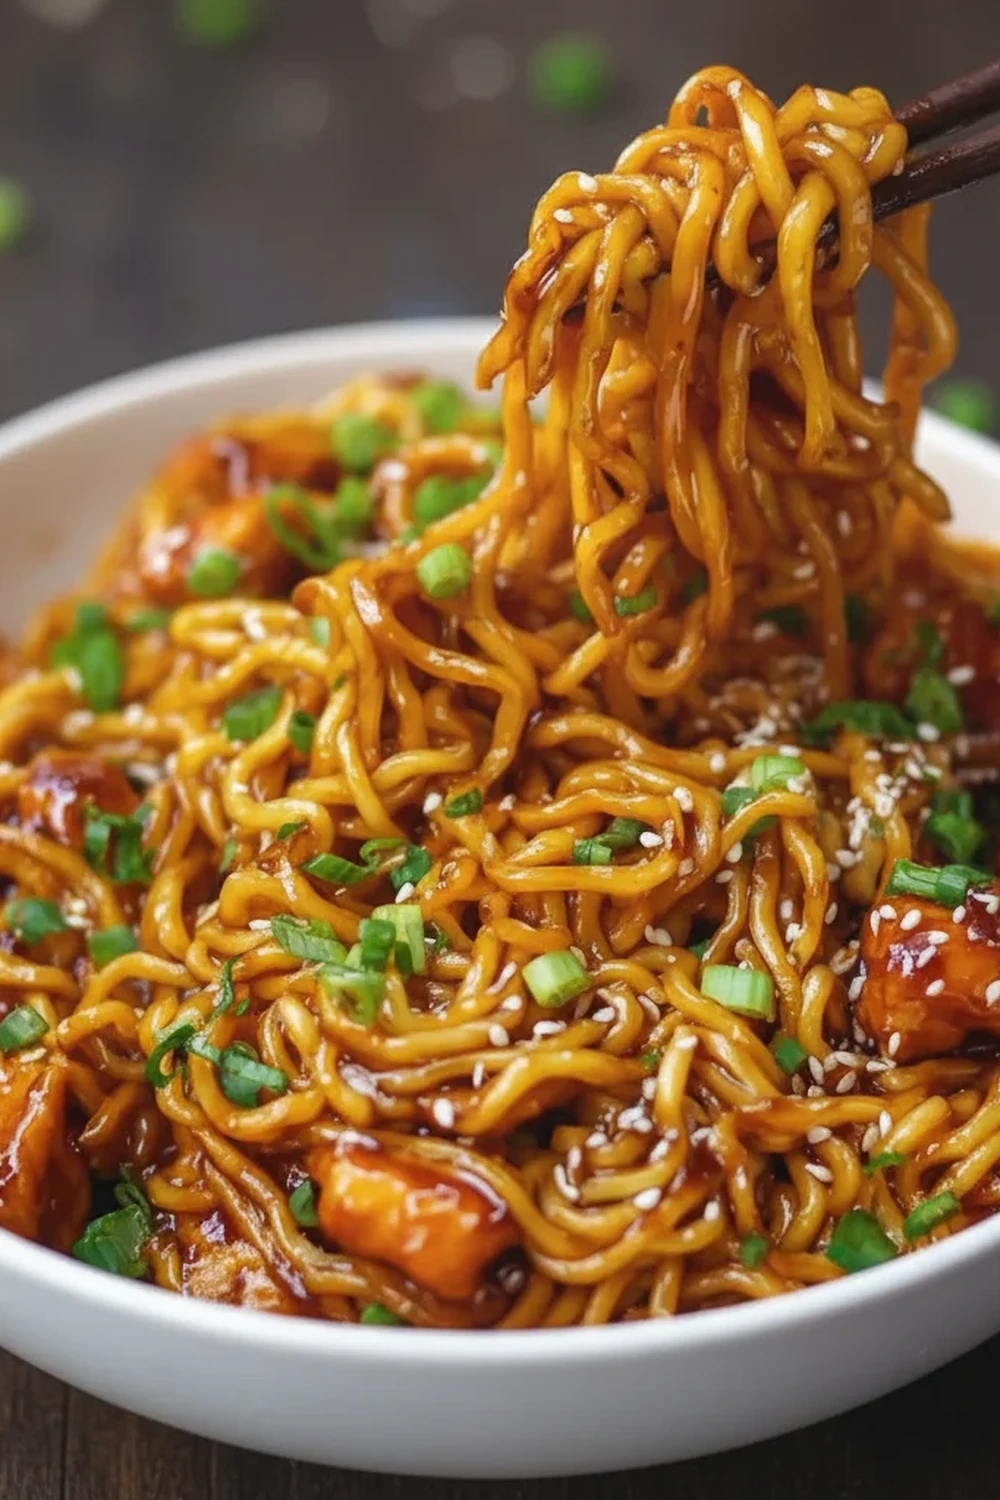
Sticky Garlic Chicken Noodles
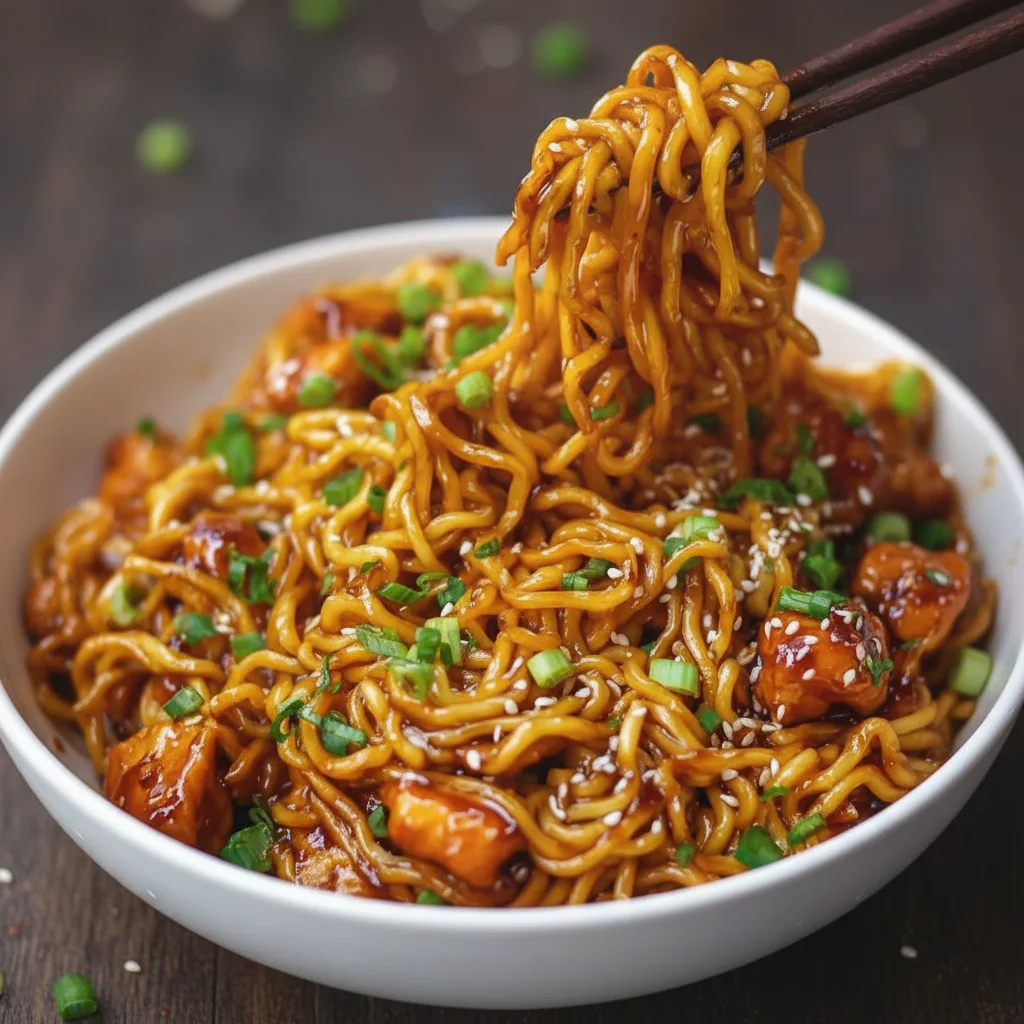
There are some weeknight dinners that just hit the spot every single time, and these Sticky Garlic Chicken Noodles are firmly at the top of that list for me. Forget lacklustre takeaways; this dish delivers a rich, satisfying flavour that feels like a real treat, yet comes together in about 30 minutes. This is my go-to recipe when I need something that feels a bit special but doesn’t require hours in the kitchen. We’re talking tender pieces of chicken and soft noodles, all coated in a glossy, deeply savoury sauce that clings to every strand, with a beautiful balance of sweet honey and pungent garlic.
The magic is all in that sauce. It’s a simple combination of store cupboard staples that transforms into a wonderfully sticky glaze when heated in the pan. As it bubbles and thickens, it coats the chicken and noodles perfectly, ensuring every single bite is packed with flavour. This isn’t just another noodle dish; it’s a vibrant, aromatic meal that smells as incredible as it tastes. It works beautifully for a speedy family dinner, a satisfying solo meal, or even when you have friends over and want to serve something impressive without the stress.
We make this a lot in our house because it’s so adaptable. You can throw in whatever vegetables you have lingering in the fridge, from crisp tenderstem broccoli to vibrant red peppers. It’s a fantastic way to create a hearty, balanced Asian-inspired meal with minimal fuss. Let’s get into how you can bring this fantastic dish to your own dinner table.
Recipe Overview
This recipe guides you through creating succulent chicken and perfectly cooked noodles enveloped in a rich, sweet, and garlicky sauce. The key is to get the sauce to the right consistency – a beautiful glaze that’s not too thick and not too runny. I’ve found that simmering it for a minute longer than you think you need to is the secret to getting that perfect sticky texture.
- Prep Time: 15 minutes
- Cook Time: 15 minutes
- Total Time: 30 minutes
- Servings: 4 people
- Difficulty: Easy
Why You’ll Love This Sticky Garlic Chicken Noodles
- Genuine Flavour: The sauce is the star here. It’s a gorgeous blend of salty soy sauce, sweet honey, sharp rice vinegar, and a generous hit of fresh garlic and ginger. It caramelises in the pan to create a wonderfully sticky coating that is utterly moreish.
- Ready in Under 30 Minutes: From chopping the chicken to serving up, this entire meal is on the table in about half an hour, making it ideal for those busy weeknights when you’re short on time but still want a proper home-cooked meal.
- Flexible Recipe: This recipe is a brilliant base for customisation. Don’t have chicken? Prawns or thinly sliced pork work wonderfully. You can add vegetables like pak choi, mangetout, or sliced mushrooms. Just add them to the pan for a few minutes before the chicken goes back in.
- Great for a Casual Dinner: While it’s quick enough for a weeknight, it’s also special enough to serve when you have guests. It always gets compliments, and serving it in big bowls feels generous and welcoming.
- Family Tested: My husband, who’s usually picky about noodle dishes, asked for seconds the first time I made this! It’s one of those rare meals that everyone in our family genuinely enjoys.
Ingredients You’ll Need
For this recipe, we rely on a few key Asian pantry staples. A good quality dark soy sauce makes a real difference to the depth of flavour. I personally prefer using Kikkoman as it has a fantastic, well-rounded saltiness that isn’t too overpowering.
- 500g skinless, boneless chicken breasts or thighs, cut into 2-3cm pieces
- 300g dried egg noodles or udon noodles
- 1 tbsp vegetable oil
- 2 spring onions, finely sliced, for garnish
- 1 tsp toasted sesame seeds, for garnish
- For the Sticky Garlic Sauce:
- 80ml light soy sauce
- 60ml honey
- 4-5 large cloves of garlic, minced (about 2 tbsp)
- 1 tbsp fresh ginger, grated
- 1 tbsp rice vinegar
- 1 tsp sesame oil
- 1 tbsp cornflour mixed with 2 tbsp cold water (this is your cornflour slurry)
- Optional Vegetables:
- 1 head of broccoli, cut into small florets
- 1 red bell pepper, deseeded and sliced
Sara’s Tip: Don’t be shy with the garlic! The recipe calls for 4-5 cloves, but if you’re a garlic lover like me, feel free to add another one. The honey and soy sauce balance its pungency beautifully.
How to Make Sticky Garlic Chicken Noodles
The process for these noodles is very straightforward. We cook the noodles and chicken separately first, then bring it all together in that glorious sticky sauce. This method ensures the chicken is nicely browned and the noodles are perfectly cooked.
- Cook the Noodles: Bring a large pot of water to a boil. Add the noodles and cook according to the package directions (usually 4-6 minutes). Once cooked, drain them in a colander, rinse briefly with cold water to stop them from sticking, and set aside.
- Prepare the Sauce: While the noodles are cooking, whisk together all the sauce ingredients in a small bowl: the soy sauce, honey, minced garlic, grated ginger, rice vinegar, and sesame oil. Set this bowl aside for now. In a separate tiny bowl, mix the cornflour and cold water together until smooth to create your slurry.
- Cook the Chicken: Heat the vegetable oil in a large frying pan or wok over a medium-high heat. Add the chicken pieces in a single layer. What works best for me is not overcrowding the pan; cook in two batches if needed to get a good colour. Fry for 5-7 minutes, turning occasionally, until the chicken is golden brown and cooked through. Remove the chicken from the pan and set it aside on a plate.
- Add Optional Veggies: If you’re using vegetables like broccoli or peppers, add them to the same hot pan now. Stir-fry for 3-4 minutes until they are bright and tender-crisp.
- Make the Sticky Sauce: Lower the heat to medium. Pour the prepared sauce mixture into the pan. Let it bubble gently for 1-2 minutes, stirring constantly as the garlic and ginger become fragrant. The aroma at this stage is incredible!
- Thicken the Sauce: Give the cornflour slurry a quick re-stir, then pour it into the pan while whisking continuously. The sauce will begin to thicken and turn glossy almost immediately. Let it simmer for another minute until it has reached a lovely, coating consistency.
- Combine Everything: Return the cooked chicken to the pan. Add the drained noodles as well. Use a pair of tongs to toss everything together, ensuring the chicken and noodles are thoroughly coated in the sticky garlic sauce. Let it all warm through for a minute or two.
- Serve: Divide the Sticky Garlic Chicken Noodles between four bowls. Garnish generously with the sliced spring onions and toasted sesame seeds before serving hot.
Tips From My Kitchen
- Temperature Control: When you add the sauce to the pan, make sure the heat is on medium, not high. Garlic can burn very quickly, which would give the sauce a bitter taste. A gentle bubble is all you need to cook out the raw flavour and let it meld with the other ingredients.
- The Secret Step: For an extra silky sauce, I learned that reserving a couple of tablespoons of the starchy noodle cooking water is a great trick. Add it to the sauce just before you add the cornflour slurry. The starches help the sauce emulsify and cling to the noodles even better. It’s a technique often used in Italian pasta dishes like this Garlic Parmesan Chicken Pasta Recipe, and it works just as well here.
- Make-Ahead: You can be really efficient with this recipe. The sauce can be mixed together and stored in an airtight jar in the fridge for up to 3 days. You can also chop your chicken and vegetables in advance. This turns a 30-minute meal into a 15-minute one!
- Storage: Leftovers are fantastic, though the noodles will soak up more of the sauce overnight. Store in an airtight container in the fridge for up to 3 days. Reheat gently in a pan with a splash of water to loosen the sauce, or in the microwave.
Equipment You’ll Need
You don’t need any special equipment for this straightforward weeknight dinner, just a few kitchen basics.
- Large pot for boiling the noodles
- Colander
- Large frying pan or a wok
- Tongs or a pasta fork for tossing
- Small bowls for mixing the sauce
Delicious Variations to Try
One of the best things about this recipe is how easily you can adapt it to your taste or what you have on hand. It’s a great blueprint for a satisfying Asian-style meal.
- Spicy Version: Add 1-2 teaspoons of sriracha or a pinch of dried red chilli flakes to the sauce mixture for a welcome kick of heat. Adjust the amount depending on how spicy you like it.
- Vegetarian/Vegan Option: Swap the chicken for firm tofu, pressed and cubed, or use a mixture of mushrooms like shiitake and chestnut. For a fully vegan sauce, simply replace the honey with an equal amount of maple syrup or agave nectar. The flavour profile will be slightly different but still delicious.
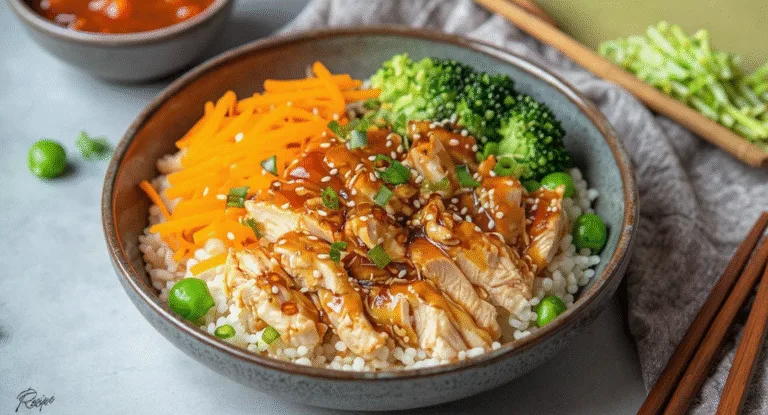
- Different Protein: This sticky garlic sauce is brilliant with other proteins. Try it with king prawns (add them right at the end as they cook in minutes), thinly sliced beef steak, or even leftover shredded roast chicken. If you enjoy sticky sauces, you might also like my Sticky Chicken Rice Bowls.
What to Serve With Sticky Garlic Chicken Noodles
This is a complete meal in one bowl, but if you want to add some accompaniments, here are a few ideas that work very well:
- Steamed Greens: A side of simple steamed pak choi or tenderstem broccoli, drizzled with a tiny bit of sesame oil, adds a fresh, clean contrast to the rich sauce.
- Crunchy Cucumber Salad: A quick salad of thinly sliced cucumber, rice vinegar, and a pinch of sugar provides a cooling and crisp counterpoint to the warm noodles.
- Drink Pairing: A crisp, dry white wine like a Sauvignon Blanc cuts through the sweetness of the sauce beautifully. For a non-alcoholic option, a cold glass of iced green tea is wonderfully refreshing.
Frequently Asked Questions
Sticky Garlic Chicken Noodles
Ingredients
Method
- Cook the Noodles: Bring a large pot of water to a boil. Add the noodles and cook according to the package directions (usually 4-6 minutes). Once cooked, drain them in a colander, rinse briefly with cold water to stop them from sticking, and set aside.
- Prepare the Sauce: While the noodles are cooking, whisk together all the sauce ingredients in a small bowl: the soy sauce, honey, minced garlic, grated ginger, rice vinegar, and sesame oil. Set this bowl aside for now. In a separate tiny bowl, mix the cornflour and cold water together until smooth to create your slurry.
- Cook the Chicken: Heat the vegetable oil in a large frying pan or wok over a medium-high heat. Add the chicken pieces in a single layer. What works best for me is not overcrowding the pan; cook in two batches if needed to get a good colour. Fry for 5-7 minutes, turning occasionally, until the chicken is golden brown and cooked through. Remove the chicken from the pan and set it aside on a plate.
- Add Optional Veggies: If you're using vegetables like broccoli or peppers, add them to the same hot pan now. Stir-fry for 3-4 minutes until they are bright and tender-crisp.
- Make the Sticky Sauce: Lower the heat to medium. Pour the prepared sauce mixture into the pan. Let it bubble gently for 1-2 minutes, stirring constantly as the garlic and ginger become fragrant. The aroma at this stage is incredible!
- Thicken the Sauce: Give the cornflour slurry a quick re-stir, then pour it into the pan while whisking continuously. The sauce will begin to thicken and turn glossy almost immediately. Let it simmer for another minute until it has reached a lovely, coating consistency.
- Combine Everything: Return the cooked chicken to the pan. Add the drained noodles as well. Use a pair of tongs to toss everything together, ensuring the chicken and noodles are thoroughly coated in the sticky garlic sauce. Let it all warm through for a minute or two.
- Serve: Divide the Sticky Garlic Chicken Noodles between four bowls. Garnish generously with the sliced spring onions and toasted sesame seeds before serving hot.
Notes
I really hope you enjoy making these Sticky Garlic Chicken Noodles. It’s a recipe that has brought a lot of joy to our dinner table, turning an ordinary weeknight into something a bit more delicious. If you give it a try, I’d love to hear how it went for you. Please leave a comment and a rating below to let me know! Happy cooking, Sara.