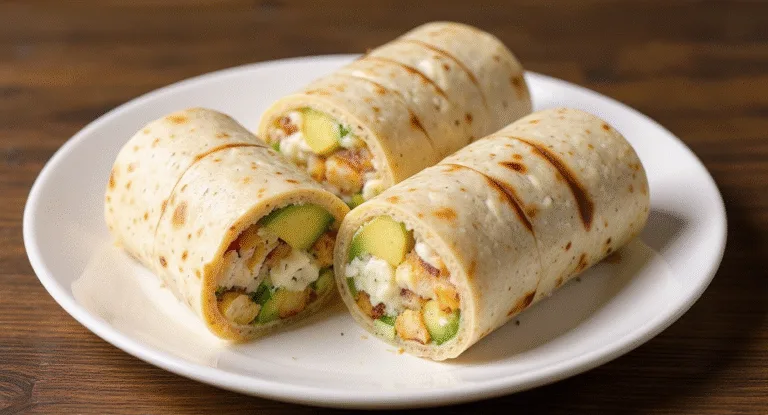
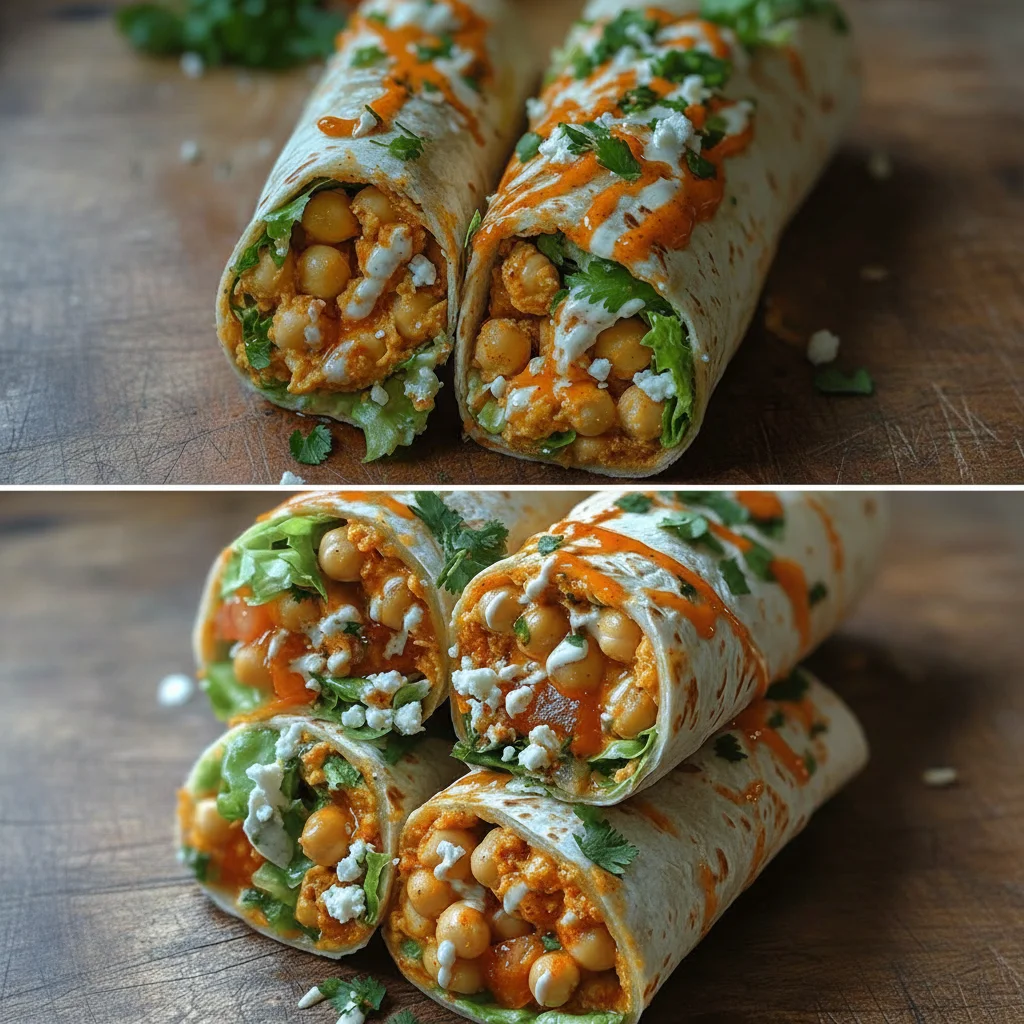
Spicy Buffalo Chickpea Wraps
There are some meals that just hit the spot, and for me, a wrap packed with bold flavours is always high on that list. For years, I associated that punchy, tangy Buffalo flavour with chicken wings, but I wanted to create a plant-based version that was just as satisfying for a quick weekday lunch. After a bit of experimenting in the kitchen, these Spicy Buffalo Chickpea Wraps were born, and they have become an absolute staple in our house. My husband, who’s usually picky about plant-based meals, asked for seconds the first time I made these!
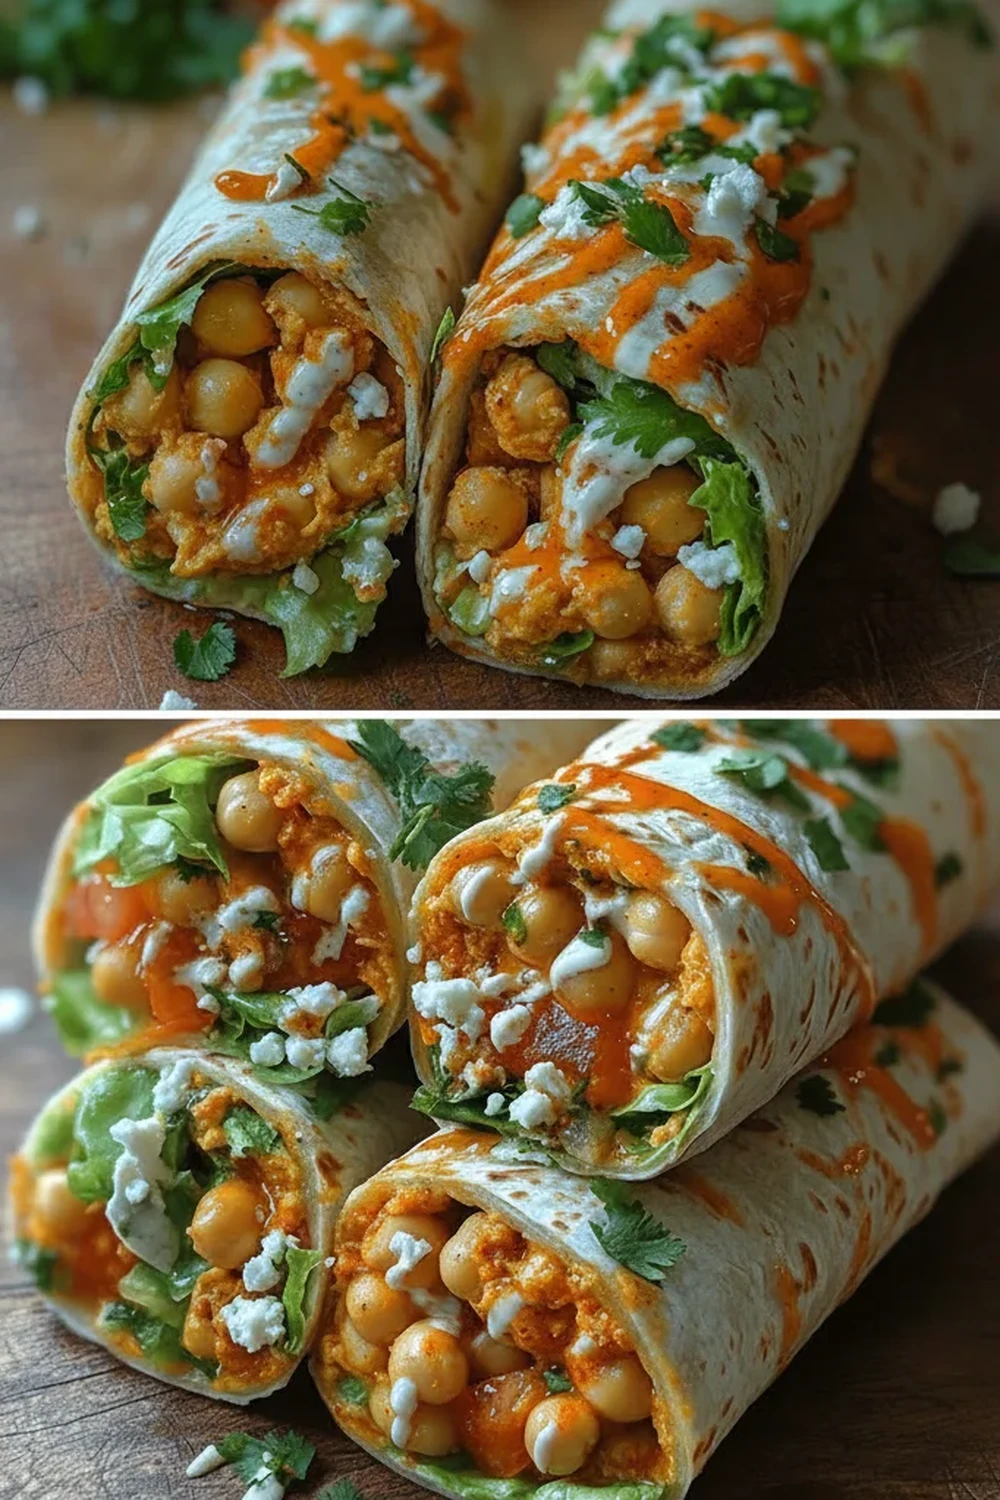
What makes these wraps so special is the wonderful contrast of textures and temperatures. We get the chickpeas wonderfully crisp and coated in that unmistakable fiery, buttery Buffalo sauce. Then, we temper that heat with a cooling, creamy vegan ranch dressing, crisp shredded lettuce, and juicy tomatoes, all bundled up in a soft tortilla. It’s a complete meal in your hands that delivers on every level: spicy, tangy, creamy, and crunchy.
This recipe is ideal when you need a flavourful meal that comes together in about 30 minutes. It works beautifully for a working-from-home lunch that feels like a treat, a light dinner after a long day, or even packed up for a picnic. If you’re looking for a vegan meal that is anything but boring, you’ve certainly come to the right place.
Recipe Overview
This recipe transforms humble chickpeas into a spicy, satisfying filling. We’ll start by crisping the chickpeas in a pan, then dousing them in a classic Buffalo sauce. The assembly is straightforward, layering the spicy chickpeas with fresh, cooling elements for a perfectly balanced bite. I’ve found that getting the chickpeas as dry as possible before cooking is the key to achieving that desirable crispy texture.
- Prep Time: 10 minutes
- Cook Time: 15 minutes
- Total Time: 25 minutes
- Servings: 4 wraps
- Difficulty: Easy
Why You’ll Love This Spicy Buffalo Chickpea Wraps Recipe
- Genuine Flavour: The combination of tangy hot sauce and melted vegan butter creates an authentic Buffalo flavour that clings to every single chickpea. It’s spicy, but in a way that makes you want to take another bite immediately.
- Ready in Under 30 Minutes: From opening the tin of chickpeas to taking your first bite, this entire meal is on the table in about 25 minutes, making it brilliant for busy evenings.
- Flexible Recipe: You can easily adjust the spice level by using more or less hot sauce. Don’t have wraps? This filling is fantastic served in a salad bowl or over a baked potato.
- Great for Meal Prep: The chickpea filling can be made ahead of time and stored in the fridge. When you’re ready to eat, just gently reheat it and assemble your wraps for a super-fast lunch.
- Family Tested: This is one of those plant-based recipes that everyone seems to love. It’s hearty enough to feel like a proper meal, and the familiar, zesty flavour is always a winner.
Ingredients You’ll Need
For the Buffalo sauce, I always reach for Frank’s RedHot Original; its specific balance of flavour and heat is essential for that classic taste, which has a fascinating history dating back to Buffalo, New York. We’re using simple, fresh ingredients for the rest of the wrap to let the chickpeas shine.
- For the Spicy Buffalo Chickpeas:
- 2 x 400g tins of chickpeas, rinsed and thoroughly drained
- 1 tbsp olive oil
- 1 tsp garlic powder
- 1/2 tsp smoked paprika
- 1/4 tsp salt
- 1/4 tsp black pepper
- 60ml Frank’s RedHot Original Cayenne Pepper Sauce (or similar)
- 2 tbsp melted vegan butter (or dairy butter if not vegan)
- For the Wraps & Fillings:
- 4 large tortilla wraps
- 1 head of Little Gem or Romaine lettuce, shredded
- 1 large tomato, diced
- 1/2 red onion, very thinly sliced
- 1 avocado, sliced (optional)
- 100ml vegan ranch or blue cheese dressing
Sara’s Tip: The secret to crispy chickpeas is removing as much moisture as possible. After rinsing and draining, I spread them on a clean tea towel and gently pat them dry. This extra step makes a world of difference to the final texture.
How to Make Spicy Buffalo Chickpea Wraps
The process for these wraps is very straightforward. We focus on getting a great texture on the chickpeas first, then we bring everything together with that iconic sauce. It all happens in one pan, which keeps the washing up to a minimum.
- Prepare the Chickpeas: First, ensure your chickpeas are well-rinsed and very dry. Place them in a medium bowl and toss with the olive oil, garlic powder, smoked paprika, salt, and pepper until they are evenly coated.
- Crisp the Chickpeas: Heat a large, non-stick frying pan or skillet over a medium-high heat. Once hot, add the seasoned chickpeas in a single layer. Cook for 10-12 minutes, shaking the pan occasionally, until they are golden brown and slightly crispy on the outside. Some may pop a little, so be careful!
- Make the Buffalo Sauce: While the chickpeas are cooking, whisk together the hot sauce and melted vegan butter in a small bowl until fully combined.
- Coat the Chickpeas: Once the chickpeas are nicely crisped, reduce the heat to low and pour the Buffalo sauce mixture over them. Stir gently but thoroughly to coat every chickpea. Let it bubble for just a minute to allow the sauce to thicken slightly and cling to the chickpeas. Remove from the heat.
- Warm the Wraps: Gently warm your tortilla wraps. I find that a few seconds in a dry frying pan or 15-20 seconds in the microwave makes them more pliable and pleasant to eat.
- Assemble the Wraps: Now for the fun part! Lay a warm wrap flat. Spread a spoonful of vegan ranch dressing down the centre. Top with a generous handful of shredded lettuce, some diced tomato, and a few slices of red onion.
- Add the Filling and Fold: Spoon a quarter of the warm Spicy Buffalo Chickpeas over the salad fillings. Fold in the sides of the tortilla, then tightly roll it up from the bottom to create a secure parcel. Repeat for the remaining three wraps.
- Serve Immediately: Serve the wraps straight away while the chickpeas are still warm and the salad is cool and crisp. You can slice them in half on the diagonal for a nice presentation if you like.
Tips From My Kitchen
- Temperature Control: Don’t have the heat too high when you add the Buffalo sauce to the pan. A low heat is all you need to warm it through and prevent the butter from separating, ensuring a smooth, glossy coating.
- The Secret Step: I used to struggle with soggy wraps until I discovered this technique. Building a “barrier” of lettuce between the tortilla and the hot chickpeas helps prevent the wrap from becoming soft too quickly. It keeps everything crisp.
- Make-Ahead: The Buffalo chickpea mixture can be cooked up to 3 days in advance and kept in an airtight container in the fridge. Reheat gently in a pan with a splash of water before assembling the wraps.
- Storage: Once assembled, these wraps are best eaten immediately. If you must store them, wrap them tightly in foil and keep them in the fridge for up to 24 hours, but be aware the lettuce will lose its crunch.
Equipment You’ll Need
You don’t need any fancy gadgets for this recipe, just some basic kitchen essentials.
- Large frying pan or skillet
- Sharp knife and cutting board
- Medium mixing bowl
- Small bowl for the sauce
- Wooden spoon or spatula
Delicious Variations to Try
Once you have the base recipe, it’s so much fun to customise it. We often change things up depending on what we have in the fridge.
- Add Extra Crunch: For more texture, add some chopped celery or grated carrot along with the lettuce. The celery, in particular, is a classic pairing with Buffalo sauce.
- Make it Cheesy: Crumble some vegan feta or blue cheese over the chickpeas just before rolling up the wrap. The salty, tangy cheese works so well with the spicy sauce.
- Swap the Protein: While these are vegan wraps, the Buffalo sauce is brilliant on other things too. You could use crispy baked tofu cubes or even shredded chicken, similar to what we use in our Sweet Chili Chicken Recipe. For another protein-packed idea, check out this Juicy Chicken Recipe.
What to Serve With Spicy Buffalo Chickpea Wraps
These wraps are a satisfying meal on their own, but if you want to make it a more substantial spread, here are a few ideas that work wonderfully.
- Sweet Potato Fries: The sweetness of the fries provides a lovely contrast to the spicy, tangy flavour of the wraps. A truly winning combination.
- Simple Green Salad: A lightly dressed salad with cucumber and a simple vinaigrette can be a refreshing side that balances the richness of the wrap.
- A Cool Drink: A crisp, cold lager or a sharp, dry cider cuts through the spice beautifully. For a non-alcoholic option, a sparkling elderflower pressé is perfect.
Frequently Asked Questions
Spicy Buffalo Chickpea Wraps
Ingredients
Method
- Prepare the Chickpeas: First, ensure your chickpeas are well-rinsed and very dry. Place them in a medium bowl and toss with the olive oil, garlic powder, smoked paprika, salt, and pepper until they are evenly coated.
- Crisp the Chickpeas: Heat a large, non-stick frying pan or skillet over a medium-high heat. Once hot, add the seasoned chickpeas in a single layer. Cook for 10-12 minutes, shaking the pan occasionally, until they are golden brown and slightly crispy on the outside. Some may pop a little, so be careful!
- Make the Buffalo Sauce: While the chickpeas are cooking, whisk together the hot sauce and melted vegan butter in a small bowl until fully combined.
- Coat the Chickpeas: Once the chickpeas are nicely crisped, reduce the heat to low and pour the Buffalo sauce mixture over them. Stir gently but thoroughly to coat every chickpea. Let it bubble for just a minute to allow the sauce to thicken slightly and cling to the chickpeas. Remove from the heat.
- Warm the Wraps: Gently warm your tortilla wraps. I find that a few seconds in a dry frying pan or 15-20 seconds in the microwave makes them more pliable and pleasant to eat.
- Assemble the Wraps: Now for the fun part! Lay a warm wrap flat. Spread a spoonful of vegan ranch dressing down the centre. Top with a generous handful of shredded lettuce, some diced tomato, and a few slices of red onion.
- Add the Filling and Fold: Spoon a quarter of the warm Spicy Buffalo Chickpeas over the salad fillings. Fold in the sides of the tortilla, then tightly roll it up from the bottom to create a secure parcel. Repeat for the remaining three wraps.
- Serve Immediately: Serve the wraps straight away while the chickpeas are still warm and the salad is cool and crisp. You can slice them in half on the diagonal for a nice presentation if you like.
Notes
I really hope you give these Spicy Buffalo Chickpea Wraps a try. They are such a brilliantly flavourful and satisfying meal, and prove that plant-based food can be incredibly exciting. It’s one of my go-to recipes when I need something delicious on the table without a lot of fuss. If you make them, please let me know what you think in the comments below. I love hearing how my recipes work out in your kitchens! Happy cooking!
– Sara