Soft Bread Machine Bread Recipe Loaf
There is nothing quite like the aroma of freshly baked bread filling the house. It’s a scent that signals comfort, warmth, and something truly special being made in the kitchen. For years, I shied away from making my own bread, intimidated by the kneading, proving, and precise timings. That all changed when I embraced the magic of my bread machine. This isn’t just any bread machine bread recipe; it’s the one I’ve tweaked and perfected over countless bakes. I stumbled upon this combination of milk powder and butter by accident when trying to replicate my grandmother’s soft loaves, and it’s been a hit ever since.
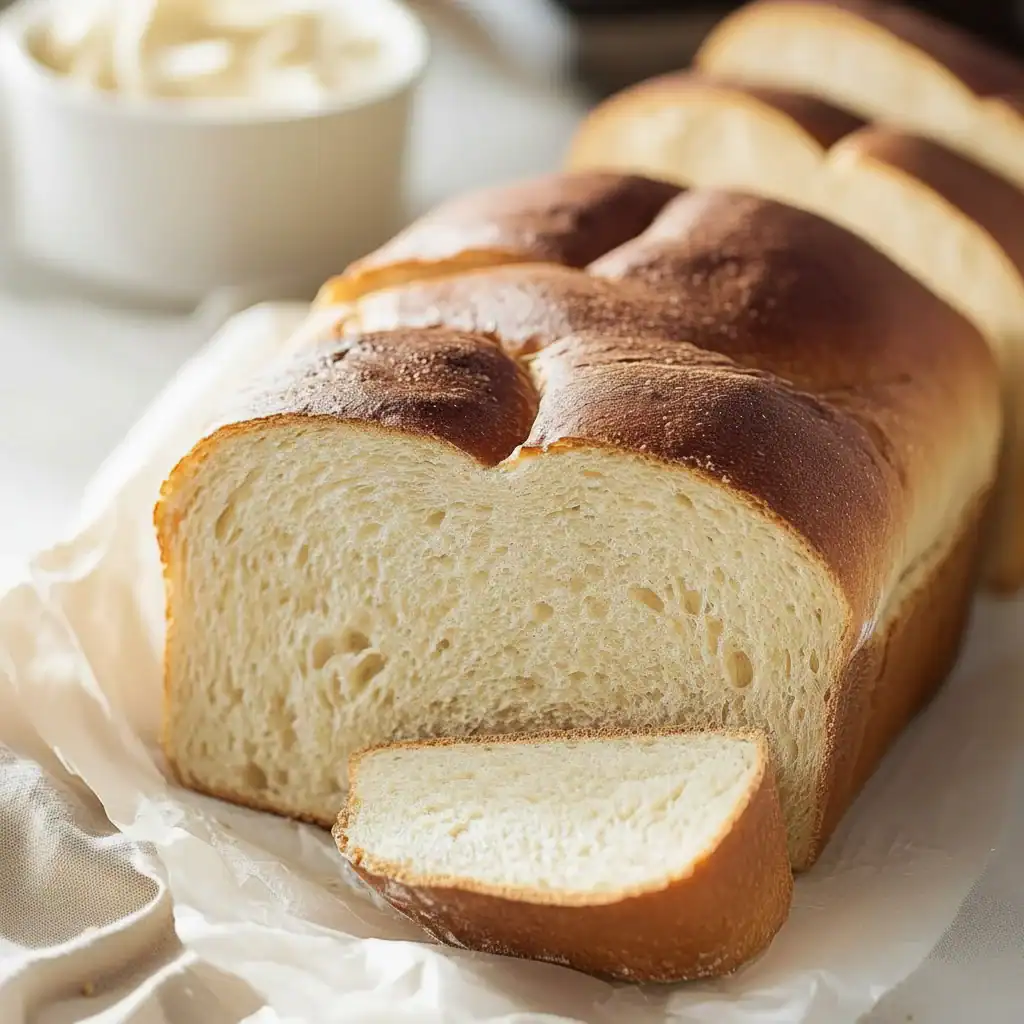
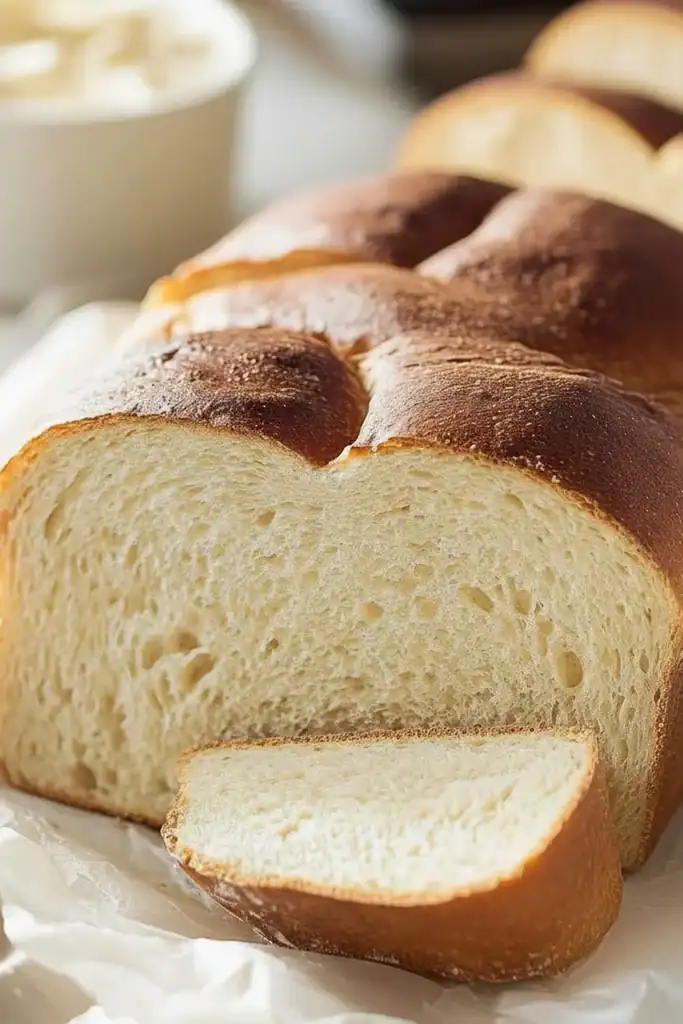
This recipe creates a loaf with a beautifully golden, slightly crisp crust that gives way to an incredibly soft and fluffy crumb inside. It’s the kind of bread that’s sturdy enough for a hearty sandwich but tender enough to melt in your mouth with a simple spread of butter. It’s a foundational recipe that we turn to week after week. It’s ideal for busy families who crave the taste of homemade without the hands-on time, or for anyone dipping their toes into the wonderful world of home baking. Let your machine do the hard work while you get all the credit!
Recipe Overview
This bread machine bread recipe is your new go-to for a classic white loaf. The flavour is clean and comforting, with a subtle richness from the butter and milk powder. Expect a consistently soft texture and a beautifully risen loaf every time. I’ve found that weighing the ingredients, especially the flour, is the secret to getting a perfect result, so I highly recommend using digital scales.
- Prep Time: 10 minutes
- Cook Time: 3 hours (approx, machine dependent)
- Total Time: 3 hours 10 minutes
- Servings: 1 loaf (approx. 12 slices)
- Difficulty: Easy
Why You’ll Love This Bread Machine Bread Recipe
- Authentic Homemade Flavour: This loaf has a genuine, wholesome taste that you just don’t get from shop-bought bread. The crumb is soft and airy, perfect for soaking up butter, and the crust has a satisfying, gentle chew.
- Only 10 Minutes of Prep: The hands-on time is minimal. Simply measure your ingredients, add them to the pan in the correct order, and the machine handles the mixing, kneading, rising, and baking.
- A Versatile Loaf: While this recipe is for a classic white loaf, it’s a wonderful base for experimentation. Try adding a tablespoon of mixed seeds or swapping 100g of the white flour for wholemeal for a nuttier taste.
- Great for Daily Use: This bread works beautifully for everything. It makes superb toast for breakfast, builds a fantastic sandwich for lunch, and is brilliant for dipping into a warm bowl of soup for dinner.
- Family Tested: This recipe always gets compliments in my house. My husband, who’s usually picky about homemade bread, asked for a second warm slice slathered in butter the first time I made this exact version!
Ingredients You’ll Need
The key to a brilliant loaf is using good quality ingredients. For the flour, I always rely on a strong white bread flour like Allinson’s or Carr’s, as their high protein content is essential for developing the gluten that gives the bread its structure and chew. Ensure your yeast is fresh and in-date for the best rise.
- 300ml lukewarm water
- 500g strong white bread flour
- 1 ½ tsp salt
- 2 tbsp caster sugar
- 2 tbsp skimmed milk powder
- 25g unsalted butter, softened and cubed
- 1 ½ tsp fast-action dried yeast
Sara’s Tip: Make sure your water is lukewarm, not hot. A good test is to dab a little on your wrist; it should feel comfortably warm. Water that’s too hot can kill the yeast, meaning your loaf won’t rise properly.
How to Make This Bread Machine Bread Recipe
The process is wonderfully straightforward. The most important rule is the order in which you add the ingredients. Liquids go in first, followed by the dry ingredients, with the yeast being the very last thing to touch the flour, kept away from the salt and water until the machine starts mixing.
- Take the bread pan out of your machine. It’s much easier to add ingredients accurately this way. Ensure the paddle is correctly fitted at the bottom.
- Pour the 300ml of lukewarm water directly into the bread pan.
- Next, carefully spoon the 500g of strong white bread flour on top of the water. The goal is to create a layer of flour that completely covers the water below.
- Add the salt and the caster sugar into separate corners of the pan, on top of the flour. Doing this prevents the salt from coming into direct contact with the yeast too early, which could inhibit its activity.
- Add the skimmed milk powder and the cubes of softened butter into the other two corners.
- With the back of a spoon, make a small, shallow well in the very centre of the flour. Be careful not to dig so deep that you reach the water.
- Carefully pour the 1 ½ tsp of fast-action yeast into this well. What works best for me is to keep the yeast completely isolated on its little island of flour until the mixing begins.
- Place the bread pan back into the bread machine and click it securely into place. Close the lid.
- Select the program for a basic white loaf. On most machines, this will be called ‘Basic’ or ‘White’. Choose your loaf size (this recipe is for a 750g or 1.5lb loaf) and your desired crust colour – I find ‘medium’ gives a lovely golden finish.
- Press the ‘Start’ button and let the machine work its magic. Resist the urge to open the lid while it’s working!
- Once the baking cycle is complete, use oven gloves to carefully remove the hot bread pan. Tip the loaf out onto a wire cooling rack straight away. If you leave it in the pan, the steam will make the crust soggy. Let it cool completely before slicing with a serrated bread knife.
Tips From My Kitchen
- Temperature Control: Yeast is a living organism and needs the right environment to thrive. The ideal temperature for activating yeast is between 38°C and 43°C. You can learn more about the science of yeast from resources like King Arthur Baking. Too cold, and it’s sluggish; too hot, and you’ll kill it.
- The Secret Step: I learned that using digital scales is non-negotiable for consistent bread making. A cup of flour can vary in weight depending on how it’s packed, but 500g is always 500g. This precision makes all the difference between a dense loaf and a light, airy one.
- Make-Ahead Magic: The timer delay function is one of the best features of a bread machine. You can add all the ingredients in the evening and set the timer to have a freshly baked loaf ready and waiting for you when you wake up. There’s no better alarm clock!
- Storage: Once completely cool, store your bread in a bread bag or an airtight container at room temperature. It will stay fresh for about 3 days. Please don’t store it in the fridge, as this will cause it to go stale much faster.
Equipment You’ll Need
- Bread machine
- Digital kitchen scales
- Measuring spoons
- Wire cooling rack
- Serrated bread knife
Common Mistakes to Avoid
- Inaccurate Measurements: As mentioned, using volume (cups) instead of weight (grams) is the most common reason for a failed loaf. Invest in a simple set of digital scales for perfect bread every time.
- Opening the Lid: It’s tempting to peek, but opening the lid during the rising or baking cycles can cause a sudden drop in temperature, which may make your loaf collapse. Trust the machine!
- Slicing While Warm: The structure of the bread is still setting as it cools. Slicing into a hot loaf can compress the delicate crumb, making it feel doughy and dense. Patience is a virtue here – wait until it’s fully cool for the cleanest slices.
What to Serve With This Bread Machine Bread
This wonderfully versatile loaf is a blank canvas for all sorts of delicious pairings. Here are a few of our family’s favourite ways to enjoy it:
- For Breakfast: Toasted and topped with salted butter and raspberry jam is a simple delight. It’s also fantastic for dunking into a soft-boiled egg.
- For Lunch: It makes the most amazing sandwiches. It’s sturdy enough to hold generous fillings without falling apart. It’s a great companion to our Bruschetta Chicken topping.
- For Dinner: Serve thick slices alongside a warming bowl of tomato soup or a hearty stew to mop up every last drop of the delicious sauce. It works beautifully with our Low Carb Chicken Casserole.
Frequently Asked Questions
Bread Machine Bread Recipe
Ingredients
Method
- Take the bread pan out of your machine. It’s much easier to add ingredients accurately this way. Ensure the paddle is correctly fitted at the bottom.
- Pour the 300ml of lukewarm water directly into the bread pan.
- Next, carefully spoon the 500g of strong white bread flour on top of the water. The goal is to create a layer of flour that completely covers the water below.
- Add the salt and the caster sugar into separate corners of the pan, on top of the flour. Doing this prevents the salt from coming into direct contact with the yeast too early, which could inhibit its activity.
- Add the skimmed milk powder and the cubes of softened butter into the other two corners.
- With the back of a spoon, make a small, shallow well in the very centre of the flour. Be careful not to dig so deep that you reach the water.
- Carefully pour the 1 ½ tsp of fast-action yeast into this well. What works best for me is to keep the yeast completely isolated on its little island of flour until the mixing begins.
- Place the bread pan back into the bread machine and click it securely into place. Close the lid.
- Select the program for a basic white loaf. On most machines, this will be called 'Basic' or 'White'. Choose your loaf size (this recipe is for a 750g or 1.5lb loaf) and your desired crust colour – I find 'medium' gives a lovely golden finish.
- Press the 'Start' button and let the machine work its magic. Resist the urge to open the lid while it's working!
- Once the baking cycle is complete, use oven gloves to carefully remove the hot bread pan. Tip the loaf out onto a wire cooling rack straight away. If you leave it in the pan, the steam will make the crust soggy. Let it cool completely before slicing with a serrated bread knife.
Notes
I truly hope this bread machine bread recipe brings as much joy to your kitchen as it does to mine. There is something so satisfying about slicing into a loaf you’ve made yourself, even if a clever machine did most of the heavy lifting! Give it a try, and please let me know how you get on in the comments below. Happy baking!


