Refreshing Iced Coffee Recipe for Summer
There’s a particular kind of disappointment that comes from a watery, lacklustre iced coffee. We’ve all been there: you’re dreaming of a rich, refreshing, coffee-forward drink, but what you get is a glass of vaguely coffee-flavoured milk. For years, I struggled to replicate that perfect café-style iced coffee at home, the kind that’s both invigorating and indulgent. My early attempts often involved pouring hot coffee over ice, a method that inevitably leads to a diluted mess. But through countless trials (and a few happy accidents), I finally landed on a method that produces a consistently brilliant iced coffee every single time.
This iced coffee recipe isn’t just about getting your caffeine fix; it’s about creating a small moment of joy in your day. It’s built around one key principle: starting with a strong, concentrated coffee base that can stand up to ice and milk without losing its character. The secret lies in brewing the coffee stronger than you normally would and, crucially, letting it cool completely before you even think about adding ice. I stumbled upon the trick of using coffee ice cubes by accident one day, and it’s been an absolute game-changer in my kitchen ever since. This simple step ensures your last sip is just as robust and flavourful as your first.
This recipe is for anyone who appreciates a proper coffee, whether you’re looking for a mid-afternoon boost while working from home, a refreshing treat on a warm weekend, or a simple, elegant drink to serve when friends pop over. It’s a foundational recipe, a canvas for you to customise with your favourite milks, syrups, and spices. It’s the iced coffee you’ve been searching for, and I’m so excited to share how you can make it yourself.
Recipe Overview
This iced coffee recipe delivers a rich, smooth, and deeply flavourful drink that avoids the common pitfall of becoming watery. By using a strongly brewed, chilled coffee concentrate and a simple homemade syrup, we create a balanced beverage where the robust notes of the coffee shine through. It’s creamy, refreshing, and entirely customisable to your preferred sweetness and strength. During testing, I found that making coffee ice cubes ahead of time elevates the entire experience, keeping the drink chilled without diluting the brilliant coffee flavour.
- Prep Time: 5 minutes
- Cook Time: 5 minutes (for simple syrup)
- Chill Time: 1 hour (for coffee)
- Total Time: 1 hour 10 minutes
- Servings: 2 people
- Difficulty: Easy
Why You’ll Love This Iced Coffee Recipe
- Authentic Coffee Flavour: This method preserves the deep, aromatic notes of your coffee beans. The resulting drink is bold and smooth, with none of the bitterness or acidity that can come from shock-cooling hot coffee. It tastes like a true coffee drink, not just cold, sweet milk.
- Ready in Minutes (with prep): Once your coffee concentrate is chilled, assembling the drink takes less than 5 minutes. It’s a wonderful little ritual for a mid-afternoon pick-me-up when you’re planning dinner, maybe something comforting like my Low Carb Chicken Casserole.
- A Truly Flexible Recipe: You are in complete control. Prefer oat milk for its creamy texture? Go for it. Like a hint of caramel or hazelnut? Add a splash of your favourite syrup. You can adjust the strength, sweetness, and creaminess to make your ideal iced coffee.
- Great for Sunny Afternoons: This drink works beautifully for those slow, warm afternoons in the garden. It’s also ideal when you want a little boost to get through a busy workday or as a simple, refreshing welcome for unexpected guests.
- Family Tested: While I love mine strong and not too sweet, my husband prefers a milkier version with an extra dash of vanilla. It’s a recipe that everyone seems to love because it’s so easy to adapt to individual tastes.
Ingredients You’ll Need
The quality of your ingredients, especially the coffee, will make all the difference here. I recommend using a good-quality medium or dark roast coffee bean for a robust flavour. For the milk, whole milk provides a wonderful creaminess, but feel free to use your favourite alternative. I often use Oatly Barista Edition when I have it on hand, as it froths up beautifully if you want to add a cold foam topping.
- 60g medium or dark roast ground coffee
- 250ml freshly boiled water
- 150-200ml whole milk (or your preferred milk, like oat or almond)
- 100g caster sugar
- 100ml water (for simple syrup)
- 1/2 tsp vanilla extract
- A generous amount of ice cubes (bonus points for coffee ice cubes!)
Sara’s Tip: Make a larger batch of the simple syrup and store it in a sealed bottle or jar in the fridge. It will last for a few weeks and is fantastic for sweetening not just iced coffee, but also iced tea and cocktails. It saves you a step for your next coffee break!
How to Make This Iced Coffee Recipe
The process is straightforward and centres around a little bit of preparation. Brewing the coffee concentrate and letting it cool properly is the most important part of this recipe. Don’t be tempted to rush this step – your patience will be rewarded with a far superior drink.
- Brew the Coffee Concentrate: First, we need to make our strong coffee base. Place the 60g of ground coffee into a cafetière or your preferred coffee maker. Pour over the 250ml of freshly boiled water, give it a gentle stir to ensure all the grounds are wet, and let it steep for about 4-5 minutes. Plunge the cafetière slowly.
- Chill the Coffee: This is the crucial step. Pour the hot coffee concentrate into a heatproof jug or bottle. Let it cool on the counter for about 20-30 minutes before transferring it to the fridge to chill completely. This should take at least an hour, but you can also make it the night before.
- Make the Simple Syrup: While the coffee is cooling, you can make the syrup. Combine the 100g of caster sugar and 100ml of water in a small saucepan over medium heat. Stir until the sugar has completely dissolved. You don’t need to bring it to a boil. Once clear, remove it from the heat, stir in the vanilla extract, and let it cool.
- Prepare the Coffee Ice Cubes (Optional but Recommended): For the ultimate iced coffee experience, brew an extra batch of coffee, let it cool, and pour it into an ice cube tray. Freeze for at least 4 hours or overnight. What works best for me is always having a tray of these ready to go in the freezer.
- Assemble Your Iced Coffee: Fill two tall glasses generously with your ice cubes (regular or coffee ice cubes). I find a tall, heavy-based glass feels particularly satisfying to drink from.
- Combine the Ingredients: Divide the chilled coffee concentrate between the two glasses. You should see it trickle down through the ice. Next, add 1-2 tablespoons of the simple syrup to each glass, depending on how sweet you like it.
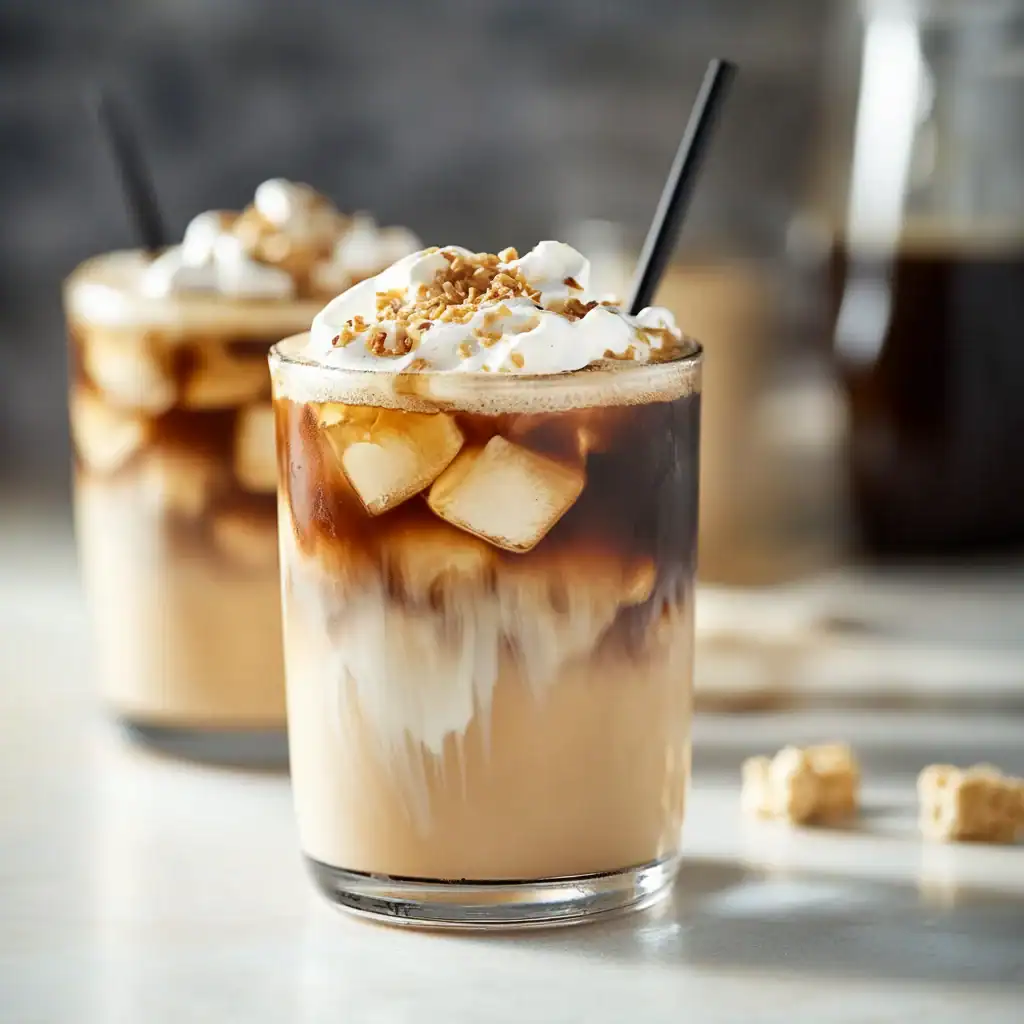
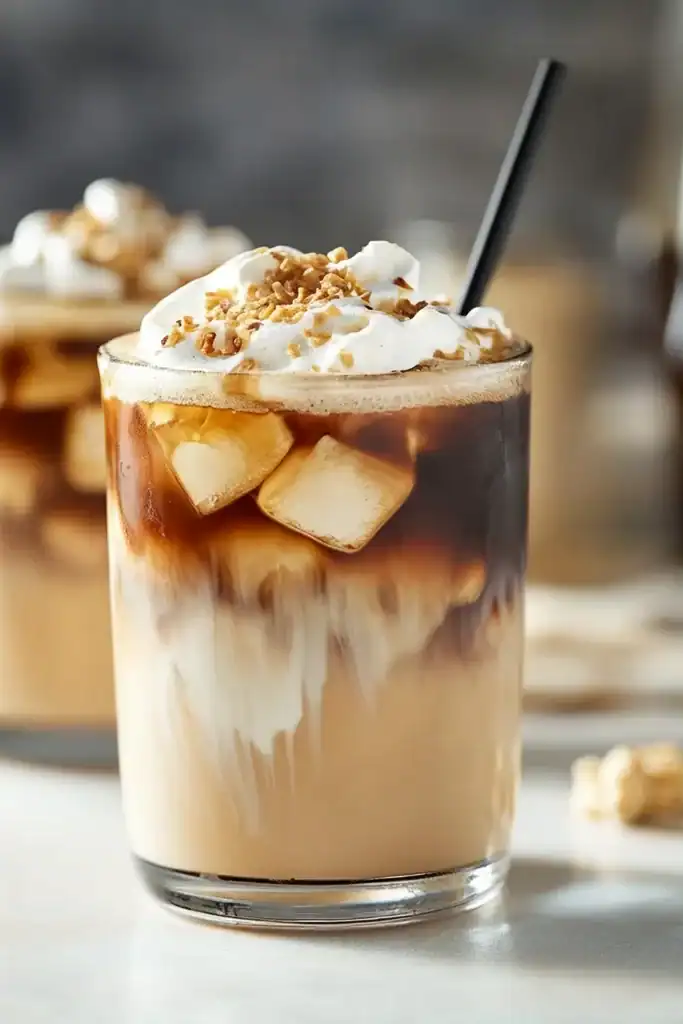
- Add the Milk: Slowly pour the milk into each glass. If you pour it gently over the back of a spoon, you can create a beautiful layered effect that looks just like it does in a coffee shop. Give it a gentle stir just before drinking.
Tips From My Kitchen
- Temperature is Everything: The single biggest mistake in homemade iced coffee is using warm coffee. It will instantly melt your ice, leading to a weak, watery drink. Ensure your coffee concentrate is genuinely cold before you begin assembling your drink. An hour in the fridge is a minimum.
- The Secret is Coffee Ice Cubes: I learned that this one small change makes all the difference for a consistently strong flavour. As the coffee ice cubes melt, they release more coffee into your drink instead of water. It’s a simple preparation step that dramatically improves the end result.
- Make-Ahead Magic: You can brew a large batch of the coffee concentrate (and the simple syrup) and store it in a sealed container in the fridge for up to a week. This means a delicious, high-quality iced coffee is only a minute away at any time.
- Proper Storage: Store your coffee concentrate in a sealed glass bottle or jar in the fridge. This prevents it from absorbing any other fridge odours. The simple syrup should also be stored in an airtight container in the fridge.
Equipment You’ll Need
- Cafetière (French press) or other coffee maker
- Small saucepan
- Heatproof jug or bottle
- Tall serving glasses
- Long spoon for stirring
- Ice cube tray
Common Mistakes to Avoid
- Using Hot Coffee on Ice: This is the cardinal sin of iced coffee. It not only results in a diluted drink but can also create a bitter taste. Always, always use chilled coffee.
- Brewing Weak Coffee: Remember, the ice will naturally dilute the drink a little, even with coffee ice cubes. Your starting coffee base needs to be much stronger than a standard cup to compensate. The ratio in this recipe is designed for that purpose.
- Using Granulated Sugar: Granulated sugar doesn’t dissolve well in cold liquids, leaving you with a gritty texture at the bottom of your glass. Making a simple syrup ensures the sweetness is evenly distributed throughout the drink for a smooth finish.
Delicious Variations to Try
Once you’ve mastered the basic iced coffee recipe, it’s so much fun to start experimenting with different flavours. Here are a few of my favourite twists:
- Iced Mocha: Add a tablespoon of chocolate syrup along with the simple syrup. For an even richer chocolate flavour, dissolve a teaspoon of high-quality cocoa powder into the hot coffee concentrate before you chill it.
- Vegan Iced Coffee: This recipe is easily made vegan. Simply swap the whole milk for a creamy plant-based alternative. I find oat milk gives the creamiest result, while almond milk provides a lovely nutty undertone.
- Spiced Iced Coffee: Add a pinch of ground cinnamon or a grating of fresh nutmeg to your coffee grounds before brewing. This infuses the concentrate with a gentle, warming spice that works beautifully with the cold, creamy drink.
What to Serve With This Iced Coffee Recipe
This iced coffee is a treat all on its own, but it also pairs wonderfully with a little something on the side. It’s the perfect refreshing drink after a satisfying, light meal like my simple Chicken Breast And Green Beans.
- Almond Croissant: The nutty, buttery flavour of an almond croissant is a classic and delightful pairing with the rich coffee.
- A Slice of Lemon Drizzle Cake: The zesty, sweet cake cuts through the creaminess of the coffee, creating a beautiful balance of flavours.
– A simple accompaniment: Sometimes, all you need is a couple of shortbread biscuits for dunking. It’s a simple pleasure that never disappoints.
Frequently Asked Questions
Iced Coffee Recipe
Ingredients
Method
- Brew the Coffee Concentrate: First, we need to make our strong coffee base. Place the 60g of ground coffee into a cafetière or your preferred coffee maker. Pour over the 250ml of freshly boiled water, give it a gentle stir to ensure all the grounds are wet, and let it steep for about 4-5 minutes. Plunge the cafetière slowly.
- Chill the Coffee: This is the crucial step. Pour the hot coffee concentrate into a heatproof jug or bottle. Let it cool on the counter for about 20-30 minutes before transferring it to the fridge to chill completely. This should take at least an hour, but you can also make it the night before.
- Make the Simple Syrup: While the coffee is cooling, you can make the syrup. Combine the 100g of caster sugar and 100ml of water in a small saucepan over medium heat. Stir until the sugar has completely dissolved. You don't need to bring it to a boil. Once clear, remove it from the heat, stir in the vanilla extract, and let it cool.
- Prepare the Coffee Ice Cubes (Optional but Recommended): For the ultimate iced coffee experience, brew an extra batch of coffee, let it cool, and pour it into an ice cube tray. Freeze for at least 4 hours or overnight. What works best for me is always having a tray of these ready to go in the freezer.
- Assemble Your Iced Coffee: Fill two tall glasses generously with your ice cubes (regular or coffee ice cubes). I find a tall, heavy-based glass feels particularly satisfying to drink from.
- Combine the Ingredients: Divide the chilled coffee concentrate between the two glasses. You should see it trickle down through the ice. Next, add 1-2 tablespoons of the simple syrup to each glass, depending on how sweet you like it.
- Add the Milk: Slowly pour the milk into each glass. If you pour it gently over the back of a spoon, you can create a beautiful layered effect that looks just like it does in a coffee shop. Give it a gentle stir just before drinking.
Notes
I truly hope this recipe helps you create the iced coffee of your dreams right in your own kitchen. There’s something so rewarding about mastering a simple drink and making it exactly how you like it. For me, it has become a staple, and I often find myself thinking about it long before I make it, especially after preparing a tasty dinner like my Bruschetta Chicken. Please do give it a go, and let me know how you get on in the comments below. I’d love to hear about your own variations!


