Red Velvet Oreo Cheesecake Recipe: A Showstopper Dessert
Are you on the hunt for a dessert that offers the best of all worlds? A spectacular treat that fuses the classic, velvety flavour of red velvet cake, the rich creaminess of a New York-style cheesecake, and the beloved crunch of Oreo biscuits? If that sounds like heaven, you have certainly come to the right place. We believe a great dessert should be a memorable experience, and this red velvet oreo cheesecake is precisely that. It is the sort of incredible pudding that commands attention and will make you a legend among your friends and family. Our recipe demystifies every stage, ensuring you can craft a perfectly decadent cheesecake in your own kitchen.
Why You’ll Absolutely Love This Red Velvet Oreo Cheesecake
We realise it’s a bold statement, but we think this may well become your all-time favourite dessert. This is far more than just a cake; it’s a true celebration on a plate. Here is exactly why we are so sure you will adore it:
- A Trio of Textures: You will experience a delightful contrast between the crunchy, chocolate-biscuit base, the impossibly smooth and tangy cheesecake layer, and the light, cloud-like topping. Every mouthful is a genuine pleasure for the senses.
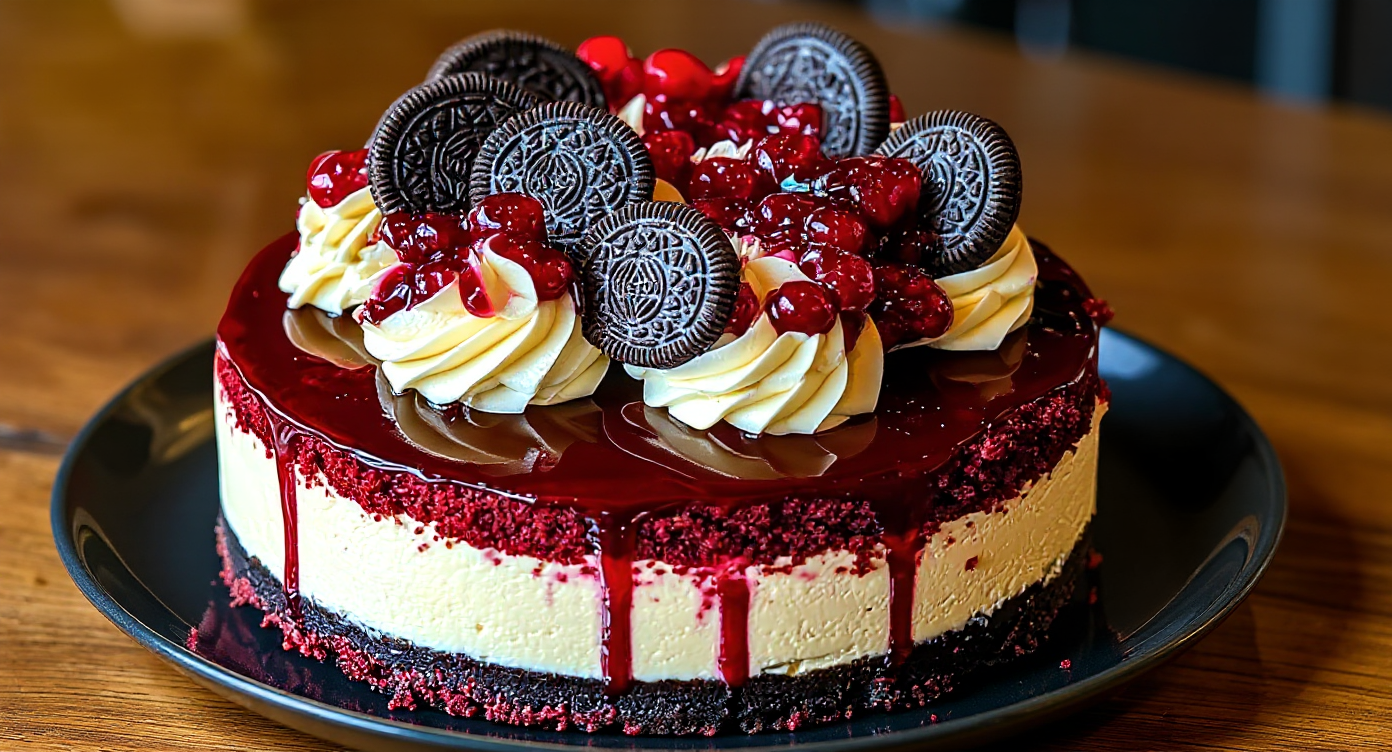
- Stunning Visual Appeal: The vivid, deep red of the cheesecake filling set against the dark Oreo crust and the pure white topping creates a breathtaking effect. This dessert looks as magnificent as it tastes, making it perfect for special occasions such as birthdays, anniversaries, or simply an indulgent weekend treat.
- Perfect Flavour Balance: The subtle sharpness from the cream cheese and the classic tang of red velvet cuts beautifully through the richness. Meanwhile, the chocolate notes from the cocoa and Oreos lend a deep, satisfying flavour. It is sweet, but in a perfectly balanced way.
- Completely Achievable at Home: Although it looks as though it has come from a fancy patisserie, our detailed, step-by-step instructions make this impressive dessert recipe wonderfully straightforward for home bakers of any ability. We are sharing all of our secrets with you!
Essential Ingredients for Your Masterpiece
The secret to a truly phenomenal cheesecake lies in using high-quality, full-fat ingredients. This is a time for pure indulgence, so we strongly suggest you use the best you can find to achieve the creamiest, most luxurious result. We have organised the ingredients by each component to make things simple.
For the Crunchy Oreo Crust
- 300g Oreo biscuits (about 32 biscuits), cream filling and all
- 115g unsalted butter, melted
For the Rich Red Velvet Cheesecake Filling
- 900g full-fat cream cheese, at room temperature
- 300g caster sugar
- 4 large eggs, at room temperature
- 240g soured cream, at room temperature
- 2 teaspoons vanilla extract
- 30g unsweetened cocoa powder, sifted
- 1 tablespoon red gel food colouring (gel provides a much more vibrant colour than liquid)
- 1 teaspoon white vinegar
- 1 teaspoon bicarbonate of soda
- 150g Oreo biscuits, roughly chopped
For the Creamy Topping and Garnish
- 300ml double cream
- 50g icing sugar, sifted
- 1 teaspoon vanilla extract
- Extra Oreo biscuits for crushing or placing whole
- White chocolate shavings (optional)
Step-by-Step Instructions: Crafting the Perfect Red Velvet Oreo Cheesecake
Now, let’s get to the best bit! Follow these directions with care, and you will be on the path to cheesecake glory. We encourage you to take your time and truly enjoy the creative process. After all, brilliant baking is its own kind of magic.
Preparing the Oreo Crust
- Preheat and Prepare: To begin, set your oven to 175°C (160°C Fan / Gas Mark 4). Lightly grease a 23cm (9-inch) springform tin and line the base with a circle of baking parchment.
- Create the Crumbs: Place the whole Oreo biscuits into a food processor and pulse them until they turn into fine crumbs. If you do not own a food processor, you can place them in a sealable bag and crush them with a rolling pin—an excellent stress reliever!
- Mix and Press: Transfer the crumbs into a mixing bowl and pour in the melted butter. Stir with a fork until the mixture resembles damp sand and all the crumbs are coated. Press this mixture firmly and evenly across the bottom of your prepared tin. A flat-bottomed glass or the back of a spoon works well for compacting it.
- Pre-Bake the Crust: Bake the crust for 10 minutes. This step helps it to firm up and prevents it from going soft later. After baking, remove it from the oven and allow it to cool as you prepare the filling.
Making the Silky Red Velvet Filling
- Start with the Cream Cheese: In a large bowl, use an electric mixer on a low setting to beat the room-temperature cream cheese until it is completely smooth and without any lumps. This is the most important step for achieving a velvety texture.
- Add the Sugar: With the mixer still on low, gradually pour in the caster sugar. Continue beating until it is fully dissolved and the mixture is silky. Remember to scrape down the sides of the bowl with a spatula from time to time.
- Incorporate the Eggs: Add the room-temperature eggs one by one, mixing on a low speed only until each egg is just combined. Over-beating at this point can introduce too much air, which is a primary cause of cracks forming.
- Mix in the Flavour: Gently stir in the soured cream and vanilla extract. In a small, separate bowl, whisk the sifted cocoa powder with the red gel food colouring until you have a smooth paste. Add this paste to your cheesecake batter and mix gently until the colour is consistent.
- The Chemical Magic: In another small bowl, combine the white vinegar and bicarbonate of soda—watch it fizz! Promptly and gently fold this fizzy mixture into the batter. This reaction is what helps to give red velvet its signature tender crumb.
- Fold in the Oreos: Lastly, use a spatula to gently fold the chopped Oreo pieces into the batter. Aim for an even distribution, but be careful not to over-mix.
Baking and Cooling: The Secret to a Crack-Free Cheesecake
- Prepare the Water Bath: This is our most crucial tip for a flawless, crack-free homemade cheesecake. Tightly wrap the outside of your springform tin in several layers of heavy-duty tin foil to create a waterproof barrier. Place the wrapped tin inside a large roasting pan.
- Pour and Bake: Carefully pour the gorgeous red velvet filling over your cooled Oreo base. Put the roasting pan into the preheated oven, then pour boiling water into the pan so that it comes about halfway up the sides of the cheesecake tin.
- Bake to Perfection: Bake for 60-70 minutes. You will know the cheesecake is ready when the edges are set but the centre still has a gentle wobble, much like a set custard. Resist the temptation to bake it for longer!
- The All-Important Cool Down: This stage requires patience, but it is well worth it. Switch off the oven, prop the door open with a wooden spoon, and allow the cheesecake to cool slowly inside the oven for one hour. This gradual cooling prevents sudden temperature changes that can cause cracks. For more expert guidance on this vital stage, the team at BBC Good Food have an excellent guide to achieving cheesecake perfection.
- Chill Out: Carefully lift the cheesecake out of the water bath and let it cool to room temperature on a wire rack. Once it is fully cooled, cover it loosely with cling film and place it in the fridge to chill for a minimum of 6 hours, though overnight is even better. This allows it to set completely while the flavours meld and deepen.
Our Top Tips for Cheesecake Success
We want to ensure your red velvet cheesecake turns out perfectly. Here are some additional professional secrets we have picked up over many years of baking:
- Room Temperature is Non-Negotiable: We have mentioned this several times, but it is truly that important. Using cold cream cheese will leave you with a lumpy batter, while cold eggs can cause the mixture to split. Be sure to get your ingredients out at least an hour before you start.
- Don’t Overmix: Once you add the eggs, keep your mixer on its lowest speed and only mix until they are just incorporated. Too much air is the adversary of a dense, creamy cheesecake.
- Embrace the Water Bath (Bain-Marie): Please do not skip this step! The steam created by the water bath makes the oven a humid environment, which helps the cheesecake bake gently and evenly. This is key to a sumptuously creamy texture and a crack-free top.
- Patience During Cooling: It is vital to resist the urge to peek in the oven or to cool the cheesecake down too quickly. The slow, gradual cooling method is the final secret to a flawless finish. If you love making stunning baked goods, you may also enjoy our recipe for Blueberry Heaven Cookies The Definitive Recipe For Soft Chewy Perfection.
- For Clean Slices: To get those beautiful, professional-looking slices, use a large, sharp knife. Dip the blade into hot water and wipe it clean between each and every slice.
Storing Your Delicious Cheesecake
Your magnificent cheesecake should be kept in the refrigerator. Store it covered, either in its springform ring or in an airtight container, to keep it from drying out or taking on other flavours from the fridge. It will stay fresh and delicious for up to 4-5 days.
Should you wish to freeze it, we advise doing so without the whipped cream topping. Wrap the fully chilled cheesecake tightly in two layers of cling film, followed by a layer of tin foil. It can be frozen for up to 2 months. To serve, simply thaw it overnight in the refrigerator before decorating.
Frequently Asked Questions (FAQ)
Can I make this a no-bake red velvet Oreo cheesecake?
This specific recipe has been developed as a baked, New York-style cheesecake to achieve its characteristic dense and creamy texture. A no-bake alternative would need a completely different recipe, likely using setting agents like gelatine or condensed milk. While still lovely, this would produce a much lighter, more mousse-like result.
Why did my cheesecake crack?
The most frequent reasons for a cracked cheesecake are introducing too much air by over-mixing (particularly after adding the eggs), baking it for too long, or a sudden drop in temperature. Faithfully following our water bath and slow cooling instructions is your best strategy for avoiding the dreaded crack!
Can I use low-fat cream cheese?
For the ultimate flavour and texture, we strongly recommend against it. Full-fat cream cheese is vital for achieving that rich, firm, and creamy consistency that makes cheesecake so irresistible. Low-fat varieties have a higher water content, which will lead to a runnier and less satisfying dessert.
What kind of red food colouring is best?
We champion the use of a concentrated gel food colouring. Professional-grade brands create a wonderfully intense red without adding extra liquid to the batter, which could negatively affect the cheesecake’s final texture. You will need significantly less gel than liquid colouring to get the same vibrant result.
How do I know when my cheesecake is done?
The “wobble test” is the most reliable indicator. Gently nudge the tin. The outer 2-3 inches of the cheesecake should look set and firm, but the very centre should still have a slight jiggle. It will continue to cook from the residual heat and set up completely as it cools.
For another dessert that is guaranteed to wow your guests, we suggest you try our light and ethereal Cloud Cake Recipe.
Your Turn to Create a Dessert Masterpiece
So there you have it—our comprehensive guide to making the most sensational Red Velvet Oreo Cheesecake you will ever taste. With its crunchy biscuit base, velvety smooth filling, and absolutely stunning appearance, this is a dessert guaranteed to be a hit whatever the occasion. We have equipped you with all the knowledge and tips you need to succeed.
We are so excited for you to give this recipe a go and feel the satisfaction of slicing into your own beautiful, homemade creation. Please do not hesitate—try it for yourself! We would love for you to leave a comment below to tell us how yours turned out, or to ask any questions that come to mind. Happy baking!


