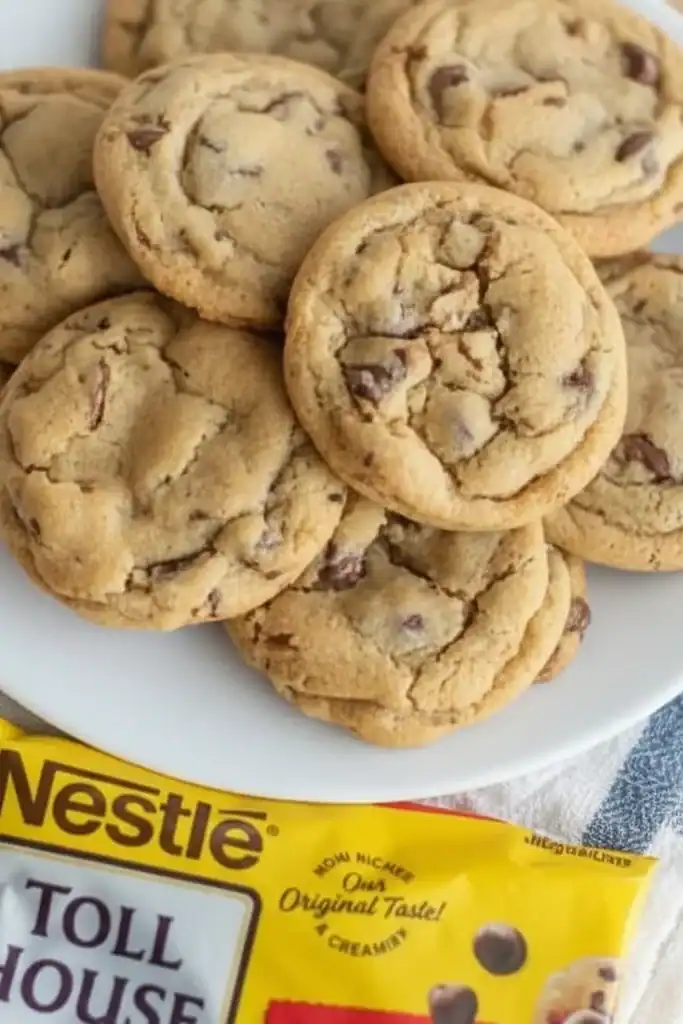
Original Toll House Cookie Recipe
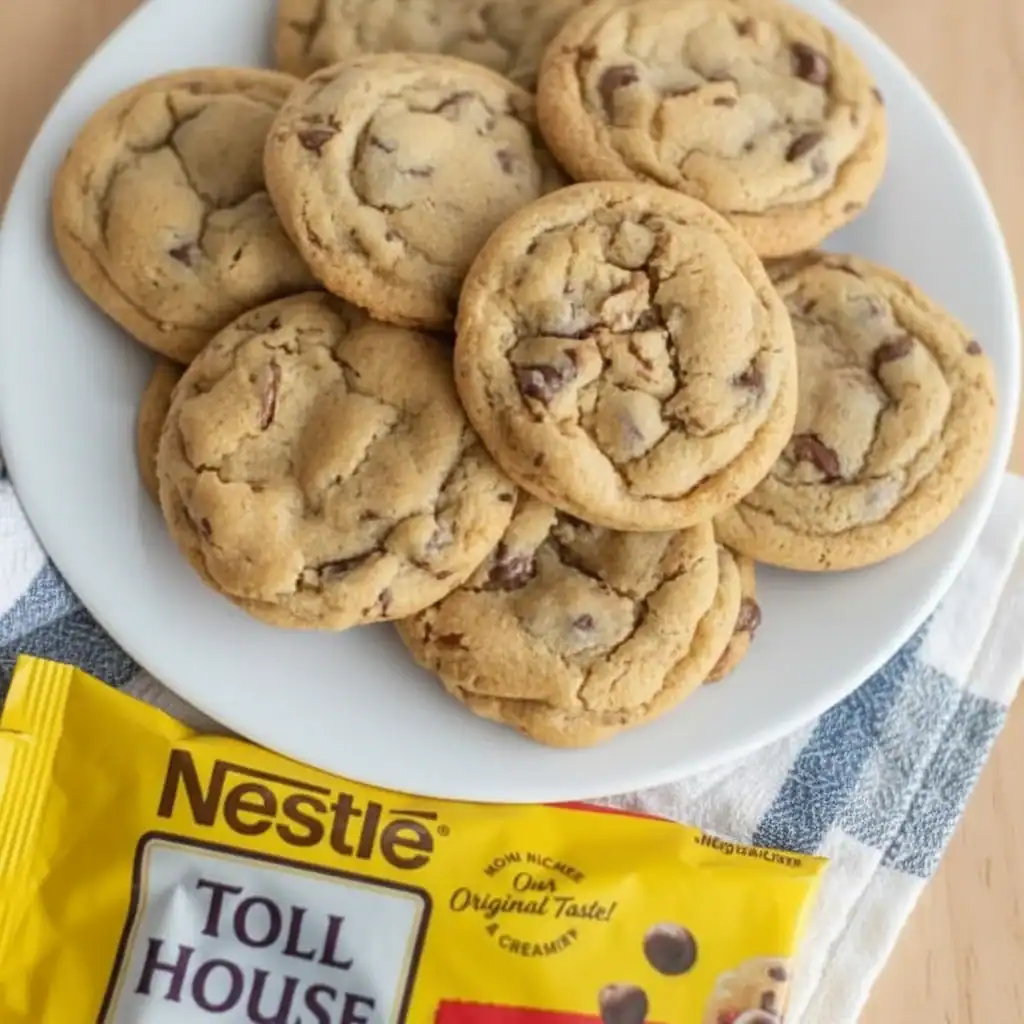
There is something fundamentally comforting about the scent of chocolate chip cookies baking in the oven. It’s a fragrance that promises warmth, nostalgia, and a moment of pure bliss. The original Toll House cookie recipe is the blueprint for this happiness, a timeless bake that has graced kitchens for generations. This is the recipe I turn to when I want a taste of pure, uncomplicated joy, and it always delivers. The magic is in the details: the edges become perfectly crisp and golden, the centres stay delightfully soft and chewy, and the chocolate chips melt into gooey pockets of delight. It’s a texture and flavour combination that is simply unmatched.
This classic recipe is a wonderful project for a quiet afternoon and ideal for sharing with friends and family. It’s the kind of treat that brings people together, whether packed in a lunchbox, served warm with a glass of milk, or enjoyed straight from the cooling rack (my personal favourite method!). We’re going to walk through the authentic steps created by Ruth Wakefield at the Toll House Inn, ensuring every cookie you bake is as delicious as the very first one.
Recipe Overview
This is the definitive, original Toll House cookie recipe, designed to produce consistently brilliant chocolate chip cookies. Expect a buttery, vanilla-scented dough studded with generous amounts of semi-sweet chocolate. After testing this recipe five times, I’ve found that chilling the dough for just 30 minutes makes all the difference for a thicker, chewier cookie. They bake to a beautiful golden-brown, with a satisfying snap at the edges and a soft, yielding middle.
- Prep Time: 20 minutes
- Chill Time: 30 minutes
- Cook Time: 10 minutes per tray
- Total Time: 1 hour
- Servings: Makes approximately 4 dozen cookies
- Difficulty: Easy
Why You’ll Love This Original Toll House Cookie Recipe
- The Authentic Taste: This isn’t just any chocolate chip cookie. It has that distinct, balanced flavour from the combination of brown and white sugar, giving it deep caramel notes alongside simple sweetness. It’s the taste that started it all, a true classic with a history you can read about on its fascinating Wikipedia page.
- Ready in About an Hour: From gathering your ingredients to pulling the first tray from the oven, the whole process is satisfyingly swift. The active preparation comes together in about 20 minutes.
- A Forgiving Recipe: While we stick to the original here, it’s a brilliant base for customisation. You can swap the chocolate chips, add nuts, or even a pinch of spice. It’s wonderfully adaptable.
- Ideal for Any Occasion: These cookies work beautifully for bake sales, after-school treats, weekend baking projects, or as a simple dessert after a lovely dinner like my Lemon Garlic Chicken.
- Family Tested and Approved: My children always ask for these “special” cookies, and they never last long in the biscuit tin. It’s one of those recipes that always gets compliments.
Ingredients You’ll Need
For the most authentic flavour, using good quality ingredients is key. I find that using real butter (not margarine) makes a huge difference in the texture and taste. For the chocolate, I prefer Nestlé Toll House Semi-Sweet Chocolate Morsels to stay true to the original, but any good quality semi-sweet chocolate chip will work beautifully.
- 280g plain flour
- 1 tsp bicarbonate of soda
- 1 tsp salt
- 225g unsalted butter, softened to room temperature
- 150g caster sugar
- 150g soft light brown sugar, packed
- 1 tsp pure vanilla extract
- 2 large free-range eggs
- 340g semi-sweet chocolate chips
- 120g chopped walnuts or pecans (optional)
Sara’s Tip: Make sure your butter is properly softened, but not melted. It should give slightly when you press it. This is crucial for creaming the butter and sugars together properly, which creates the cookie’s light texture.
How to Make the Original Toll House Cookie Recipe
This process is straightforward and methodical. The key is not to rush the creaming stage and to be careful not to overmix once the flour is added. Let’s get baking!
- Prepare Your Dry Ingredients: In a medium bowl, whisk together the plain flour, bicarbonate of soda, and salt. This ensures the raising agent and salt are evenly distributed, preventing any salty or soapy bites. Set this aside.
- Cream Butter and Sugars: In a large bowl using a stand mixer or an electric hand mixer, beat the softened butter, caster sugar, and light brown sugar together on medium speed for about 3-4 minutes. Scrape down the sides of the bowl occasionally. The mixture should become light, pale, and fluffy.
- Add Eggs and Vanilla: Beat in the eggs one at a time, mixing well after each addition until fully incorporated. Then, stir in the vanilla extract. The mixture should be smooth and creamy.
- Combine Wet and Dry: Gradually add the flour mixture to the wet ingredients in three parts, mixing on low speed until just combined. What works best for me is to stop mixing as soon as the last streaks of flour disappear. Overmixing at this stage can lead to tough cookies.
- Fold in the Good Stuff: Using a spatula, gently fold in the semi-sweet chocolate chips and the optional chopped nuts until they are evenly distributed throughout the dough.
- Chill the Dough: This is an important step! Cover the bowl with cling film and refrigerate the cookie dough for at least 30 minutes (or up to 24 hours). This prevents the cookies from spreading too much in the oven.
- Preheat and Prepare: When you’re ready to bake, preheat your oven to 190°C (170°C fan). Line two large baking trays with parchment paper.
- Portion the Cookies: Drop rounded tablespoons of the chilled dough onto the prepared baking trays, leaving about 5cm (2 inches) of space between each one to allow for spreading.
- Bake to Perfection: Bake for 9-11 minutes, or until the edges are golden brown and the centres look set. The centres might still look slightly soft, but they will continue to cook on the hot tray.
- Cool and Enjoy: Let the cookies cool on the baking tray for 2-3 minutes before transferring them to a wire rack to cool completely. This helps them firm up so they don’t break.
Tips From My Kitchen
- Temperature Control is Key: Ensure your oven is fully preheated. An oven that’s too cool will cause the cookies to spread into thin, crispy discs. An oven that’s too hot will cook the outside before the inside is done. An oven thermometer is a baker’s best friend!
- The Secret Step: Don’t skip the chilling time. I learned that even 30 minutes in the fridge solidifies the butter in the dough. This means the butter melts more slowly in the oven, resulting in a thicker, chewier cookie rather than a flat, greasy one.
- Make-Ahead Magic: You can make the dough and store it in the fridge for up to 3 days. You can also roll it into a log, wrap it tightly, and freeze it for up to 3 months. Just slice and bake from frozen, adding an extra minute or two to the baking time.
- Storage: Store cooled cookies in an airtight container at room temperature for up to 5 days. I like to add a slice of bread to the container; it helps keep the cookies soft.
Equipment You’ll Need
- Stand mixer or electric hand mixer
- Large baking trays
- Parchment paper
- Wire cooling rack
- Ice cream scoop (for uniform cookies)
Common Mistakes to Avoid
- Overcrowding the Tray: It’s tempting to squeeze as many cookies as possible onto one tray, but this is a mistake. It lowers the oven temperature around each cookie and causes them to bake unevenly and merge into one giant “coo-kie”. Give them space!
- Using Melted Butter: If your butter is melted instead of softened, the dough will be too greasy and the cookies will spread excessively. Take the time to let your butter soften at room temperature.
- Skipping the Chill Time: As mentioned, chilling is vital. A warm, soft dough will spread into thin, crisp wafers. Chilling helps the cookies hold their shape for that classic chewy texture.
Delicious Variations to Try
While the original recipe is a masterpiece, it’s also fun to put your own spin on it. Here are a few ideas that work wonderfully.
- Nut Lover’s Version: Go beyond walnuts! Try toasted macadamia nuts with white chocolate chips, or pistachios and dried cranberries for a festive twist.
- Triple Chocolate: Swap out the semi-sweet chips for a mix of dark, milk, and white chocolate chips for a truly decadent cookie.
- A Pinch of Spice: Add 1/2 teaspoon of ground cinnamon or a pinch of cayenne pepper to the dry ingredients for a subtle warmth that pairs beautifully with the chocolate.
What to Serve With This Original Toll House Cookie Recipe
These cookies are a delight on their own, but they are even better when paired with the right accompaniments. It’s the perfect sweet ending after a savoury meal like our popular Bruschetta Chicken.
- A Cold Glass of Milk: The ultimate classic pairing. The cold, creamy milk cuts through the richness of the cookie in the most satisfying way.
- A Scoop of Vanilla Ice Cream: Serve a cookie warm from the oven with a scoop of high-quality vanilla bean ice cream for a simple yet impressive dessert.
- A Hot Cup of Coffee: For the adults, the slight bitterness of a good coffee or espresso balances the sweetness of the cookie beautifully.
Frequently Asked Questions
Original Toll House Cookie Recipe
Ingredients
Method
- Prepare Your Dry Ingredients: In a medium bowl, whisk together the plain flour, bicarbonate of soda, and salt. This ensures the raising agent and salt are evenly distributed, preventing any salty or soapy bites. Set this aside.
- Cream Butter and Sugars: In a large bowl using a stand mixer or an electric hand mixer, beat the softened butter, caster sugar, and light brown sugar together on medium speed for about 3-4 minutes. Scrape down the sides of the bowl occasionally. The mixture should become light, pale, and fluffy.
- Add Eggs and Vanilla: Beat in the eggs one at a time, mixing well after each addition until fully incorporated. Then, stir in the vanilla extract. The mixture should be smooth and creamy.
- Combine Wet and Dry: Gradually add the flour mixture to the wet ingredients in three parts, mixing on low speed until just combined. What works best for me is to stop mixing as soon as the last streaks of flour disappear. Overmixing at this stage can lead to tough cookies.
- Fold in the Good Stuff: Using a spatula, gently fold in the semi-sweet chocolate chips and the optional chopped nuts until they are evenly distributed throughout the dough.
- Chill the Dough: This is an important step! Cover the bowl with cling film and refrigerate the cookie dough for at least 30 minutes (or up to 24 hours). This prevents the cookies from spreading too much in the oven.
- Preheat and Prepare: When you're ready to bake, preheat your oven to 190°C (170°C fan). Line two large baking trays with parchment paper.
- Portion the Cookies: Drop rounded tablespoons of the chilled dough onto the prepared baking trays, leaving about 5cm (2 inches) of space between each one to allow for spreading.
- Bake to Perfection: Bake for 9-11 minutes, or until the edges are golden brown and the centres look set. The centres might still look slightly soft, but they will continue to cook on the hot tray.
- Cool and Enjoy: Let the cookies cool on the baking tray for 2-3 minutes before transferring them to a wire rack to cool completely. This helps them firm up so they don't break.
Notes
I truly hope you enjoy baking this original Toll House cookie recipe as much as my family and I do. It’s more than just a recipe; it’s a little piece of baking history that creates delicious memories. I’d love to hear how yours turn out, so please feel free to leave a comment below! Happy baking, Sara.


