Tasty Ooey-Gooey Cheesy Garlic Chicken Wraps – Delicious & Easy!
Are you on the hunt for a meal that truly has it all? Something unbelievably tasty, wonderfully comforting, and speedy enough for a hectic weeknight? We completely understand. Now and then, you just need a dish that brings sheer delight without demanding hours of your time. Your search ends here. Let us share what we’re sure will become your new go-to recipe: the ultimate Ooey-Gooey Cheesy Garlic Chicken Wraps.
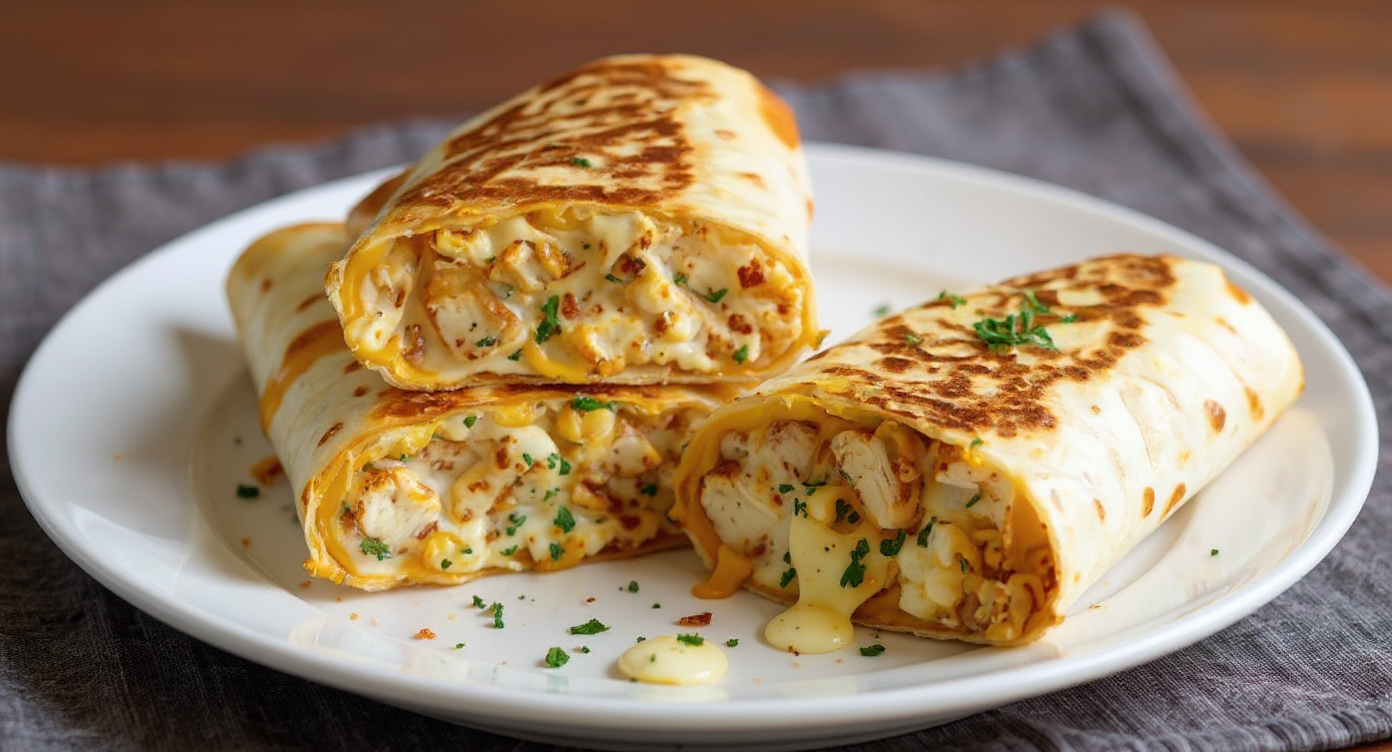
Picture succulent, tender chicken enveloped in a flavourful garlic butter sauce, tucked away with heaps of molten mozzarella and cheddar within a warm, golden tortilla. It’s the sort of meal that brings a hush to the dinner table, soon followed by appreciative murmurs. This is far more than just a meal; it’s a culinary moment. Right then, let’s get started!
Why You’ll Absolutely Adore This Recipe
Before we get to the method, let’s explore precisely why these wraps are destined to become a firm favourite in your household. We are sure you will adore them, as they are:
- Incredibly Quick: From start to finish, you can have this wonderful meal on the table in less than 30 minutes. It’s the ideal answer for a busy evening.
- Packed with Flavour: The blend of savoury chicken, aromatic garlic butter, and a duo of melted cheeses is simply heavenly. Every mouthful is a taste sensation.
- Family-Friendly: Let’s be honest, who can resist the combination of cheese, garlic, and chicken? It’s a triumphant trio that even the pickiest eaters will happily tuck into.
- Easily Customisable: This recipe serves as a brilliant foundation. Feel free to add some vegetables, try different cheeses, or introduce a hint of spice to make it truly your own.
- Perfect for Meal Prep: You can make the chicken filling in advance, which makes assembly even faster when you’re ready to eat.
Ingredients for Your Cheesy Garlic Chicken Wraps
To whip up these fantastic wraps, you will only need a few straightforward, readily available ingredients. We’re firm believers that the finest meals start with quality produce, so we suggest using fresh ingredients whenever possible. Here is the list of what you’ll need:
- For the Chicken:
- 2 large chicken breasts (about 500g), cut into bite-sized pieces
- 1 tsp paprika
- 1 tsp garlic powder
- 1/2 tsp onion powder
- 1/2 tsp dried oregano
- Salt and freshly ground black pepper to taste
- 1 tbsp olive oil
- For the Garlic Butter Sauce:
- 4 tbsp unsalted butter
- 4-5 cloves of garlic, minced
- 1 tbsp fresh parsley, finely chopped
- For Assembly:
- 4 large flour tortillas
- 150g grated mozzarella cheese
- 100g grated mature cheddar cheese
Step-by-Step Instructions to Create Perfection
Ready to create something wonderful? We have outlined this garlic chicken recipe in clear, simple steps. Rest assured, we will be with you every step of the way.
1. Prepare and Cook the Chicken
- Place your bite-sized chicken pieces into a medium-sized bowl. Sprinkle over the paprika, garlic powder, onion powder, oregano, salt, and pepper. Give it all a good mix until the chicken is thoroughly coated in the lovely spices.
- Warm the olive oil in a large frying pan over a medium-high heat. When the oil begins to shimmer, gently place the seasoned chicken into the pan, ensuring it forms a single layer.
- Fry the chicken for approximately 6-8 minutes, turning the pieces from time to time, until they are beautifully golden-brown and cooked through. Once done, take the chicken out of the pan and set it to one side on a plate.
2. Create the Luscious Garlic Butter Sauce
- Using the very same pan (don’t clean it – those little browned bits are packed with flavour!), turn the heat down to low-medium. Add the unsalted butter and allow it to melt entirely.
- Add your minced garlic to the melted butter and cook for 1-2 minutes, stirring all the while. The goal is for the garlic to become aromatic without browning or burning, which can make it taste bitter.
- Mix in the finely chopped fresh parsley. Now, return the cooked chicken to the pan and toss it through the garlic butter sauce until each piece is wonderfully coated. Switch off the heat.
3. Assemble and Toast Your Ooey-Gooey Cheesy Garlic Chicken Wraps
- Place a flour tortilla onto a clean, flat work surface. Scatter a generous amount of both mozzarella and cheddar cheese down the middle of the tortilla.
- Arrange roughly a quarter of the garlic butter chicken mixture over the cheese.
- First, fold in the sides of the tortilla, then roll it up tightly from the bottom to form a neat, secure parcel, similar to a burrito. Do the same for the other three tortillas.
- Give the pan a quick wipe and put it back over a medium heat. You can add a small knob of butter or a splash of oil if you like, but it is not usually needed.
- Gently place the wraps into the hot pan with the seam facing down. Toast for 2-3 minutes on each side, until they are crisp and golden-brown, and the cheese inside has transformed into a glorious, molten river of tastiness.
- Take the wraps out of the pan, cut them in half at an angle (for that smart, café-style look!), and serve straight away while they are still piping hot and cheesy.
Pro Tips for the Perfect Wrap
Looking to elevate your wraps from simply great to truly exceptional? We have a few handy tips to help you master the perfect wrap, every single time.
Choosing the Best Cheese
Although we are partial to the classic mozzarella and cheddar pairing, don’t hesitate to experiment! Provolone melts beautifully, while a little Monterey Jack can lend a delightful, mild creaminess. For a bit of a kick, why not try a pepper jack cheese?
Getting the Perfect Toast
For an exceptionally crisp finish, you can lightly brush the outside of your wraps with some melted butter before toasting them in the pan. This encourages a lovely golden colour and adds an extra dimension of flavour. A panini press or contact grill is also wonderful for creating those perfect grill lines and an even toast.
Don’t Overcrowd the Pan
When you’re frying the chicken, ensure it sits in a single layer in the pan. If the pan is too crowded, the chicken will steam instead of searing, and you won’t get those wonderful caramelised, brown morsels that add such depth of flavour. If your pan isn’t big enough, cook the chicken in batches.
Variations and Customisations
One of the finest qualities of these homemade wraps is their brilliant versatility. Here are a few suggestions for changing things up a bit:
- Add Veggies: Sautéed bell peppers, onions, or mushrooms are a marvellous addition. Simply cook them after the chicken and before making the sauce, then combine everything.
- Make it Spicy: For those who enjoy a bit of spice, add a pinch of red pepper flakes into the garlic butter sauce or tuck a few slices of fresh jalapeño inside the wrap.
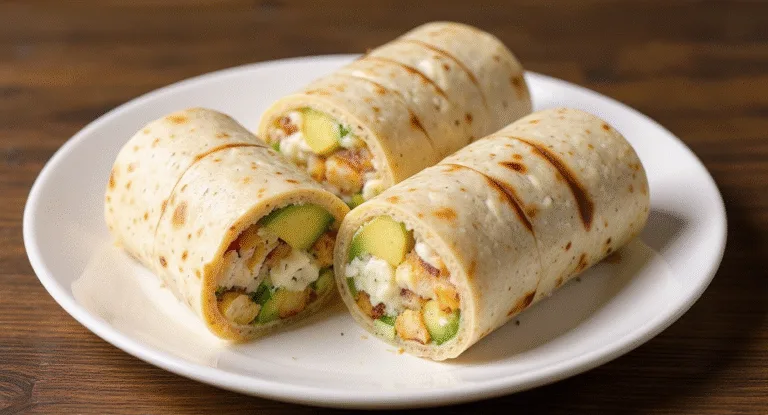
- Creamy Dream: Stir a couple of tablespoons of cream cheese or soured cream into the chicken mixture right at the end for an especially creamy, tangy result. If you love creamy chicken dishes, you should also try our recipe for The Ultimate Easy Creamy Chicken Tortilla Wraps.
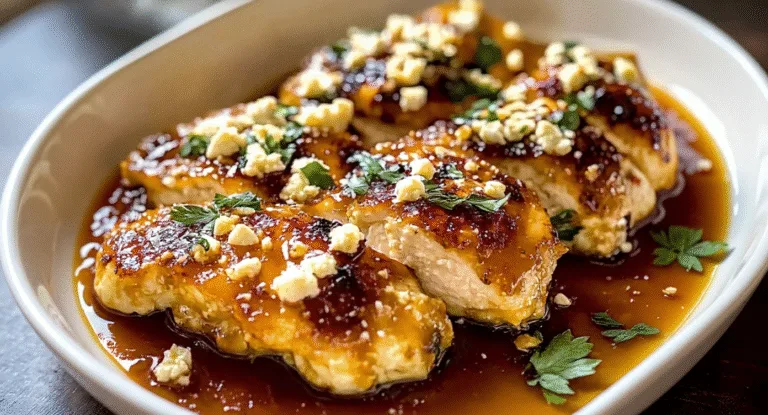
- Different Protein: This recipe is also wonderful with leftover roast chicken, shredded rotisserie chicken, or even strips of steak! If you’re a fan of garlic and chicken in other forms, our The Ultimate Garlic Butter Chicken Parmesan Pasta Recipe is another must-try.
Storage and Reheating Instructions
Although these wraps are at their best when eaten fresh from the pan, any leftovers are still remarkably delicious. To store them, let the wraps cool down completely first. Then, wrap each one individually in tin foil or cling film and pop them into an airtight container in the fridge, where they will keep for up to 3 days.
When it comes to reheating, we suggest you steer clear of the microwave, as this can make the tortilla go a bit soggy. Instead, warm the wraps in a dry frying pan over a medium-low heat for a couple of minutes on each side. Alternatively, place them in an air fryer or an oven preheated to 180°C (160°C Fan) for 5-10 minutes, until they are heated through and crisp once more. For more detailed guidance on food safety, the NHS offers excellent advice on how to store food and leftovers safely.
Frequently Asked Questions (FAQs)
Can I make these cheesy garlic chicken wraps ahead of time?
Of course! You can make the garlic chicken filling up to two days ahead of time. Just store it in an airtight container in the refrigerator. When you’re ready to serve, all you need to do is assemble the wraps with the cheese and toast them. This makes it an even speedier quick weeknight meal.
Can I use leftover or rotisserie chicken?
Yes, this is a brilliant method for using up leftover cooked chicken. Just shred or chop about 500g of cooked chicken, then gently heat it through in the lovely garlic butter sauce before you build your wraps. It’s a wonderful time-saver.
Are these wraps freezer-friendly?
In our experience, the texture of the tortilla can be altered after freezing and defrosting. You can, however, freeze the cooked chicken filling itself. Allow it to cool completely before placing it in a freezer-safe bag or container, where it will keep for up to 3 months. Defrost it in the fridge overnight before you plan to use it.
What are the best tortillas to use for these easy chicken wraps?
We suggest using large, burrito-style flour tortillas because they are soft and flexible, which makes them easy to roll without splitting. For a healthier option, you could also use wholemeal tortillas.
Conclusion: Your New Go-To Comfort Meal
So, there we are – a straightforward, dependable, and truly indulgent recipe for easy chicken wraps that is sure to capture hearts and delight the senses. The wonderful marriage of garlic butter, tender chicken, and a lavish amount of melted cheese results in a meal that feels special enough for an occasion, yet is simple enough for any weeknight.
We do hope you’ll head to the kitchen and give this recipe a go. It’s about more than just a meal; it’s about making moments of pure comfort and joy to share at the dinner table. When you do make these Ooey-Gooey Cheesy Garlic Chicken Wraps, please do let us know how you got on! Share your thoughts in the comments section below, or tag us in your pictures on social media. Happy cooking!


One Comment
Comments are closed.