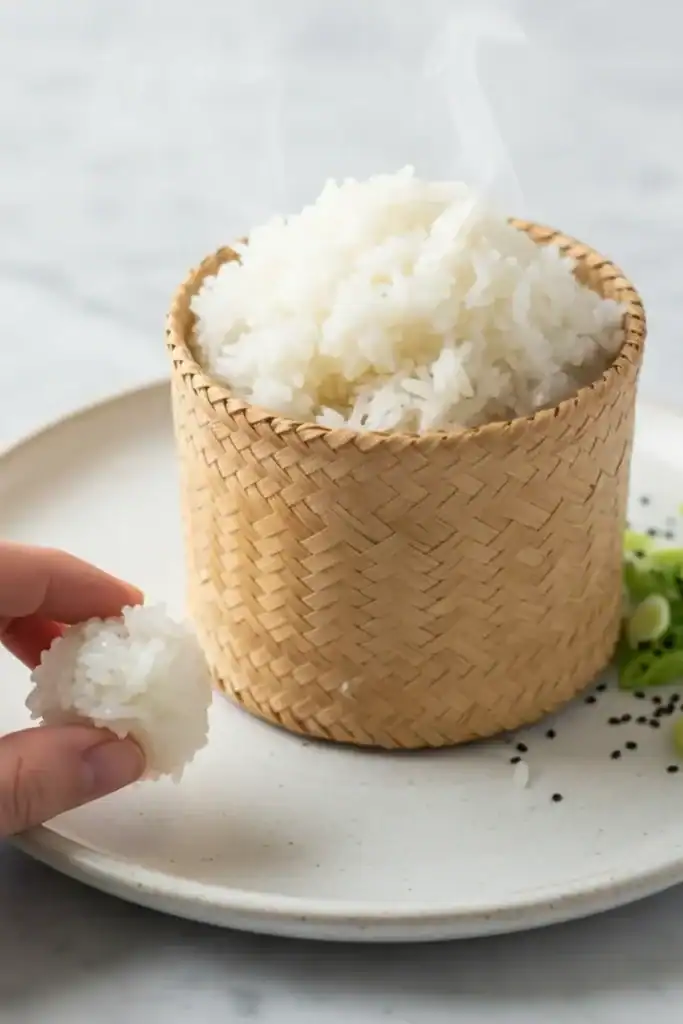
Instant Pot Sticky Rice Easy Side

There is something genuinely magical about a bowl of proper sticky rice. It’s not just a side dish; it’s a texture, a comfort, and the foundation for so many wonderful Southeast Asian meals. For years, I thought achieving that perfect, chewy, and slightly sweet glutinous rice was a skill reserved for restaurants with special bamboo steamers. Then I discovered the Instant Pot method, and it completely changed my approach. I’ve been making this for over 4 years, and it never disappoints.
This Instant Pot Sticky Rice recipe delivers that authentic texture we all love—where the individual grains cling together lovingly but don’t turn into a solid, mushy block. It’s wonderfully toothsome and has a subtle, clean flavour that makes it the ideal companion for savoury, spicy, or sweet dishes. We’re not just boiling rice here; we’re using the controlled pressure of the Instant Pot to steam the grains to perfection with a minimal amount of water.
It’s a foundational recipe that works beautifully for a family meal during the week, accompanying a fragrant curry, or forming the base of a delightful dessert like mango sticky rice. If you’ve ever wanted to master this staple at home, this straightforward method is your key to success, turning a specialist dish into an accessible part of your cooking repertoire.
Recipe Overview
This recipe focuses on getting the texture of the glutinous rice just right using the precision of the Instant Pot. The key is a proper soak followed by a very specific cook time and pressure release. After testing this recipe five times, I finally got it just right—the rice is steamed perfectly, resulting in a wonderfully chewy and satisfying side dish. It’s the ideal base for both savoury and sweet pairings.
- Prep Time: 35 minutes (includes 30 minutes soaking)
- Cook Time: 18 minutes
- Total Time: 53 minutes
- Servings: 4-6 people
- Difficulty: Easy
Why You’ll Love This Instant Pot Sticky Rice
- Authentic Texture: This method produces genuinely chewy and glutinous rice that holds its shape, rather than becoming mushy. It’s the perfect consistency for eating with your hands or chopsticks.
- Comes Together in Under an Hour: While the rice soaks, you can prepare the rest of your meal. The hands-on time is minimal, with the Instant Pot doing all the heavy lifting.
- A Versatile Base: This sticky rice is a brilliant blank canvas. Serve it alongside my Black Pepper Chicken for a savoury feast, or drizzle it with sweetened coconut milk for a classic dessert.
- Ideal for Meal Prep: While best fresh, this rice reheats surprisingly well. It’s great for making a batch at the beginning of the week to accompany various meals, from curries to grilled meats.
- Family Tested: Everyone in my house adores this. My kids especially love it when I turn it into a simple dessert with fresh mango slices and a drizzle of coconut cream. It always gets compliments.
Ingredients You’ll Need
The star of the show is, of course, the rice itself. It’s crucial to use the correct type. You are looking for rice labelled “glutinous rice,” “sweet rice,” or sometimes “Thai sticky rice.” Do not substitute with jasmine, basmati, or sushi rice, as they lack the high amylopectin starch content needed for that classic sticky texture. I often use the Aroy-D brand, which is widely available in Asian supermarkets and online.
- 400g glutinous rice (sweet rice)
- 475ml cold water, for soaking
- 240ml fresh cold water, for cooking
- ½ tsp salt
Sara’s Tip: Don’t skip the rinsing step! Rinsing the rice until the water runs clear removes excess surface starch. This is what prevents the rice from becoming a single, gluey lump and instead allows the individual grains to remain distinct yet sticky.
How to Make Instant Pot Sticky Rice
The process is very straightforward, but the timings are important. By following these steps, you’ll let the Instant Pot create the perfect steamy environment for beautifully cooked glutinous rice. We’ll be using a trivet to elevate the rice, allowing it to steam rather than boil.
- Rinse the Rice: Place the 400g of glutinous rice in a large bowl. Cover with cold water, swish it around with your hands, and carefully pour off the cloudy water. Repeat this process 4-5 times, until the water is mostly clear.
- Soak the Rice: After the final rinse, drain the rice thoroughly. Cover it with 475ml of fresh cold water and let it soak for at least 30 minutes, or up to 4 hours. This step is essential for an even cook.
- Prepare the Pot: Once soaked, drain the rice completely using a fine-mesh sieve. Shake it well to remove as much water as possible. Pour the 240ml of fresh cooking water into the inner pot of your Instant Pot and place the metal trivet inside.
- Add the Rice: Place the drained rice into any heatproof dish that fits inside your Instant Pot on top of the trivet (a metal or glass bowl, or a cake tin works well). Sprinkle the ½ tsp of salt over the rice. Do not stir.
- Pressure Cook: Secure the lid on the Instant Pot, ensuring the steam release valve is set to ‘Sealing’. Select the ‘Pressure Cook’ (or ‘Manual’) setting and set the timer for 8 minutes on High Pressure.
- Natural Release: Once the 8 minutes are up, let the pressure release naturally for 10 minutes. The screen will show “L0:10” when it’s done. I find this resting period is crucial for the final texture.
- Vent and Serve: After 10 minutes of natural release, carefully move the valve to ‘Venting’ to release any remaining steam. Once the pin drops, open the lid. Carefully lift out the dish of rice. Use a rice paddle or fork to gently fluff the rice and serve it warm.
Tips From My Kitchen
- Respect the Ratio: The water-to-rice ratio for cooking in the Instant Pot is very different from stovetop methods. The 240ml of water in the bottom of the pot creates the steam; the moisture absorbed during the soak is what cooks the rice itself. Don’t be tempted to add more water to the rice dish.
- The Secret Step: Soaking is the single most important step. I learned that skipping the soak results in rice that’s unevenly cooked, with some grains remaining hard in the centre. The soak allows the grains to hydrate thoroughly before cooking. For a deeper dive into the science, Serious Eats has a great explanation of how hydration impacts cooking grains.
- Make-Ahead: Sticky rice is at its textural best when served fresh and warm. However, you can certainly cook it a day in advance. Let it cool completely before storing.
- Storage: Store leftover sticky rice in an airtight container in the refrigerator for up to 3 days. To reheat, place it in a microwave-safe bowl, cover with a damp paper towel, and heat in 30-second intervals until soft and steaming. The moisture from the paper towel helps it regain its pleasant chewiness.
Delicious Variations to Try
While this plain sticky rice is wonderful on its own, it’s also fun to adapt. Here are a few ideas we enjoy at home:
- Sweet Coconut Version: To make a base for mango sticky rice, prepare the recipe as directed. While it cooks, gently heat 120ml of full-fat coconut milk with 2 tablespoons of sugar and a pinch of salt until the sugar dissolves. Once the rice is cooked and fluffed, gently fold in the warm coconut milk mixture. Let it sit for 10 minutes to absorb before serving.
- Savoury Garlic & Herb: After fluffing the cooked rice, gently fold in 1 tablespoon of melted butter, 1 minced garlic clove (sautéed first for a milder flavour), and 2 tablespoons of finely chopped fresh coriander or chives. This makes a fantastic side for grilled fish or chicken.
- Pandan Infusion: If you can find pandan leaves (fresh or frozen) at an Asian market, tie one or two into a knot and place them in the water at the bottom of the Instant Pot. The steam will infuse the rice with a beautiful, fragrant aroma reminiscent of vanilla and coconut.
What to Serve With Instant Pot Sticky Rice
This rice is an incredibly versatile side that pairs beautifully with many dishes, especially those from Southeast Asian cuisines.
- Thai Curries: Its neutral flavour and firm texture are ideal for soaking up the rich, complex sauces of green, red, or Panang curries.
- Grilled Meats: Serve alongside grilled chicken satay with peanut sauce or my tangy Lemon Garlic Chicken. The rice provides a lovely, mild contrast.
- Mango Sticky Rice: For a classic dessert, serve a portion of the warm sticky rice (the sweet coconut version is best here) with slices of fresh, ripe mango and a drizzle of sweetened coconut cream.
- Drink Pairing: A crisp, cold lager like a Singha or Chang beer cuts through the richness of accompanying curries. For a non-alcoholic option, a tall glass of Thai iced tea is a brilliant choice.
Frequently Asked Questions
Instant Pot Sticky Rice
Ingredients
Method
- Rinse the Rice: Place the 400g of glutinous rice in a large bowl. Cover with cold water, swish it around with your hands, and carefully pour off the cloudy water. Repeat this process 4-5 times, until the water is mostly clear.
- Soak the Rice: After the final rinse, drain the rice thoroughly. Cover it with 475ml of fresh cold water and let it soak for at least 30 minutes, or up to 4 hours. This step is essential for an even cook.
- Prepare the Pot: Once soaked, drain the rice completely using a fine-mesh sieve. Shake it well to remove as much water as possible. Pour the 240ml of fresh cooking water into the inner pot of your Instant Pot and place the metal trivet inside.
- Add the Rice: Place the drained rice into any heatproof dish that fits inside your Instant Pot on top of the trivet (a metal or glass bowl, or a cake tin works well). Sprinkle the ½ tsp of salt over the rice. Do not stir.
- Pressure Cook: Secure the lid on the Instant Pot, ensuring the steam release valve is set to 'Sealing'. Select the 'Pressure Cook' (or 'Manual') setting and set the timer for 8 minutes on High Pressure.
- Natural Release: Once the 8 minutes are up, let the pressure release naturally for 10 minutes. The screen will show "L0:10" when it's done. I find this resting period is crucial for the final texture.
- Vent and Serve: After 10 minutes of natural release, carefully move the valve to 'Venting' to release any remaining steam. Once the pin drops, open the lid. Carefully lift out the dish of rice. Use a rice paddle or fork to gently fluff the rice and serve it warm.
Notes
I truly hope this Instant Pot method helps you fall in love with making sticky rice at home. It’s such a satisfying and versatile side dish that elevates any meal it accompanies. Once you’ve mastered the basic technique, you’ll find yourself making it all the time.
If you give this recipe a go, please let me know how it turned out in the comments below. I love hearing about your kitchen adventures!
Happy cooking,
Sara Gomez
Similar Posts
Crispy Lemon Pepper Chicken Sandwich
Discover the ultimate flavor explosion in our crispy lemon pepper chicken sandwich. Packed with juicy chicken, tangy lemon, and a perfect pepper kick, this sandwich is a must-try for your next meal.
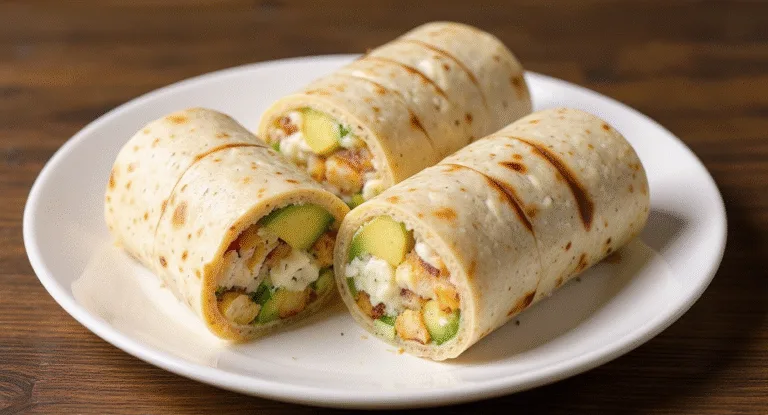
chicken avocado burritos – Delicious & Easy!
Discover the ultimate flavor fusion in our mouthwatering chicken avocado burritos recipe. Packed with fresh ingredients, this easy-to-make dish is a lunch game-changer. Click now to learn more!
Thai Peanut Chicken Wraps
Elevate your meal with our delectable Thai Peanut Chicken Wraps recipe. Packed with bold flavors, these wraps are a perfect balance of crunch and creaminess. Click to learn how to make this irresistible dish!
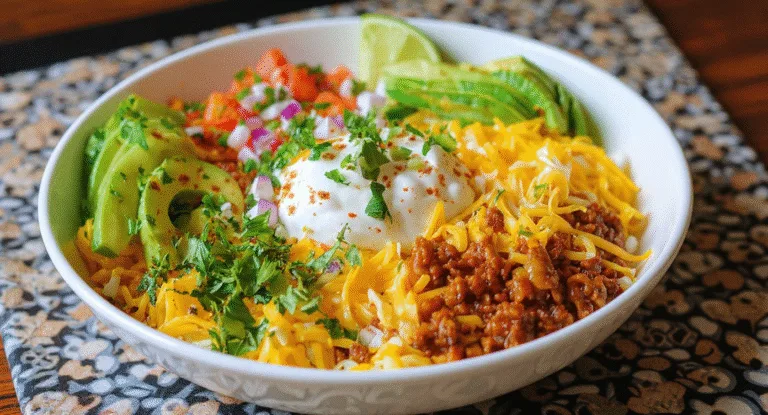
Easy Taco Rice Bowl – Quick and Healthy Dinner Idea
Discover the secret to a quick, healthy taco rice bowl dinner that’s packed with flavor. This easy recipe is perfect for busy weeknights. Get the details now!
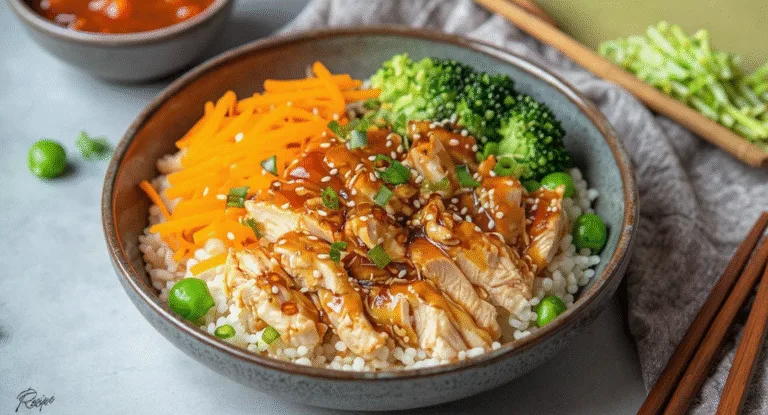
Teriyaki Chicken Rice Bowl
Discover the secret to a delicious and easy-to-make Teriyaki Chicken Rice Bowl from CookTune. This flavorful dish is perfect for a quick and satisfying meal. Click now to learn more!
Smashburger Quesadillas – Mini Smashburger Quesadillas – Mini Kitchen Magic for the Perfect Mealmagic
Discover the secret to creating delicious Smashburger Quesadillas in your own kitchen. Unlock the mini kitchen magic and impress your friends with this easy-to-follow recipe.