Honey Garlic Shrimp Recipe
Are you on the hunt for a dinner that ticks all the boxes? We’re talking lightning-fast, bursting with incredible flavour, and elegant enough for a special occasion, yet simple enough for a Tuesday night. If that sounds like your kind of meal, then you’ve come to the right place. Let us introduce you to a dish that has become a firm favourite in our kitchen: the sensational Honey Garlic Shrimp. It’s a high-protein, wonderfully satisfying seafood dish that never fails to impress.
This isn’t just another shrimp recipe. It’s a symphony of sweet, savoury, and garlicky notes, all clinging to perfectly cooked, plump shrimp. The sauce is the star of the show – a glossy, sticky glaze that’s so delicious you’ll want to mop up every last drop with a piece of crusty bread or a spoonful of fluffy rice. It’s the kind of sauce that makes you close your eyes for a moment just to savour the taste.
Who is this recipe for? It’s for busy parents needing a quick family dinner, for couples wanting a romantic meal without the fuss, and for anyone who loves seafood and bold flavours. Whether you’re a seasoned pro in the kitchen or just starting your culinary journey, this recipe is wonderfully straightforward and guarantees a spectacular result every single time. Get ready to add a new go-to meal to your weekly rotation!
Recipe Overview
This Honey Garlic Shrimp Recipe is a modern classic, drawing inspiration from Asian-style stir-fry dishes where sweet and savoury elements are balanced to perfection. The flavour profile is dominated by the richness of honey and the pungent, aromatic kick of fresh garlic, all brought together with the umami depth of soy sauce. It’s an incredibly simple dish to master, making it perfect for beginners. You can expect tender, juicy shrimp coated in a luxuriously thick and sticky glaze that’s utterly addictive.
- Prep Time: 10 minutes
- Cook Time: 10 minutes
- Total Time: 20 minutes
- Servings: 4 people
- Difficulty: Easy
Why You’ll Love This Honey Garlic Shrimp Recipe
- Incredible Flavour: The magic is in the sauce. It’s a perfect harmony of sweet runny honey, sharp, fresh garlic, salty soy sauce, and a touch of acidity that makes every bite an explosion of taste.
- Quick & Easy: This entire meal comes together in under 20 minutes. It’s the ultimate solution for those hectic weeknights when you crave something wholesome and delicious but are short on time. A truly fantastic quick dinner.
- Versatile Protein: Shrimp is a brilliant source of lean protein. This dish can be served in so many ways – over rice, with noodles, tossed into a salad, or even as a delightful appetiser. The possibilities are endless. You can even use the sauce idea for other proteins, similar to what we do in our Sticky Chicken Rice Bowls.
- Perfect For Any Occasion: It’s sophisticated enough to serve to guests at a dinner party but easy enough to whip up for a casual family meal. It’s a recipe that effortlessly bridges the gap between everyday and special.
- A Guaranteed Crowd-Pleaser: Let’s be honest, who can resist sticky, glazed shrimp? The sweet and savoury combination is a universal favourite, loved by adults and children alike. It’s a surefire way to get empty plates and happy faces all around the table.
Ingredients You’ll Need
For the best results, we recommend using good quality ingredients. Fresh, raw king prawns (shrimp) will give you the plumpest, most succulent texture, but good quality frozen ones work perfectly well too – just ensure they are fully thawed and patted dry.
- 450g raw king prawns (shrimp), peeled and deveined
- 1 tablespoon olive oil
- 2 tablespoons unsalted butter
- 6 cloves garlic, finely minced
- 80ml honey (a runny variety works best)
- 60ml low-sodium soy sauce (or tamari for gluten-free)
- 1 tablespoon rice vinegar
- 1 teaspoon cornflour
- 1 tablespoon water
- ¼ teaspoon red pepper flakes (optional, for a little heat)
- Freshly ground black pepper, to taste
- 1 spring onion, finely sliced, for garnish
- 1 teaspoon toasted sesame seeds, for garnish
Pro Tip: For an even deeper flavour, use both olive oil and butter. The oil has a higher smoke point for searing the shrimp, while the butter adds a rich, nutty taste to the sauce.
How to Make Honey Garlic Shrimp Recipe
The cooking process for this seafood dish is wonderfully quick. The key is to have all your ingredients prepped and ready to go before you even turn on the heat, as things move very fast once the shrimp hit the pan.
- Prepare the Sauce: In a small bowl or jug, whisk together the honey, soy sauce, minced garlic, and rice vinegar. In a separate tiny bowl, mix the cornflour with 1 tablespoon of cold water to create a slurry. Set both aside.
- Prepare the Shrimp: Ensure your shrimp are peeled, deveined, and most importantly, thoroughly dry. Pat them with a paper towel to remove any excess moisture. This is a critical step for getting a beautiful sear. According to food science experts at Serious Eats, a dry surface is essential for the Maillard reaction, which creates that delicious browning and flavour. Season the shrimp lightly with black pepper.
- Sear the Shrimp: Place a large frying pan or skillet over a medium-high heat. Add the olive oil and butter. Once the butter has melted and is sizzling, add the shrimp to the pan in a single layer. Be careful not to overcrowd the pan; cook in two batches if necessary.
- Cook Until Pink: Cook the shrimp for 1-2 minutes on each side. You’re looking for them to turn pink and opaque with a few golden-brown spots. Don’t overcook them at this stage, as they will cook a little more in the sauce.
- Remove the Shrimp: Once seared, use a slotted spoon to remove the shrimp from the pan and set them aside on a plate. This prevents them from becoming tough and rubbery.
- Create the Sauce: Reduce the heat to medium-low. Pour the honey-garlic-soy sauce mixture into the pan. Let it bubble gently for 1-2 minutes, scraping up any delicious browned bits from the bottom of the pan with a wooden spoon. The garlic will become incredibly fragrant.
- Thicken the Glaze: Give your cornflour slurry a quick re-stir and pour it into the sauce. Continue to simmer, stirring constantly, for another 1-2 minutes until the sauce has thickened to a beautiful, glossy glaze that coats the back of a spoon.
- Combine and Serve: Return the cooked shrimp to the pan. Add the optional red pepper flakes if you like a little heat. Toss everything together for about 30 seconds, ensuring every single shrimp is generously coated in the sticky sauce.
- Garnish and Enjoy: Immediately remove the pan from the heat. Transfer your Honey Garlic Shrimp to a serving platter, garnish with sliced spring onions and toasted sesame seeds, and serve hot.
Expert Tips for Perfect Results
- Temperature Matters: Once you add the sauce to the pan, keep the heat on medium-low. Honey and garlic can burn very quickly over high heat, which will make the sauce bitter. A gentle simmer is all you need.
- Don’t Overcook the Shrimp: This is the golden rule of cooking shrimp. They cook in a matter of minutes. The moment they curl into a ‘C’ shape and turn pink, they’re done. Overcooked shrimp are tough and chewy, so watch them closely.
- Make It Ahead: While the shrimp are best cooked fresh, you can prepare the sauce mixture up to 3 days in advance. Store it in an airtight jar in the refrigerator. This makes the final cooking process even faster!
- Storage: Store any leftovers in an airtight container in the refrigerator. As recommended by the Food Standards Agency, cooked seafood should be consumed within 2 days. Reheat gently in a pan over a low heat or in the microwave until just warmed through.
Delicious Variations to Try
One of the best things about this recipe is how easily it can be adapted. Here are a few of our favourite ways to customise it:
- Spicy Honey Garlic Shrimp: For those who love heat, add 1-2 teaspoons of sriracha or your favourite hot sauce to the sauce mixture. You can also increase the amount of red pepper flakes.
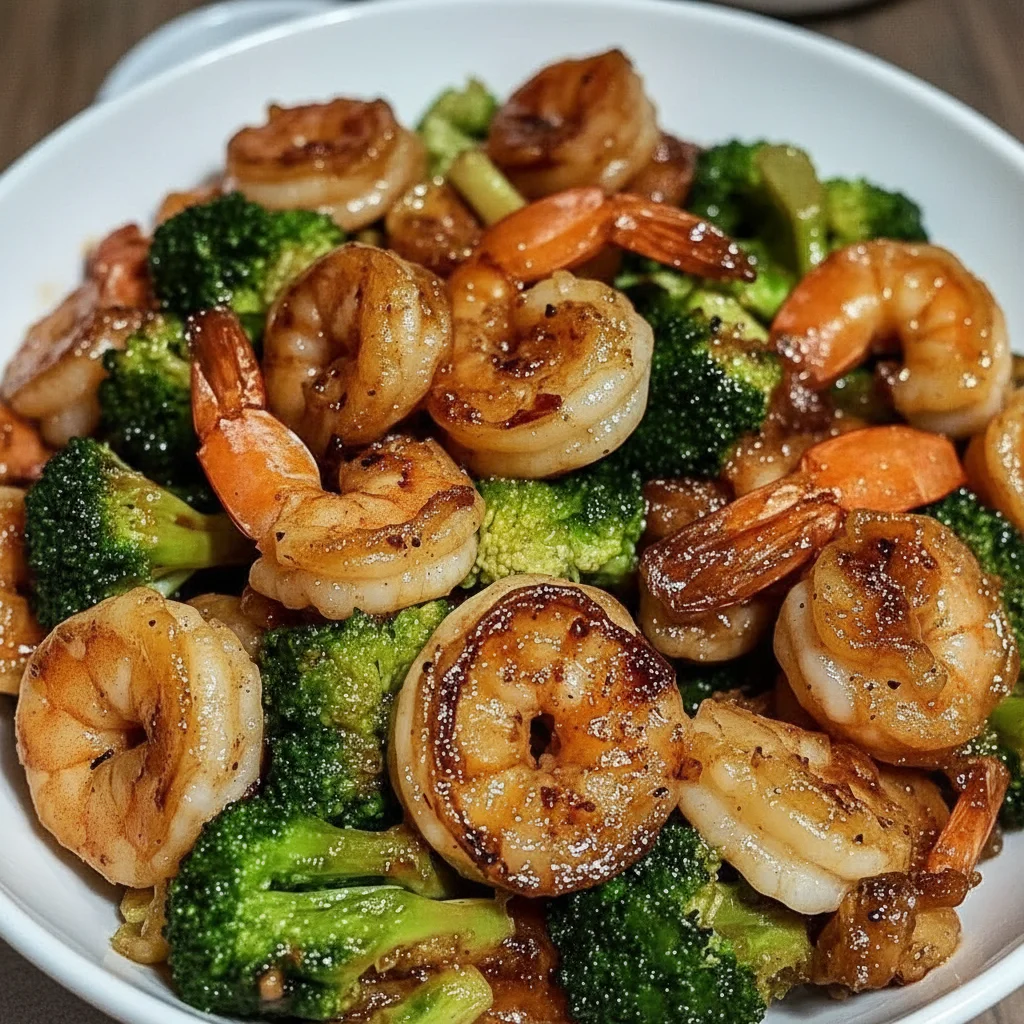
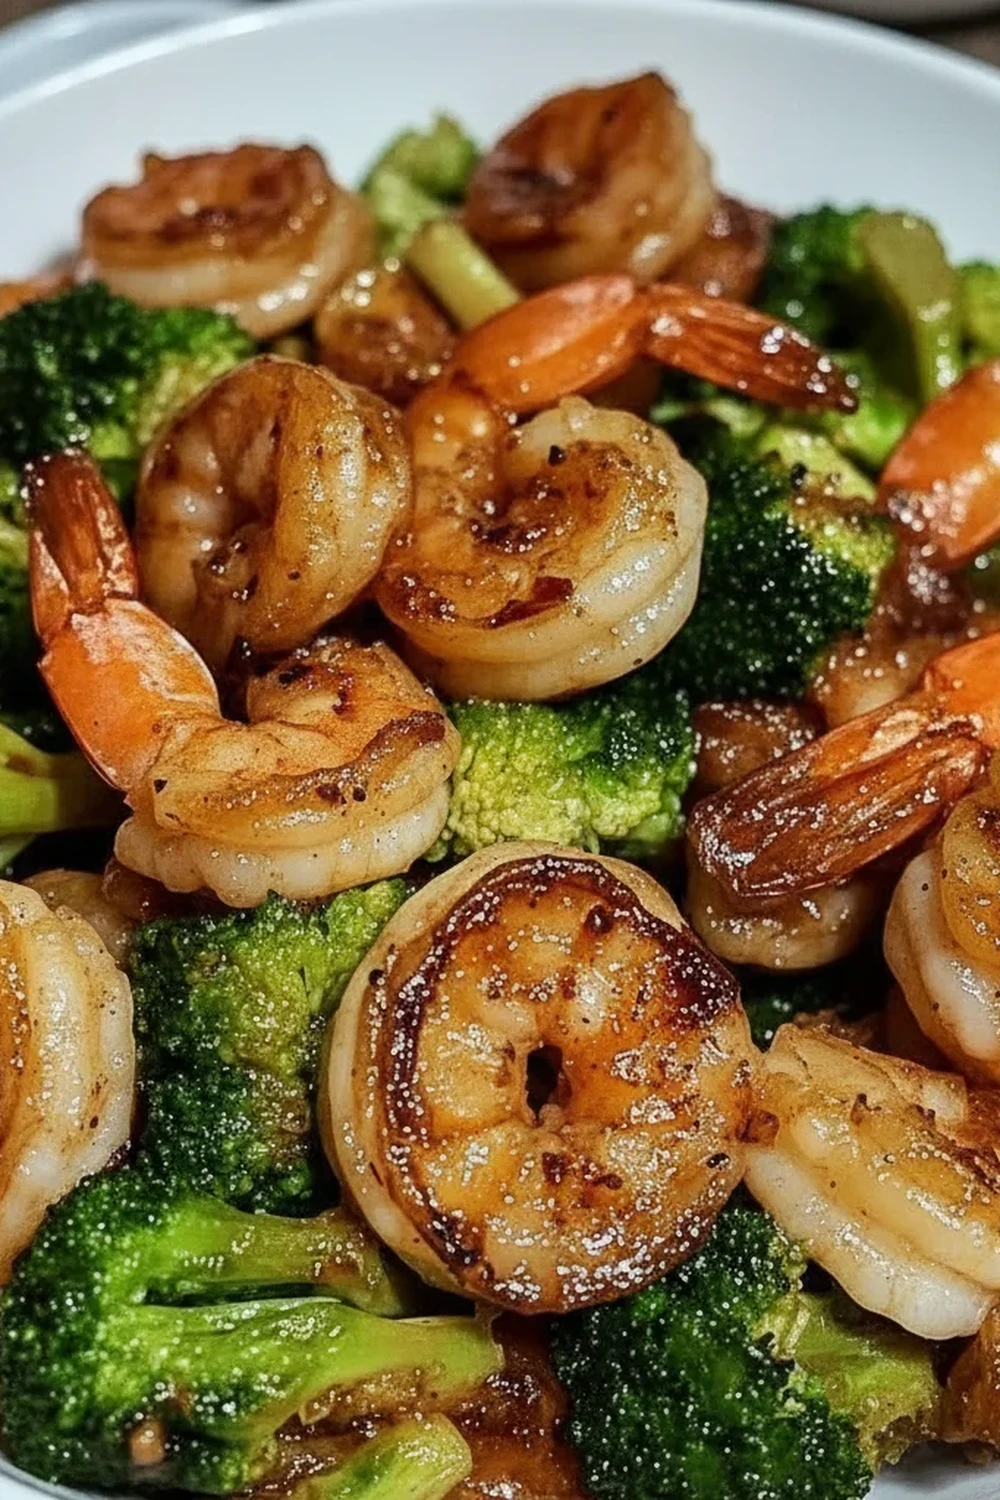
- Add Some Veggies: Make it a complete one-pan meal by adding some quick-cooking vegetables. Stir-fry some chopped broccoli florets, sliced bell peppers, or asparagus spears in the pan before adding the sauce.
- Make it Lemony: For a brighter, zesty flavour, add a tablespoon of fresh lemon juice and some lemon zest to the sauce at the very end. This cuts through the sweetness of the honey beautifully, similar to the fresh flavours in our Lemon Garlic Chicken recipe.
What to Serve With Honey Garlic Shrimp Recipe
This versatile seafood dish pairs wonderfully with a variety of sides that complement its sweet and savoury flavours.
- Fluffy Rice: Steamed jasmine or basmati rice is the perfect vessel for soaking up every last bit of that incredible honey garlic sauce.
- Noodles: Toss the shrimp and sauce with cooked egg noodles or rice noodles for a satisfying stir-fry style meal.
- Steamed Greens: A side of steamed tenderstem broccoli, green beans, or bok choy provides a fresh, healthy crunch that balances the richness of the dish.
- Crisp White Wine: A glass of chilled Sauvignon Blanc or Pinot Grigio pairs beautifully, with its acidity cutting through the sweetness of the honey.
–
Frequently Asked Questions
Honey Garlic Shrimp Recipe
Ingredients
Method
- Prepare the Sauce: In a small bowl or jug, whisk together the honey, soy sauce, minced garlic, and rice vinegar. In a separate tiny bowl, mix the cornflour with 1 tablespoon of cold water to create a slurry. Set both aside.
- Prepare the Shrimp: Ensure your shrimp are peeled, deveined, and most importantly, thoroughly dry. Pat them with a paper towel to remove any excess moisture. This is a critical step for getting a beautiful sear. According to food science experts at Serious Eats, a dry surface is essential for the Maillard reaction, which creates that delicious browning and flavour. Season the shrimp lightly with black pepper.
- Sear the Shrimp: Place a large frying pan or skillet over a medium-high heat. Add the olive oil and butter. Once the butter has melted and is sizzling, add the shrimp to the pan in a single layer. Be careful not to overcrowd the pan; cook in two batches if necessary.
- Cook Until Pink: Cook the shrimp for 1-2 minutes on each side. You're looking for them to turn pink and opaque with a few golden-brown spots. Don't overcook them at this stage, as they will cook a little more in the sauce.
- Remove the Shrimp: Once seared, use a slotted spoon to remove the shrimp from the pan and set them aside on a plate. This prevents them from becoming tough and rubbery.
- Create the Sauce: Reduce the heat to medium-low. Pour the honey-garlic-soy sauce mixture into the pan. Let it bubble gently for 1-2 minutes, scraping up any delicious browned bits from the bottom of the pan with a wooden spoon. The garlic will become incredibly fragrant.
- Thicken the Glaze: Give your cornflour slurry a quick re-stir and pour it into the sauce. Continue to simmer, stirring constantly, for another 1-2 minutes until the sauce has thickened to a beautiful, glossy glaze that coats the back of a spoon.
- Combine and Serve: Return the cooked shrimp to the pan. Add the optional red pepper flakes if you like a little heat. Toss everything together for about 30 seconds, ensuring every single shrimp is generously coated in the sticky sauce.
- Garnish and Enjoy: Immediately remove the pan from the heat. Transfer your Honey Garlic Shrimp to a serving platter, garnish with sliced spring onions and toasted sesame seeds, and serve hot.
Notes
We are so excited for you to try this amazing Honey Garlic Shrimp Recipe. It’s a dish that proves you don’t need hours in the kitchen to create a truly memorable and delicious dinner. It’s fast, flavourful, and a fantastic way to enjoy healthy seafood protein. We’re confident it will become as much of a favourite in your home as it is in ours. Give it a go, and please let us know how you get on by leaving a comment below. Happy cooking!


