Homemade Pizza Dough Recipe Crust
There’s a unique kind of magic that happens when you pull a homemade pizza from your own oven. The aroma of freshly baked bread, melting cheese, and rich tomato sauce fills the kitchen, and it’s a smell that signals pure comfort and joy. Forget takeaways; creating your own pizza from scratch is one of the most rewarding kitchen projects you can tackle, and it all starts with the foundation: a truly magnificent pizza dough. This is the pizza dough recipe that transformed my Friday nights. I’ve been making this for over 3 years, and it never disappoints.
What makes this dough recipe stand out is its texture. It bakes into a crust that has that perfect balance we’re all looking for: a satisfyingly crisp base that gives way to a light, airy, and wonderfully chewy interior. It’s pliable and forgiving to work with, making it ideal for both beginners and seasoned bakers. You don’t need any special equipment, just a bowl, your hands, and a little bit of patience while the yeast does its thing.
This dough recipe is for anyone who loves authentic, flavourful pizza. It works beautifully for a family dinner where everyone gets to add their own toppings, or for a relaxed evening with friends. The simple, high-quality ingredients come together to create a base that’s so good, it could rival your favourite local pizzeria. It’s more than just a recipe; it’s an invitation to slow down and create something truly delicious together.
Recipe Overview
This recipe will guide you through creating a classic, versatile pizza dough that’s full of flavour and has a fantastic texture. We’ll be using a straightforward method to activate the yeast and develop the gluten through kneading, resulting in a dough that’s a delight to handle and shape. I’ve found that letting it rest for the full two hours gives the most flavourful and airy result, so it’s worth being patient!
- Prep Time: 20 minutes
- Rising Time: 1-2 hours
- Cook Time: 10-15 minutes (per pizza)
- Total Time: Approx. 2 hours 30 minutes
- Servings: 4 x 10-inch pizzas
- Difficulty: Medium
Why You’ll Love This Pizza Dough Recipe
- Authentic Pizzeria Flavour: This dough develops a subtle, tangy character from the yeast, creating a flavourful base that complements any topping without being bland. It’s the kind of taste you just don’t get from pre-made bases.
- Minimal Hands-On Time: While the total time seems long, the active, hands-on part is only about 20 minutes. The rest of the time, you can get on with your day while the dough magically transforms.
- Incredibly Versatile: This dough recipe is a brilliant all-rounder. Stretch it thin for a crispy base, keep it thicker for a fluffier crust, or even use it to make delicious garlic bread sticks or stuffed calzones.
- Great for Get-Togethers: It’s ideal for a ‘build-your-own’ pizza night. I love setting out bowls of toppings and letting everyone create their own masterpiece. It’s interactive and always gets compliments.
- Family Tested and Approved: My children adore getting their hands messy with this dough. It’s become a family favourite, and watching them proudly top their own little pizzas is just the best.
Ingredients You’ll Need
The beauty of a good dough recipe lies in its simplicity. You only need a handful of pantry staples, so it’s worth using the best quality you can find. I always use Caputo ’00’ flour when I can get my hands on it, as its fine milling creates an exceptionally soft dough, but a good strong white bread flour works wonderfully too.
- 500g ’00’ grade pizza flour (or strong white bread flour), plus extra for dusting
- 1 tsp fine sea salt
- 7g sachet of fast-action dried yeast
- 1 tsp caster sugar
- 325ml lukewarm water
- 2 tbsp extra virgin olive oil
Sara’s Tip: The temperature of your water is crucial. It should feel like a warm bath, around 38°C. If it’s too hot, it will kill the yeast, and if it’s too cold, the yeast won’t activate properly. This small detail makes a huge difference to your rise.
How to Make This Pizza Dough Recipe
This process is straightforward and methodical. We’ll activate the yeast, combine the ingredients, knead the dough to develop its structure, and then let it rise. Don’t be intimidated by the kneading; it’s a very satisfying process once you get into a rhythm.
- Activate the Yeast: In a jug, mix the fast-action yeast and caster sugar with the 325ml of lukewarm water. Give it a gentle stir and then set it aside for 5-10 minutes. You’ll know it’s ready when a light, creamy foam appears on the surface. This shows the yeast is alive and active.
- Combine Dry Ingredients: While the yeast is activating, place the 500g of flour and 1 tsp of salt into a large mixing bowl. Use a whisk to combine them thoroughly, which helps distribute the salt evenly.
- Bring it Together: Make a well in the centre of the flour. Pour in the frothy yeast mixture and the 2 tbsp of olive oil. Using a wooden spoon or your hands, gradually mix the flour into the liquid until a shaggy, sticky dough starts to form.
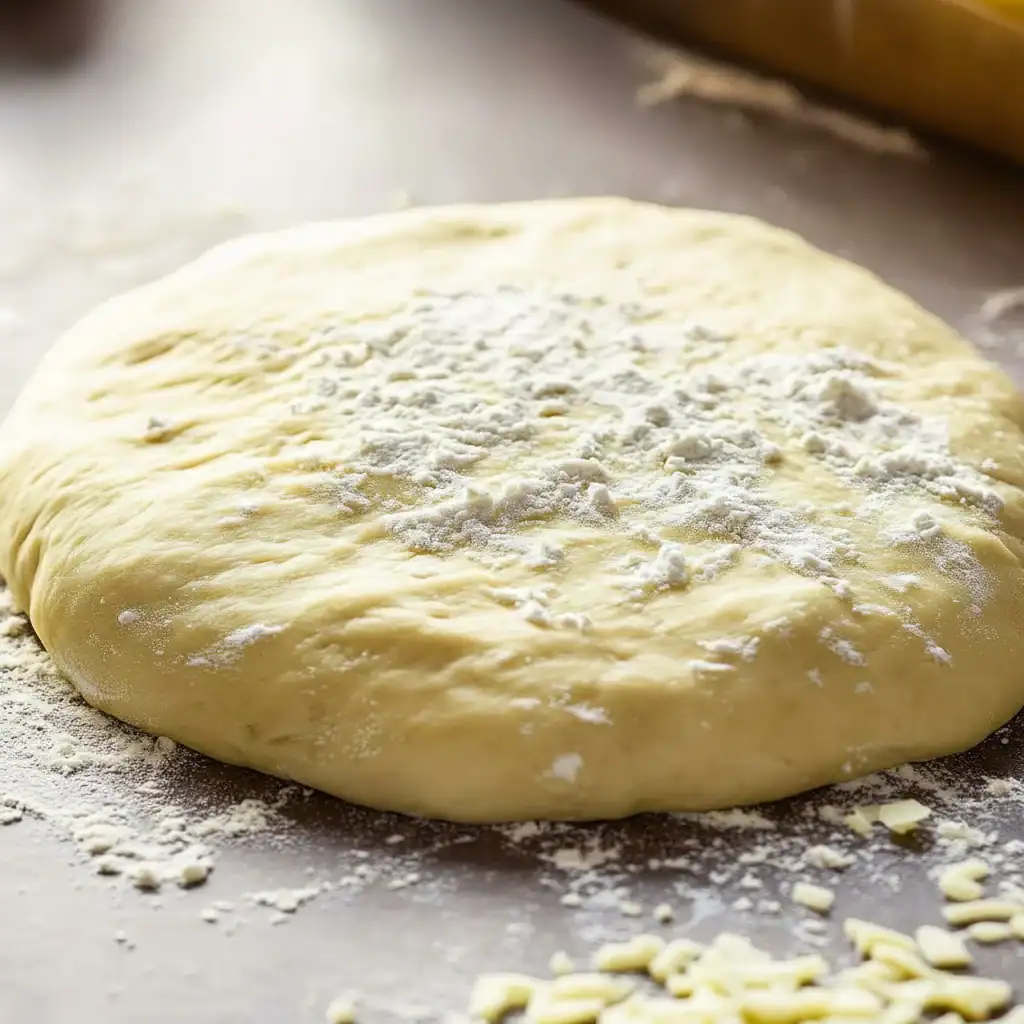
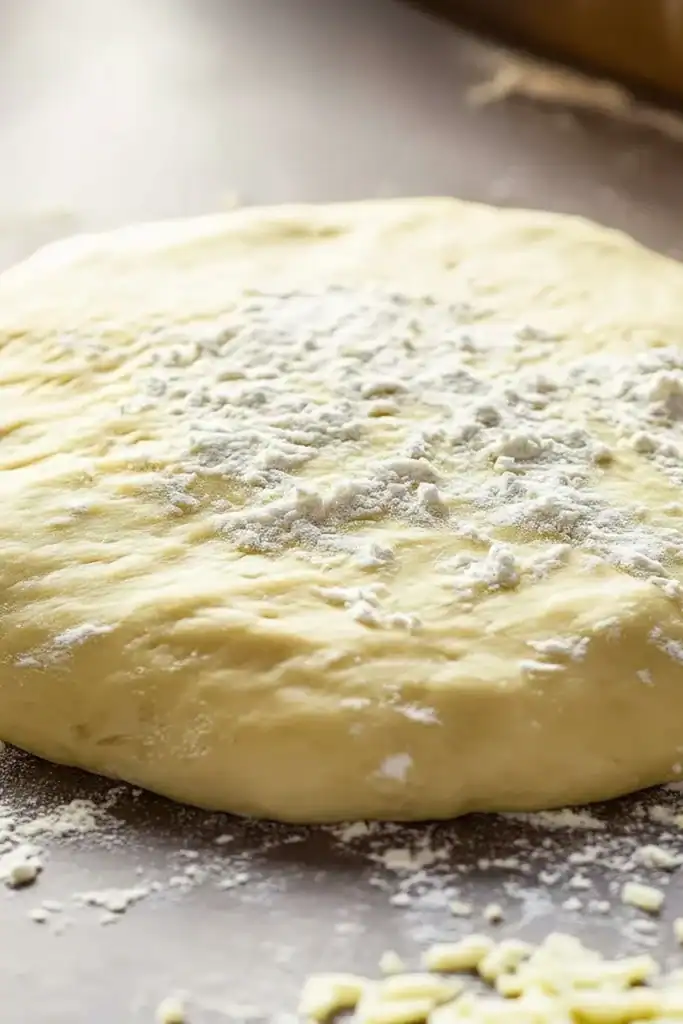
- Knead the Dough: Tip the dough out onto a lightly floured work surface. Now it’s time to knead. Knead for a solid 10 minutes. The dough will transform from sticky and rough to smooth, soft, and elastic. What works best for me is using the heel of my hand to push the dough away from me, then folding it back on itself and turning it slightly.
- The First Rise: Lightly oil the large mixing bowl you used earlier. Place the kneaded dough inside and turn it over once to coat it lightly in oil. Cover the bowl with a clean, damp tea towel or cling film. Leave it in a warm, draught-free spot to rise for 1-2 hours, or until it has doubled in size.
- Knock Back and Divide: Once the dough has doubled, gently press your fist into the centre of it. This ‘knocks back’ the air. Tip it back onto your floured surface and knead gently for a minute before dividing it into four equal pieces.
- The Second Rest: Shape each piece into a smooth ball. Place them on a floured tray, cover with the damp tea towel again, and let them rest for another 15-20 minutes. This lets the gluten relax, making the dough much easier to shape.
- Shape and Bake: Your dough is now ready! When you’re ready to bake, preheat your oven to its highest setting, typically 240°C (220°C fan), with a pizza stone or heavy baking tray inside. Gently stretch each dough ball into a rough circle using your hands, top with your favourite ingredients, and bake for 10-12 minutes until the crust is golden and the cheese is gloriously melty and bubbling.
Tips From My Kitchen
- Get Your Oven Hot: A domestic oven can’t reach the temperatures of a professional pizza oven, but you can get close by preheating it for at least 30-45 minutes at the highest setting with your baking stone or tray inside. This intense heat helps create that coveted crispy base.
- The Secret Step for Flavour: I learned that a slow, cold fermentation works wonders. After the first rise, you can place the dough (well-wrapped) in the fridge for up to 72 hours. This process, explained well on sites like Serious Eats, develops a much more complex and delicious flavour. Just bring it to room temperature for an hour before shaping.
- Make-Ahead Magic: You can prepare the dough up to step 6, then wrap each portion tightly in cling film and pop it in the fridge for up to 3 days. It’s perfect for planning ahead for a busy week. Our Lemon Garlic Chicken would make a brilliant topping!
- Freezing for Later: This dough freezes brilliantly. After dividing the dough into balls (step 7), lightly oil each one, wrap it individually in cling film, and place in a freezer bag. It will keep for up to 3 months. To use, simply thaw it overnight in the fridge.
Common Mistakes to Avoid
- Being Impatient with the Rise: Rushing the rising time is a common error. The yeast needs time to work, creating the air pockets that give the dough its light texture. If your room is cool, it may take longer than stated, so judge it by sight – it should genuinely double in volume.
- Using a Rolling Pin: It’s tempting to use a rolling pin to shape your base, but it presses out all the lovely air bubbles you’ve just spent hours cultivating. Always use your fingertips and knuckles to gently stretch the dough from the centre outwards, leaving a slightly thicker crust.
- Overloading with Toppings: Less is often more with pizza. A mountain of toppings, especially wet ones like fresh tomatoes or too much sauce, can lead to a soggy base that doesn’t cook through properly. Be restrained for a perfectly cooked result. If you’re looking for topping ideas, some of the flavours in our Black Pepper Chicken recipe could be an interesting experiment.
What to Serve With This Pizza Dough Recipe
Once you’ve baked your masterpiece, a few simple accompaniments are all you need to turn it into a fantastic meal.
- A Fresh Green Salad: A simple salad of rocket, cherry tomatoes, and parmesan shavings with a sharp vinaigrette cuts through the richness of the cheese and dough beautifully.
- Garlic and Herb Dip: Whisk together some mayonnaise, natural yoghurt, a crushed garlic clove, and finely chopped fresh parsley for a creamy dip that’s wonderful for dunking the crusts in.
- Wine or Beer Pairing: A light, crisp Italian white wine like a Pinot Grigio or a cold lager complements the pizza flavours wonderfully. For a non-alcoholic option, a sparkling elderflower pressé is lovely and refreshing.
Frequently Asked Questions
Pizza Dough Recipe
Ingredients
Method
- Activate the Yeast: In a jug, mix the fast-action yeast and caster sugar with the 325ml of lukewarm water. Give it a gentle stir and then set it aside for 5-10 minutes. You'll know it's ready when a light, creamy foam appears on the surface. This shows the yeast is alive and active.
- Combine Dry Ingredients: While the yeast is activating, place the 500g of flour and 1 tsp of salt into a large mixing bowl. Use a whisk to combine them thoroughly, which helps distribute the salt evenly.
- Bring it Together: Make a well in the centre of the flour. Pour in the frothy yeast mixture and the 2 tbsp of olive oil. Using a wooden spoon or your hands, gradually mix the flour into the liquid until a shaggy, sticky dough starts to form.
- Knead the Dough: Tip the dough out onto a lightly floured work surface. Now it's time to knead. Knead for a solid 10 minutes. The dough will transform from sticky and rough to smooth, soft, and elastic. What works best for me is using the heel of my hand to push the dough away from me, then folding it back on itself and turning it slightly.
- The First Rise: Lightly oil the large mixing bowl you used earlier. Place the kneaded dough inside and turn it over once to coat it lightly in oil. Cover the bowl with a clean, damp tea towel or cling film. Leave it in a warm, draught-free spot to rise for 1-2 hours, or until it has doubled in size.
- Knock Back and Divide: Once the dough has doubled, gently press your fist into the centre of it. This 'knocks back' the air. Tip it back onto your floured surface and knead gently for a minute before dividing it into four equal pieces.
- The Second Rest: Shape each piece into a smooth ball. Place them on a floured tray, cover with the damp tea towel again, and let them rest for another 15-20 minutes. This lets the gluten relax, making the dough much easier to shape.
- Shape and Bake: Your dough is now ready! When you're ready to bake, preheat your oven to its highest setting, typically 240°C (220°C fan), with a pizza stone or heavy baking tray inside. Gently stretch each dough ball into a rough circle using your hands, top with your favourite ingredients, and bake for 10-12 minutes until the crust is golden and the cheese is gloriously melty and bubbling.
Notes
I truly hope you enjoy making this pizza dough as much as my family and I do. There’s something so satisfying about mastering this simple dough and sharing the delicious results. It turns any evening into a special occasion. I’d love to hear how you get on and what amazing toppings you come up with, so please leave a comment below to share your pizza-making adventures! Happy baking! – Sara