Homemade Chocolate Covered Cherries
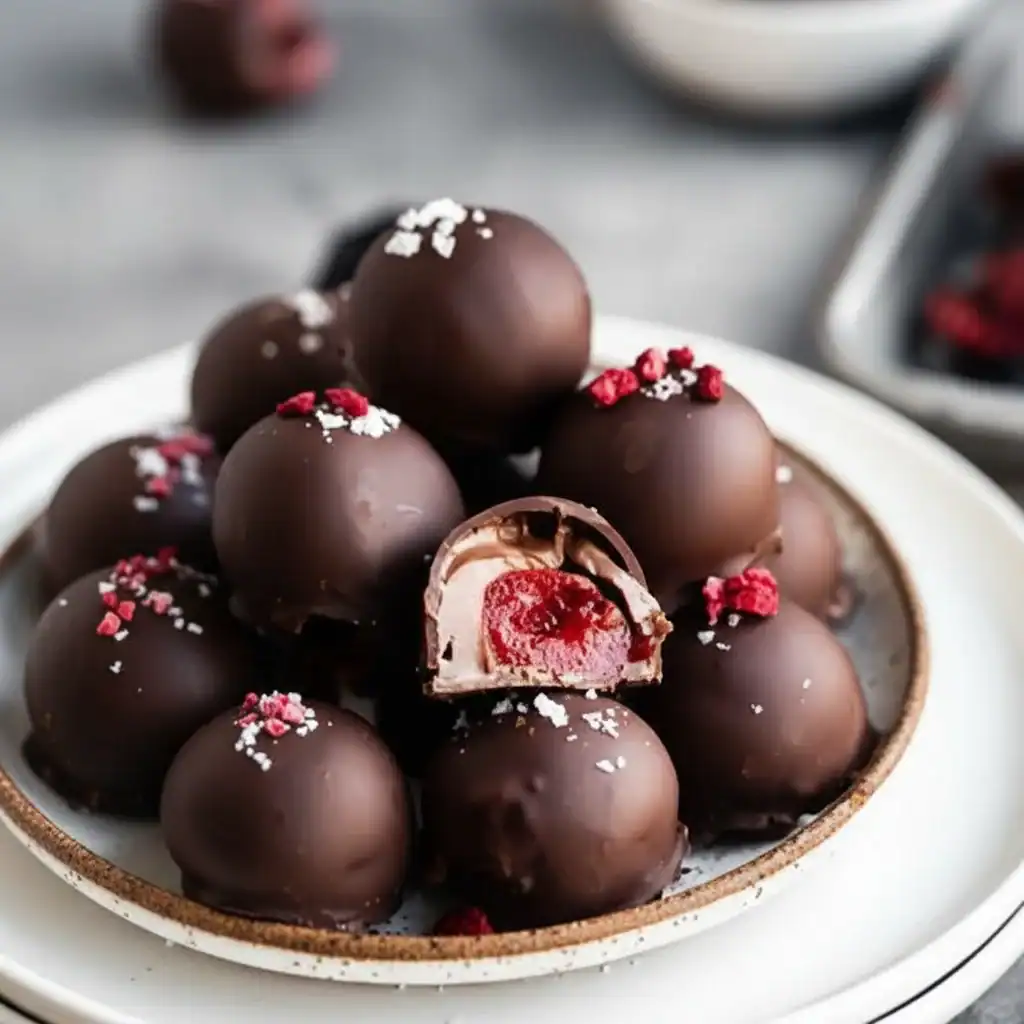
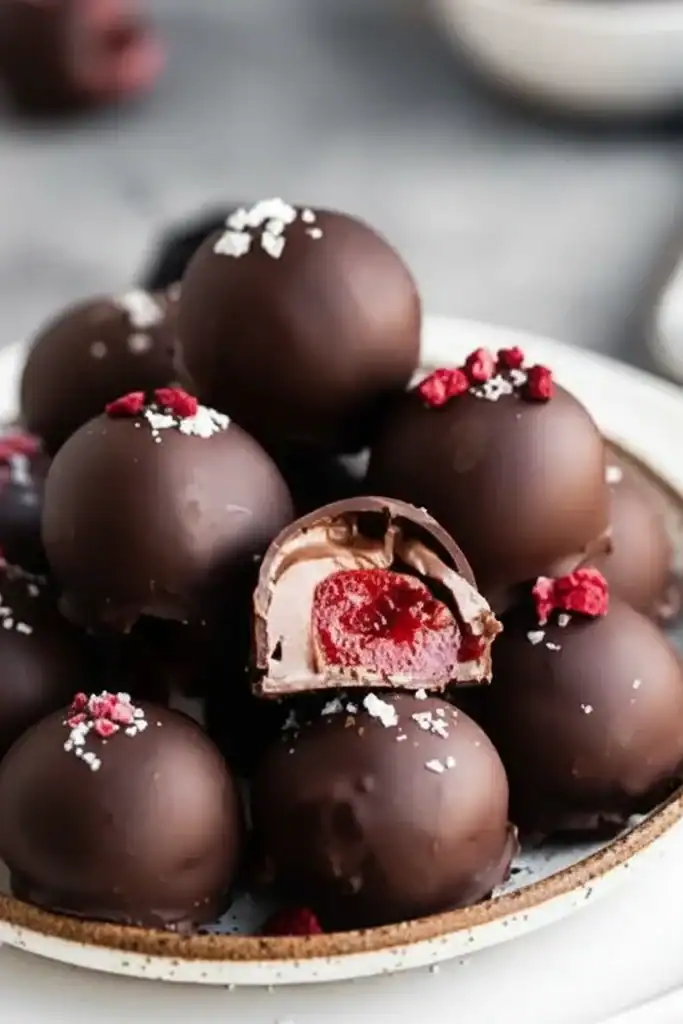
There’s something uniquely magical about biting through a crisp chocolate shell to discover a sweet, liquid-filled cherry inside. Shop-bought versions are lovely, but creating your own is a game-changer. This homemade chocolate covered cherries recipe transforms a handful of simple ingredients into a truly luxurious confection. The magic happens over a few days as a simple fondant filling miraculously liquefies around the cherry, creating that signature sweet syrup. This is my go-to recipe when I need something special for the holidays that feels both nostalgic and incredibly impressive.
We’re not just dipping cherries in chocolate here; we are crafting a proper sweet from scratch. The process is a delightful little science experiment that unfolds in your fridge. You’ll make a soft, pliable fondant, wrap it carefully around each cherry, dip it in gloriously smooth, melted chocolate, and then – the hardest part – wait. Patience is the secret ingredient that turns the firm fondant into a flowing, syrupy centre. It’s a wonderful project for a quiet afternoon, and the results are always worth the wait.
These little gems are ideal for gifting during Christmas, for Valentine’s Day, or simply as an after-dinner treat when you want to surprise everyone. They look stunning arranged on a platter and have a much fresher, more vibrant flavour than anything you can buy in a box. After a satisfying meal like my Lemon Garlic Chicken, they provide the perfect sweet finish.
Recipe Overview
This recipe guides you through creating classic liquid-centre chocolate cherries. The process involves making a simple fondant, enrobing maraschino cherries, dipping them in dark chocolate, and allowing them to ‘ripen’ for a week or two until the centre becomes syrupy. When I first tested this, I was amazed at how the firm fondant completely transformed with just a little time.
- Prep Time: 45 minutes
- Chill Time: 30 minutes
- Ripening Time: 7-14 days
- Total Time: 7-14 days (plus 1 hour 15 minutes active time)
- Servings: Makes approx. 40 cherries
- Difficulty: Medium
Why You’ll Love This Homemade Chocolate Covered Cherries Recipe
- Authentic Confectionery Flavour: The combination of intensely dark chocolate, the sweet almond-vanilla syrup, and the firm bite of the cherry is absolutely classic. It tastes like a luxury chocolate from an old-fashioned sweet shop.
- A Straightforward Weekend Project: While there’s a long waiting period, the active preparation comes together in about an hour. It’s a relaxing and rewarding process.
- A Flexible Recipe: You can easily switch up the flavours. Add a splash of kirsch or brandy to the fondant for an adults-only version, or use milk or white chocolate for a sweeter finish.
- Works Beautifully for Gifting: Pack these in a small box with tissue paper, and you have a thoughtful, homemade gift for Christmas, birthdays, or as a thank you.
- Family Tested: Everyone seems to love these. My husband, who’s usually picky about sweets, asked for seconds and couldn’t believe they were homemade!
Ingredients You’ll Need
For the best results, start with good quality ingredients. The chocolate, in particular, makes a huge difference. I prefer to use a dark chocolate with at least 70% cocoa solids, like Green & Black’s Organic, as its bitterness balances the sweetness of the filling perfectly.
- 450g icing sugar, sifted
- 60g unsalted butter, softened to room temperature
- 60ml double cream
- 1 tsp vanilla extract
- ½ tsp almond extract
- ½ tsp invertase (this is the magic ingredient that liquefies the fondant – readily available online)
- 1 jar (approx. 40) maraschino cherries with stems, well-drained
- 400g good quality dark chocolate, finely chopped
- 1 tbsp vegetable shortening or coconut oil (optional, for a shinier finish)
Sara’s Tip: The most critical preparation step is drying the cherries. After draining them, I lay them out on a tray lined with several layers of kitchen roll for at least an hour, patting them dry occasionally. Any excess moisture can make the fondant watery and difficult to work with.
How to Make Homemade Chocolate Covered Cherries
The process is methodical but not difficult. Work with cold hands if you can, as it helps keep the fondant from becoming too sticky. We’ll make the fondant, wrap the cherries, let them chill, and then give them their final chocolate coat.
- Prepare the Cherries: First, drain your maraschino cherries thoroughly. Place them on a plate lined with kitchen roll and gently pat them dry. Let them air-dry for at least 30 minutes to an hour while you prepare the fondant. This step is crucial!
- Make the Fondant Filling: In a large mixing bowl, combine the softened butter, double cream, vanilla extract, and almond extract. Using an electric mixer or a wooden spoon, beat until smooth and well combined.
- Add the Sugar and Invertase: Gradually add the sifted icing sugar to the wet ingredients, mixing on a low speed until it forms a thick, stiff dough. Add the invertase and mix it in thoroughly. The dough should be firm enough to handle, like a soft pastry dough. If it’s too sticky, add a little more icing sugar, one tablespoon at a time.
- Wrap the Cherries: Take a small piece of fondant (about 1.5 teaspoons) and flatten it into a small disc in the palm of your hand. Place a dried cherry in the centre and carefully wrap the fondant all the way around it, sealing it completely at the top around the stem. Roll it gently between your palms to smooth it out. Place the fondant-covered cherry on a baking tray lined with parchment paper. Repeat for all remaining cherries.
- Chill Thoroughly: Place the tray of wrapped cherries into the refrigerator for at least 30-60 minutes. This helps them firm up, which makes the chocolate dipping process much cleaner and easier.
- Melt the Chocolate: While the cherries are chilling, melt your chocolate. You can do this in a double boiler or in the microwave. For the microwave method, place the chopped chocolate and optional shortening in a microwave-safe bowl. Heat in 30-second intervals, stirring well after each one, until the chocolate is about 80% melted. Continue stirring until the residual heat melts the remaining pieces and the chocolate is smooth and glossy. For a more professional finish, you could temper your chocolate, but it’s not essential.
- Dip the Cherries: Take the chilled cherries from the fridge. Holding one by its stem, dip it into the melted chocolate, ensuring it’s fully coated. Lift it out and let any excess chocolate drip back into the bowl. Place the chocolate covered cherry back onto the parchment-lined tray. What works best for me is to give it a little twirl as I lift it out to get an even coating.
- Set and Ripen: Let the chocolate set completely at room temperature for about an hour, or in the fridge for 15-20 minutes. Once the chocolate shell is hard, transfer the cherries to an airtight container. Store them in a cool, dark place (like a cupboard or the back of the pantry) for at least one week, and up to two weeks. During this time, the invertase will work its magic, breaking down the sugar in the fondant and turning it into a clear, sweet syrup. Do not skip this step!
Tips From My Kitchen
- Chocolate Temperature Control: Be careful not to overheat your chocolate, as it can become grainy or ‘seize’. Low and slow is the key. If using a microwave, never heat it for more than 30 seconds at a time without stirring. The bowl should feel warm, not hot, to the touch.
- The Secret Step is Patience: I learned that the ripening stage is non-negotiable. If you break one open after just a day or two, the fondant will still be solid. The full liquid centre develops over 7-14 days. It’s truly worth the wait for that authentic texture and flavour.
- Make-Ahead Magic: This recipe is designed to be made well in advance. You can make them up to three weeks before you plan to serve them, giving them plenty of time to ripen and for the flavours to meld.
- Storage Savvy: Once ripened, store the chocolate covered cherries in an airtight container in the refrigerator for up to a month. Let them sit at room temperature for about 15 minutes before serving for the best flavour.
Equipment You’ll Need
- Large mixing bowl
- Electric hand mixer or stand mixer (or a sturdy wooden spoon)
- Baking tray lined with parchment paper
- Double boiler or a microwave-safe bowl for melting chocolate
- Spatula
Common Mistakes to Avoid
- Using Wet Cherries: This is the number one pitfall. Any moisture from the cherry syrup will make the fondant too soft and sticky to handle, and can even cause the filling to leak through the chocolate shell later. Dry them meticulously!
- Overheating the Chocolate: If your melted chocolate becomes thick, lumpy, and dull, it has likely seized. This happens when it gets too hot or comes into contact with even a tiny drop of water. Unfortunately, it can’t be saved for dipping, so melt it carefully.
- Skipping the Ripening Time: The magic of this recipe is the enzymatic reaction caused by the invertase. It needs time to work. Cutting the ripening stage short will leave you with a solid or semi-solid fondant centre instead of the classic liquid syrup.
Delicious Variations to Try
Once you’ve mastered the classic recipe, it’s fun to experiment with different flavours. Here are a few ideas to get you started:
- Boozy Cherries: Add 1 tablespoon of Kirsch, brandy, or Amaretto to the fondant mixture for a grown-up kick. This also enhances the cherry flavour beautifully.
- Vegan-Friendly Version: This recipe is easily adapted. Use a dairy-free block butter alternative, a plant-based double cream substitute (like Elmlea Plant), and ensure you’re using a good quality vegan dark chocolate.
- Nutty Topping: After dipping the cherries in chocolate, but before it sets, sprinkle them with finely chopped toasted nuts like almonds, hazelnuts, or pistachios for added texture and flavour.
What to Serve With Homemade Chocolate Covered Cherries
These are a standalone treat, but they also pair wonderfully with other items. Consider them a perfect sweet bite after a rich, savoury dinner, maybe something like a hearty Low Carb Chicken Casserole.
- A Hot Drink: Serve alongside a freshly brewed espresso or a pot of black coffee. The bitterness of the coffee cuts through the sweetness of the cherry perfectly.
- Dessert Wine: A small glass of a sweet red dessert wine, such as a Ruby Port or a Banyuls, complements the rich chocolate and cherry notes.
– On a Dessert Platter: Arrange them on a board with other small treats like mini brownies, salted caramels, and candied nuts for a beautiful dessert presentation.
Frequently Asked Questions
Homemade Chocolate Covered Cherries
Ingredients
Method
- Prepare the Cherries: First, drain your maraschino cherries thoroughly. Place them on a plate lined with kitchen roll and gently pat them dry. Let them air-dry for at least 30 minutes to an hour while you prepare the fondant. This step is crucial!
- Make the Fondant Filling: In a large mixing bowl, combine the softened butter, double cream, vanilla extract, and almond extract. Using an electric mixer or a wooden spoon, beat until smooth and well combined.
- Add the Sugar and Invertase: Gradually add the sifted icing sugar to the wet ingredients, mixing on a low speed until it forms a thick, stiff dough. Add the invertase and mix it in thoroughly. The dough should be firm enough to handle, like a soft pastry dough. If it's too sticky, add a little more icing sugar, one tablespoon at a time.
- Wrap the Cherries: Take a small piece of fondant (about 1.5 teaspoons) and flatten it into a small disc in the palm of your hand. Place a dried cherry in the centre and carefully wrap the fondant all the way around it, sealing it completely at the top around the stem. Roll it gently between your palms to smooth it out. Place the fondant-covered cherry on a baking tray lined with parchment paper. Repeat for all remaining cherries.
- Chill Thoroughly: Place the tray of wrapped cherries into the refrigerator for at least 30-60 minutes. This helps them firm up, which makes the chocolate dipping process much cleaner and easier.
- Melt the Chocolate: While the cherries are chilling, melt your chocolate. You can do this in a double boiler or in the microwave. For the microwave method, place the chopped chocolate and optional shortening in a microwave-safe bowl. Heat in 30-second intervals, stirring well after each one, until the chocolate is about 80% melted. Continue stirring until the residual heat melts the remaining pieces and the chocolate is smooth and glossy. For a more professional finish, you could temper your chocolate, but it's not essential.
- Dip the Cherries: Take the chilled cherries from the fridge. Holding one by its stem, dip it into the melted chocolate, ensuring it's fully coated. Lift it out and let any excess chocolate drip back into the bowl. Place the chocolate covered cherry back onto the parchment-lined tray. What works best for me is to give it a little twirl as I lift it out to get an even coating.
- Set and Ripen: Let the chocolate set completely at room temperature for about an hour, or in the fridge for 15-20 minutes. Once the chocolate shell is hard, transfer the cherries to an airtight container. Store them in a cool, dark place (like a cupboard or the back of the pantry) for at least one week, and up to two weeks. During this time, the invertase will work its magic, breaking down the sugar in the fondant and turning it into a clear, sweet syrup. Do not skip this step!
Notes
I hope you have as much fun making this homemade chocolate covered cherries recipe as we do. There’s a real sense of accomplishment in creating such an elegant sweet from scratch. If you try them, please let me know how they turned out in the comments below. I’d love to hear about your experience! Happy cooking, Sara.


