Fudgy Protein Brownies Recipe Dessert
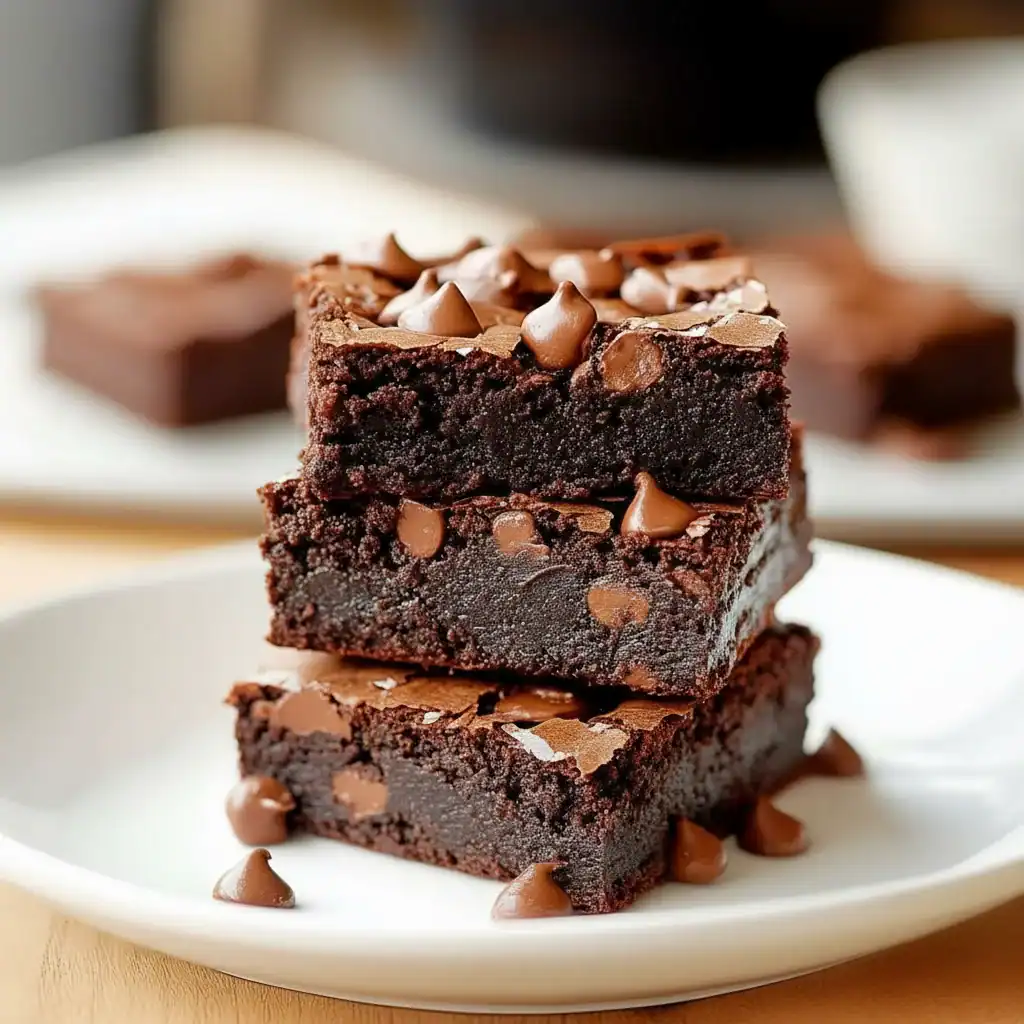
There’s a special kind of satisfaction that comes from pulling a tray of deeply chocolatey, fudgy brownies from the oven. The aroma alone is enough to make any day better. For a long time, I thought that indulgence and my fitness goals were mutually exclusive. I wanted a treat that felt genuinely decadent but wouldn’t undo all my hard work. This Protein Brownies Recipe is the delicious result of that quest. It delivers everything we love about a classic brownie – a rich, gooey centre, a slightly chewy edge, and that desirable crackly top – but with a welcome boost of protein to keep you feeling full and satisfied.
What makes this particular recipe stand out is its texture. We’re not making a dry, cakey protein bar masquerading as a brownie. Oh no. These are proper, fudgy brownies, thanks to a careful balance of ingredients that provides moisture and richness without relying on heaps of butter and sugar. After testing this recipe five times, I finally got it just right, achieving that perfect dense texture that holds together beautifully. This recipe is for anyone who loves a good bake, for the fitness-conscious who don’t want to miss out, and for families looking for a slightly more nourishing treat to pop into lunchboxes.
They work wonderfully for a mid-afternoon pick-me-up with a cup of tea, or as a post-workout refuel that actually feels like a reward. And because they come together so straightforwardly, you can whip up a batch whenever the craving strikes. It’s a fantastic recipe to have in your back pocket for a guilt-free indulgence that always gets compliments.
Recipe Overview
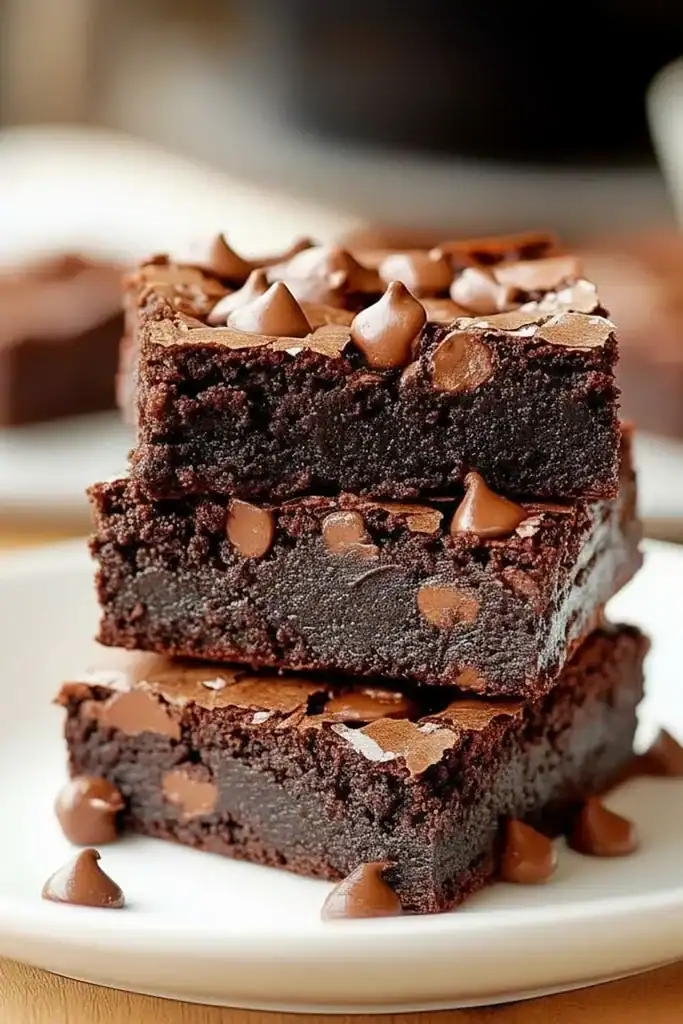
This Protein Brownies Recipe yields irresistibly rich and fudgy squares packed with chocolate flavour. The texture is dense and moist, not at all dry or chalky like some protein-based bakes can be. I found that using a combination of melted coconut oil and Greek yoghurt was the key to achieving that perfectly gooey centre during my testing. Expect a deep cocoa taste, punctuated by pockets of melted dark chocolate chips in every single bite.
- Prep Time: 15 minutes
- Cook Time: 22 minutes
- Total Time: 37 minutes
- Servings: 16 brownies
- Difficulty: Easy
Why You’ll Love This Protein Brownies Recipe
- Genuinely Fudgy Texture: We use specific ingredients like Greek yoghurt and melted coconut oil to ensure these brownies are moist and dense, with a satisfyingly chewy bite rather than a dry, crumbly consistency.
- Ready in Under 45 Minutes: From gathering your ingredients to pulling the tray from the oven, the whole process is complete in less than 45 minutes, making it a brilliant option for a last-minute bake.
- Flexible & Adaptable: You can easily switch things up. Try a different flavour of protein powder like salted caramel, stir in some chopped nuts for a bit of crunch, or add a swirl of peanut butter on top before baking.
- Ideal for Meal Prep: These brownies store exceptionally well, making them great for a week of healthier snacks. They’re a fantastic addition to a balanced week of eating, pairing well as a dessert after a lighter meal like my Lemon Garlic Chicken.
- Family Tested: My kids adore these in their lunchboxes, and my partner, who is usually sceptical of ‘healthy’ treats, couldn’t even tell they were packed with protein. Everyone seems to love this one!
Ingredients You’ll Need
For this recipe, the quality of your protein powder and cocoa powder really makes a difference to the final flavour. I prefer using a chocolate-flavoured whey or casein blend as it mixes well and contributes to the rich taste. Make sure you’re using unsweetened cocoa powder, sometimes called natural cocoa powder, for the most intense chocolate flavour. You can learn more about the difference between cocoa types from this helpful guide by Serious Eats.
- 90g chocolate whey protein powder
- 60g plain flour (all-purpose)
- 50g unsweetened cocoa powder
- 1/2 tsp baking powder
- 1/4 tsp salt
- 2 large free-range eggs, at room temperature
- 150g maple syrup or honey
- 120g full-fat Greek yoghurt
- 80ml coconut oil, melted and cooled slightly
- 2 tsp vanilla extract
- 100g dark chocolate chips (plus extra for sprinkling)
Sara’s Tip: Don’t skip bringing your eggs to room temperature. Cold eggs can cause the melted coconut oil to re-solidify and create a lumpy batter. Simply place them in a bowl of warm water for 5-10 minutes if you forget to take them out ahead of time.
How to Make Protein Brownies
The process for making these protein brownies is very straightforward. The key is to mix the wet and dry ingredients separately before combining them, and most importantly, not to over-mix the final batter. This ensures a tender, fudgy result every time.
- Preheat and Prepare: First, preheat your oven to 180°C (160°C fan). Grease and line a 20cm (8-inch) square baking tin with parchment paper, leaving some overhang on the sides to make it easier to lift the brownies out later.
- Combine Dry Ingredients: In a medium bowl, sift together the protein powder, plain flour, cocoa powder, baking powder, and salt. Sifting is an important step to remove any lumps, especially from the protein and cocoa powder. Give it a quick whisk to combine everything evenly.
- Whisk Wet Ingredients: In a separate, larger bowl, whisk the eggs and maple syrup together until they are well combined and slightly frothy, about 1 minute. Then, whisk in the Greek yoghurt, melted coconut oil, and vanilla extract until the mixture is smooth and glossy.
- Combine Wet and Dry: Pour the dry ingredients into the bowl with the wet ingredients. Using a spatula, gently fold everything together until just combined. What works best for me is to stop mixing as soon as you no longer see streaks of flour. A few small lumps are perfectly fine – over-mixing will develop the gluten and make the brownies tough.
- Add Chocolate: Gently fold in the 100g of dark chocolate chips.
- Bake the Brownies: Pour the batter into your prepared baking tin and use the spatula to spread it into an even layer. Sprinkle a few extra chocolate chips over the top if you like. Bake for 20-22 minutes.
- Check for Doneness: The brownies are ready when the edges are set and a toothpick inserted into the centre comes out with moist, fudgy crumbs attached, but not wet batter. Be careful not to over-bake!
- Cool Completely: This is crucial! Let the brownies cool completely in the tin on a wire rack. They will be very soft when they first come out of the oven and will firm up as they cool. Resisting the urge to slice them while warm will reward you with clean, neat squares. Once cool, use the parchment paper overhang to lift them out and cut into 16 squares.
Tips From My Kitchen
- Protein Powder Matters: Different protein powders absorb liquid differently. This recipe is tested with a whey/casein blend. If you use a 100% whey isolate or a plant-based powder, you may need to add an extra tablespoon or two of yoghurt or milk to get the right consistency.
- The Secret Step: I learned that adding a teaspoon of instant espresso powder along with the dry ingredients makes a huge difference. You won’t taste coffee, but it deepens and intensifies the chocolate flavour in a remarkable way.
- Make-Ahead: You can measure out and whisk together all the dry ingredients and store them in an airtight container for up to a month. When you’re ready to bake, you’re already halfway there.
- Storage: Store the cooled brownies in an airtight container at room temperature for up to 3 days. They actually become even fudgier on the second day! For longer storage, they’ll keep well in the fridge for a week.
Equipment You’ll Need
- 20cm (8-inch) square baking tin
- Parchment paper
- Mixing bowls
- Whisk and spatula
- Wire cooling rack
Common Mistakes to Avoid
- Using the Wrong Size Tin: A 20cm (8-inch) square tin is ideal. Using a larger tin will result in thin, over-baked brownies, while a smaller one may leave the centre undercooked. Stick to the recommended size for the perfect thickness and texture.
- Over-baking: This is the number one cause of dry brownies. Remember to pull them from the oven when a toothpick still has moist crumbs on it. They will continue to cook from the residual heat in the tin as they cool.
- Skipping the Cooling Time: I know it’s tempting, but slicing into warm brownies will result in a crumbly mess. Letting them cool completely allows them to set properly, ensuring a clean cut and a perfectly fudgy texture.
Delicious Variations to Try
One of the best things about this brownies recipe is how easily you can customise it. Here are a few of my favourite variations to get you started:
- Nutty Crunch: Add 75g of chopped walnuts, pecans, or almonds to the batter along with the chocolate chips for a wonderful textural contrast. A swirl of smooth peanut or almond butter on top before baking is also fantastic.
- Vegan Option: To make these plant-based, use a vegan chocolate protein powder, two flax eggs (2 tbsp ground flaxseed mixed with 6 tbsp water), a plant-based Greek-style yoghurt, and dairy-free chocolate chips. The texture will be slightly different but still delicious.
- Different Protein Flavours: Don’t be afraid to experiment! A vanilla or salted caramel protein powder works beautifully. For a vanilla version, you could swap the dark chocolate chips for white chocolate ones and add some dried raspberries.
What to Serve With Protein Brownies
These brownies are perfectly delicious on their own, but they also pair beautifully with a few simple accompaniments. They make a great finish to a week of balanced meals, including some of our healthy chicken recipes for dinner.
- Greek Yoghurt & Berries: A dollop of thick, creamy Greek yoghurt and a handful of fresh raspberries or strawberries cuts through the richness of the chocolate perfectly.
- A Glass of Milk: Sometimes, the classics are the best. A cold glass of milk (dairy or non-dairy) is a simple and perfect partner for a fudgy brownie.
- Coffee or Tea: For an afternoon treat, there’s nothing better than a warm brownie alongside a freshly brewed coffee or a strong cup of English breakfast tea.
Frequently Asked Questions
Protein Brownies
Ingredients
Method
- Preheat and Prepare: First, preheat your oven to 180°C (160°C fan). Grease and line a 20cm (8-inch) square baking tin with parchment paper, leaving some overhang on the sides to make it easier to lift the brownies out later.
- Combine Dry Ingredients: In a medium bowl, sift together the protein powder, plain flour, cocoa powder, baking powder, and salt. Sifting is an important step to remove any lumps, especially from the protein and cocoa powder. Give it a quick whisk to combine everything evenly.
- Whisk Wet Ingredients: In a separate, larger bowl, whisk the eggs and maple syrup together until they are well combined and slightly frothy, about 1 minute. Then, whisk in the Greek yoghurt, melted coconut oil, and vanilla extract until the mixture is smooth and glossy.
- Combine Wet and Dry: Pour the dry ingredients into the bowl with the wet ingredients. Using a spatula, gently fold everything together until just combined. What works best for me is to stop mixing as soon as you no longer see streaks of flour. A few small lumps are perfectly fine – over-mixing will develop the gluten and make the brownies tough.
- Add Chocolate: Gently fold in the 100g of dark chocolate chips.
- Bake the Brownies: Pour the batter into your prepared baking tin and use the spatula to spread it into an even layer. Sprinkle a few extra chocolate chips over the top if you like. Bake for 20-22 minutes.
- Check for Doneness: The brownies are ready when the edges are set and a toothpick inserted into the centre comes out with moist, fudgy crumbs attached, but not wet batter. Be careful not to over-bake!
- Cool Completely: This is crucial! Let the brownies cool completely in the tin on a wire rack. They will be very soft when they first come out of the oven and will firm up as they cool. Resisting the urge to slice them while warm will reward you with clean, neat squares. Once cool, use the parchment paper overhang to lift them out and cut into 16 squares.
Notes
I really hope you enjoy making this Protein Brownies Recipe as much as I do. It’s a true staple in my kitchen for when I need a chocolate fix that aligns with my goals. They are proof that you don’t have to compromise on flavour or texture to enjoy a more nourishing treat. I’d love to hear how yours turn out, so please feel free to leave a comment and a rating below! Happy baking! – Sara


