Creamy Rice Pudding Recipe Dessert
There are few aromas as welcoming as the scent of a slowly baked rice pudding wafting from the oven. It’s the smell of pure, unadulterated comfort – a gentle perfume of creamy milk, sweet vanilla, and warming nutmeg that promises a spoonful of nostalgia. This isn’t the stuff you find in little plastic pots at the supermarket; this is the real deal. A proper, old-fashioned baked rice pudding with a gloriously creamy texture and a lightly caramelised top.
I used to struggle with this dish until I discovered this technique. My early attempts were often too watery or the rice would catch on the bottom of the pan. The secret, I found, lies in a low oven and a little bit of patience. The slow baking process transforms a few simple ingredients into something truly special. The milk reduces, the sugars deepen, and the rice softens into a tender, luscious consistency that is just sublime.
This rice pudding recipe is for anyone who appreciates simple, well-made food. It’s a wonderful dessert to follow a Sunday roast, a heart-warming treat on a chilly evening, or simply a bowl of happiness when you need it most. It’s the kind of pudding that brings everyone to the table, and the leftovers (if there are any!) are just as lovely eaten cold from the fridge the next day.
Recipe Overview
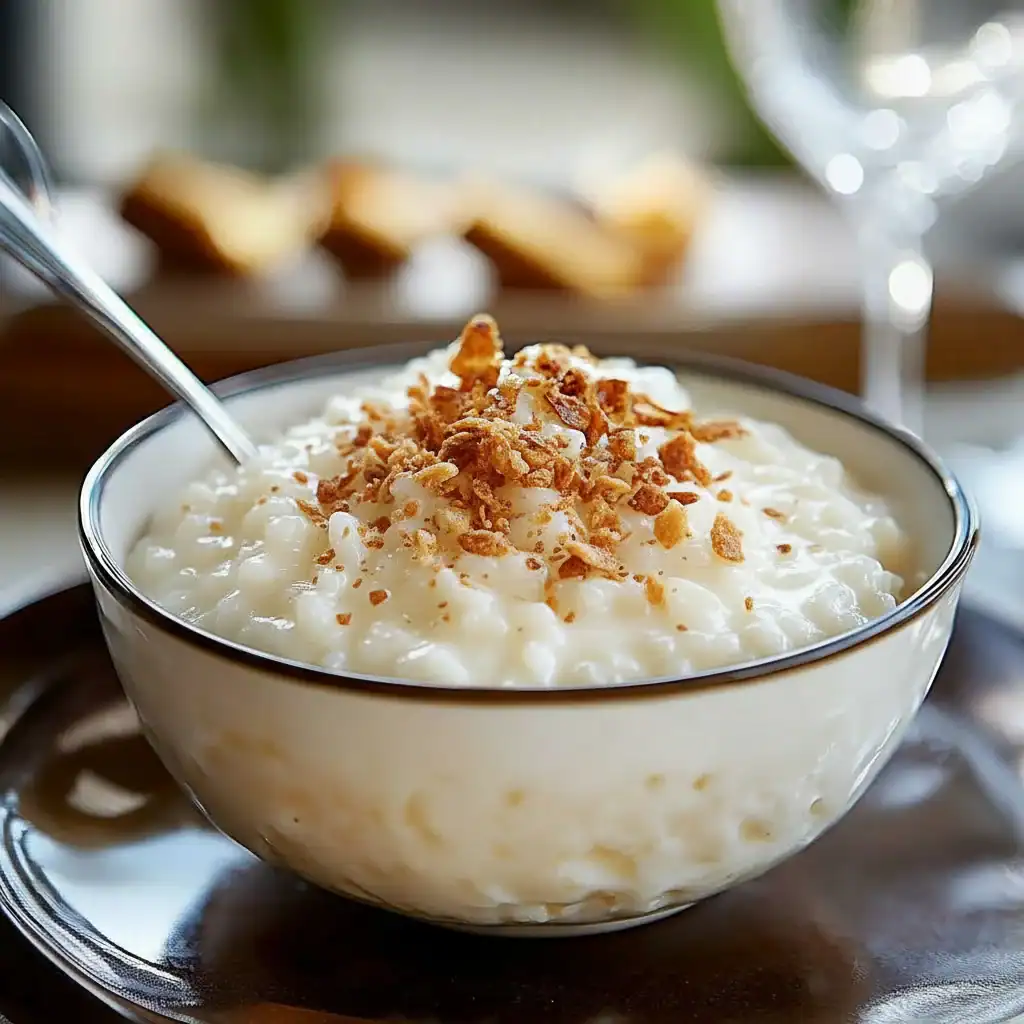
This is my definitive baked rice pudding recipe, honed over many years in my kitchen. The process is straightforward, with the oven doing almost all the work. The result is a deeply creamy and satisfying pudding where the individual grains of rice are plump and tender, suspended in a thick, vanilla-scented custard. When testing, I confirmed that using whole milk is non-negotiable for achieving that signature rich and velvety mouthfeel.
- Prep Time: 5 minutes
- Cook Time: 2 hours
- Total Time: 2 hours 5 minutes
- Servings: 4-6 people
- Difficulty: Easy
Why You’ll Love This Rice Pudding Recipe
- Authentic Creamy Texture: The low-and-slow baking method coaxes the starch from the pudding rice, creating a natural, thick creaminess without any cornflour or eggs. The top gets a lovely golden skin, which is a real treat.
- Minimal Hands-On Time: With just 5 minutes of active preparation, this recipe is ideal for busy days. Simply mix the ingredients and let the oven work its magic.
- A Versatile Classic: This recipe is a fantastic base for customisation. Swirl in some jam, add a handful of sultanas before baking, or swap the nutmeg for cinnamon or cardamom.
- Works Beautifully for Family Dinners: This is a wonderful, unassuming dessert to round off a family meal. It feels special without being overly fussy, especially after a main course like my Lemon Garlic Chicken.
- Family Tested and Approved: I make this at least once a week in the winter – it’s become a family favourite. My children love it with a generous dollop of raspberry jam, while I prefer it just as it is.

Ingredients You’ll Need
The beauty of a traditional pudding recipe is its simple, accessible ingredient list. The key is to use the best quality you can find, especially when it comes to the milk and rice. You’ll need short-grain pudding rice for this; it has a higher starch content which is essential for that creamy result. You can learn more about the different types of rice and why they matter in specific dishes.
- 900ml whole milk
- 50ml double cream
- 100g pudding rice
- 60g caster sugar
- 1 tsp vanilla extract
- 25g unsalted butter, plus extra for greasing
- Freshly grated nutmeg, for dusting
- A tiny pinch of salt
Sara’s Tip: Don’t be tempted to skip the double cream! Just a small amount adds a luxurious, velvety finish that takes the pudding from good to truly memorable. It’s my secret weapon for the best texture.
How to Make This Rice Pudding Recipe
The process couldn’t be more straightforward. Our aim is to gently cook the rice in the milk until it’s perfectly tender and has created its own creamy sauce. A low oven temperature is crucial for this gentle cooking.
- Preheat and Prepare: First, preheat your oven to 150°C (130°C fan). Generously grease a 1.5-litre ovenproof dish with butter.
- Combine Ingredients: Pour the whole milk and double cream into the prepared dish. Add the pudding rice, caster sugar, vanilla extract, and the pinch of salt. Give it all a good stir to combine.
- Add Butter and Nutmeg: Dot the top of the mixture with the 25g of butter. This will melt and help create a lovely golden top. Grate a generous layer of fresh nutmeg over the surface.
- First Bake: Place the dish in the preheated oven and bake for 30 minutes.
- Stir and Continue Baking: After 30 minutes, carefully remove the dish from the oven. You will see a slight skin forming. Gently stir this back into the pudding. This step ensures the final texture is consistently creamy throughout. I find this makes a huge difference.
- Final Bake: Return the dish to the oven and bake for a further 1 hour and 30 minutes. The pudding is ready when it has a golden-brown skin on top and the rice is soft and tender beneath. It should still have a slight wobble in the centre; it will continue to set as it cools.
- Rest Before Serving: Let the pudding stand for 10-15 minutes before serving. This allows it to thicken up perfectly. Serve warm, just as it is, or with your favourite topping.
Tips From My Kitchen
- Low and Slow is the Way: The key to a creamy, never-gummy, rice pudding is a low oven temperature. Baking it too hot can cause the milk to separate or the bottom to burn before the rice has had a chance to cook through. Be patient!
- The Mid-Bake Stir: I learned that the single stir after 30 minutes is a game-changer for preventing a very thick, rubbery skin and ensuring the rice cooks evenly. However, if you are a fan of a very thick, traditional skin, feel free to skip this step!
- Make-Ahead Method: You can assemble the entire pudding in the dish, cover it with cling film, and keep it in the fridge for up to 24 hours. When you’re ready, just remove the cling film and bake as directed, perhaps adding 10-15 minutes to the cooking time.
- Storage and Reheating: Leftover rice pudding keeps beautifully. Store it in an airtight container in the fridge for up to 3 days. It can be eaten cold (which is delicious!) or reheated gently in a saucepan over a low heat with an extra splash of milk to loosen it up.
Delicious Variations to Try
While this classic recipe is wonderful on its own, it’s also a brilliant canvas for other flavours. After a savoury meal like my popular Black Pepper Chicken, a customised dessert feels extra special.
- Lemony Rice Pudding: Add the finely grated zest of one unwaxed lemon to the milk mixture before baking for a fresh, aromatic twist.
- Coconut and Cardamom: Swap out 400ml of the whole milk for a can of full-fat coconut milk and replace the nutmeg with half a teaspoon of ground cardamom. This gives it a wonderfully fragrant, slightly tropical flavour.
- Boozy Fruit Version: For an adult treat, stir in 75g of sultanas or raisins along with a tablespoon of dark rum or brandy before baking. The fruit will plump up beautifully as it cooks.
What to Serve With This Rice Pudding
This rice pudding recipe is a star in its own right, but a simple accompaniment can elevate it further. This is a brilliant dessert to have after one of my Healthy Chicken Recipes for a balanced but satisfying meal.
- Fruit Compote: A sharp fruit compote, like rhubarb or blackberry and apple, provides a lovely contrast to the creamy sweetness of the pudding.
- A Classic Jam: You can’t go wrong with a spoonful of good-quality raspberry or strawberry jam swirled into the warm pudding.
- A Hot Drink: A simple cup of builder’s tea or a milky coffee works beautifully alongside this comforting dessert.
Frequently Asked Questions
Rice Pudding Recipe
Ingredients
Method
- Preheat and Prepare: First, preheat your oven to 150°C (130°C fan). Generously grease a 1.5-litre ovenproof dish with butter.
- Combine Ingredients: Pour the whole milk and double cream into the prepared dish. Add the pudding rice, caster sugar, vanilla extract, and the pinch of salt. Give it all a good stir to combine.
- Add Butter and Nutmeg: Dot the top of the mixture with the 25g of butter. This will melt and help create a lovely golden top. Grate a generous layer of fresh nutmeg over the surface.
- First Bake: Place the dish in the preheated oven and bake for 30 minutes.
- Stir and Continue Baking: After 30 minutes, carefully remove the dish from the oven. You will see a slight skin forming. Gently stir this back into the pudding. This step ensures the final texture is consistently creamy throughout. I find this makes a huge difference.
- Final Bake: Return the dish to the oven and bake for a further 1 hour and 30 minutes. The pudding is ready when it has a golden-brown skin on top and the rice is soft and tender beneath. It should still have a slight wobble in the centre; it will continue to set as it cools.
- Rest Before Serving: Let the pudding stand for 10-15 minutes before serving. This allows it to thicken up perfectly. Serve warm, just as it is, or with your favourite topping.
Notes
I really hope you give this baked rice pudding recipe a try. It’s more than just a dessert; it’s a bowl of warmth and comfort that has a special place in my family’s recipe book. If you make it, please do leave a comment below and let me know how it turned out for you. I love hearing about your kitchen adventures!
Happy cooking,
Sara


