Christmas Red Velvet Cheesecake Recipe
Are you looking for a truly magnificent dessert to grace your festive table this year? Something that brings together timeless flavours in a wonderfully merry presentation? Your search ends here. We believe nothing captures the spirit of the season quite like the vibrant, velvety red and pure, creamy white of our incredible Christmas Red Velvet Cheesecake Recipe. It’s a spectacular dessert that beautifully merges the tangy, light chocolate essence of red velvet cake with the decadent, smooth texture of a traditional cheesecake. This guide will take you through each stage, ensuring you produce a stunning and delicious treat that will have everyone at your table delighted.
This dessert serves as the perfect finale to a wonderful Christmas dinner. While it is undoubtedly rich and indulgent, it feels perfectly placed after a flavourful main course. We find that a main dish that is satisfying but not overly heavy, such as our much-loved Garlic Parmesan Chicken Pasta Recipe, sets the scene for this showstopper beautifully.
Why You’ll Love This Recipe
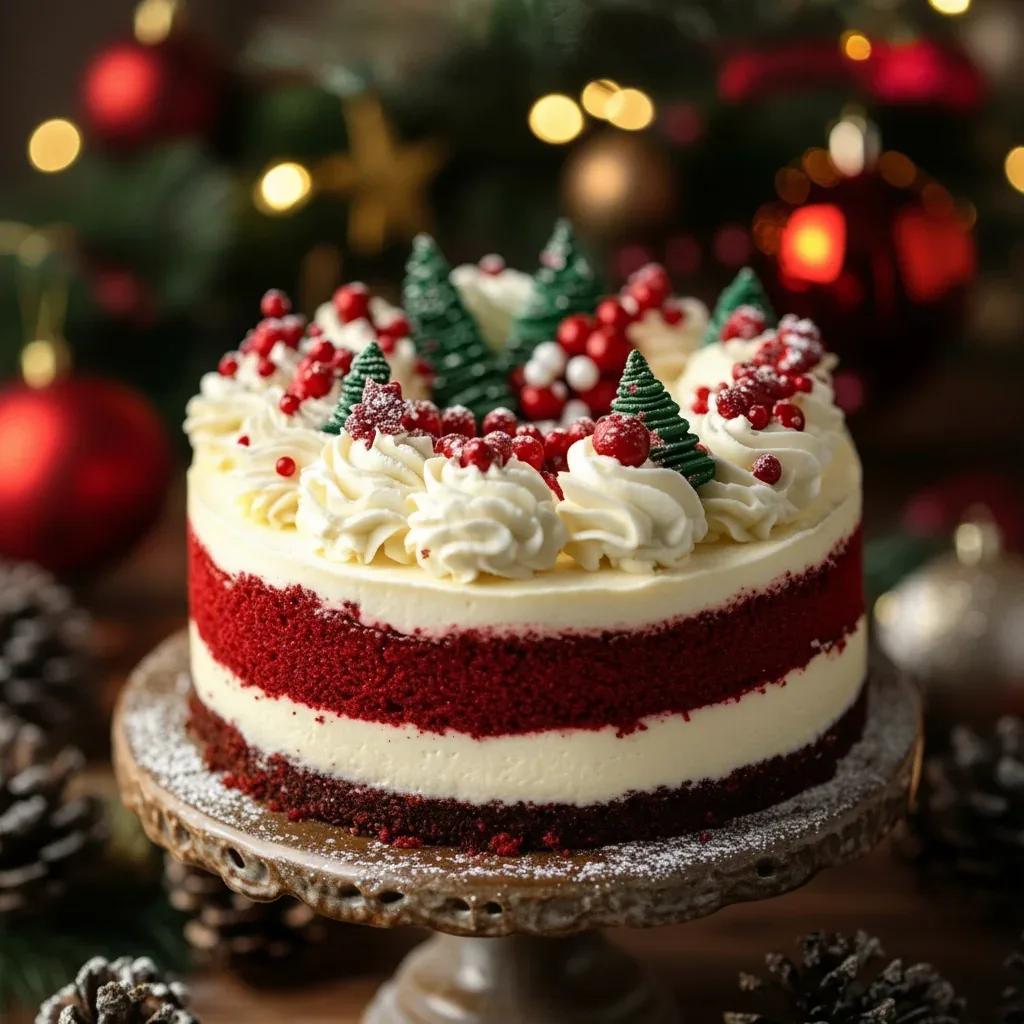
- Visually Stunning: The striking red filling, complemented by a dark chocolate base and a snowy-white topping, creates a dessert that is wonderfully festive. It’s guaranteed to produce a gasp of delight when you present it.
- Incredible Flavour Combination: We have carefully balanced the subtle tang of the cheesecake, the classic buttermilk notes of red velvet, and a delicate hint of cocoa. This creates a sophisticated flavour that is sure to please every palate.
- Perfect for Making Ahead: One of the best features of our Red Velvet Cheesecake is its convenience. You can—and we recommend you do—prepare it a day or two beforehand. This frees up precious time and oven space on Christmas Day itself.
- Surprisingly Straightforward: Although it may look elaborate, we have broken down the entire process into simple, easy-to-follow steps. We will guide you through creating the base, the filling, and the topping with clear, fuss-free directions.
- The Ultimate Festive Treat: This recipe is a fantastic way to elevate your Holiday Baking. It feels more special than a typical cake and more celebratory than a plain cheesecake, making it the perfect dessert for your Christmas celebrations.
Ingredients
- 1150g full-fat cream cheese
- 250g digestive biscuits
- 125g unsalted butter
- 3 tbsp unsweetened cocoa powder
- 250g caster sugar
- 4 large free-range eggs
- 250g soured cream
- 3 tsp vanilla extract
- 1 tsp white vinegar
- 1-2 tbsp red gel food colouring
- 100g icing sugar
- 200ml double cream
To achieve the best results, we highly suggest using full-fat ingredients where specified. This is key to creating the sumptuously creamy texture that is the hallmark of a perfect cheesecake. Please gather the following before you start:
- For the Biscuit Base:
- 250g digestive biscuits (or try chocolate biscuits for an even richer cocoa flavour)
- 125g unsalted butter, melted
- 2 tbsp unsweetened cocoa powder
- For the Red Velvet Cheesecake Filling:
- 900g full-fat cream cheese, at room temperature
- 250g caster sugar
- 4 large free-range eggs, at room temperature
- 250g soured cream, at room temperature
- 1 tbsp unsweetened cocoa powder
- 2 tsp vanilla extract
- 1 tsp white vinegar
- 1-2 tbsp red gel food colouring (gel is essential for achieving a deep, intense colour)
- For the Cream Cheese Topping:
- 250g full-fat cream cheese, chilled
- 100g icing sugar, sifted
- 200ml double cream, cold
- 1 tsp vanilla extract
- Optional Garnish: White chocolate shavings, festive sprinkles, or crumbled red velvet cake pieces.
How to Make the Perfect Christmas Red Velvet Cheesecake
Follow our detailed step-by-step instructions to bake a flawless Christmas Cheesecake. The secrets to success are careful preparation and patience, particularly when it comes to the cooling stage. Let’s begin!
Step 1: Preparing the Chocolate Biscuit Base
- Preheat your oven to 160°C (140°C Fan / Gas Mark 3). Grease a 23cm (9-inch) springform cake tin and line the base with a circle of baking parchment.
- Place the digestive biscuits into a food processor and pulse until they become fine crumbs. If you don’t have a food processor, pop them into a sealable bag and crush them with a rolling pin.
- Tip the biscuit crumbs into a mixing bowl and stir through the 2 tablespoons of cocoa powder. Add the melted butter and mix until the crumbs are thoroughly coated and have the texture of damp sand.
- Press this mixture firmly and evenly across the bottom of your prepared tin. We find that using the flat bottom of a glass or the back of a spoon helps create a smooth, compact layer.
- Bake the base for 10 minutes. Afterwards, remove it from the oven and allow it to cool while you move on to the filling.
Step 2: Making the Creamy Red Velvet Filling
- In a large bowl, use an electric mixer on a low setting to beat the room-temperature cream cheese until it is completely smooth with no lumps. This is a vital step for achieving a silky, uniform texture.
- Slowly add the caster sugar, continuing to beat on low speed just until it is incorporated. Be sure to scrape down the sides of the bowl to ensure everything is mixed in.
- Add the eggs one by one, mixing on low after each addition only until it is just combined. It is important not to overmix, as this can introduce too much air and cause cracking.
- Using a spatula, gently fold in the soured cream, vanilla extract, white vinegar, and 1 tablespoon of cocoa powder.
- It’s time for the festive colour! Add one tablespoon of the red gel food colouring and gently fold it through. Add more, a little at a time, until you reach a deep, rich red that you are happy with.
- Pour this vibrant red filling onto your cooled biscuit base and use a spatula to smooth the surface.
Step 3: Baking and Cooling for a Crack-Free Finish
The key to a flawless, uncracked cheesecake lies in a gentle baking method and a very slow cooling process. A water bath is the best way to achieve this.
- Tightly wrap the outside of your springform tin with two layers of heavy-duty aluminium foil. This creates a waterproof seal to protect the base.
- Set the wrapped tin inside a larger roasting pan. Carefully pour boiling water into the roasting pan so that it comes about halfway up the sides of your cheesecake tin.
- Gently transfer the whole setup into your preheated oven. Bake for 60-70 minutes. The cheesecake is done when the edges look set, but the centre still has a slight jiggle.
- Switch off the oven but keep the door closed. Leave the cheesecake inside the cooling oven for at least 2 hours. This gradual decrease in temperature is the best method for preventing cracks. For a more detailed look at this method, King Arthur Baking offers excellent advice on mastering the water bath.
- After 2 hours, prop the oven door open slightly and let it continue to cool for another hour. Finally, remove the cheesecake from the water bath, discard the foil, and transfer it to the refrigerator to chill (uncovered) for a minimum of 6 hours, but preferably overnight.
Step 4: Whipping Up the Topping and Decorating
This light and tangy topping provides the perfect contrast and finishing touch to your cheesecake. The decoration is where you can truly let your festive spirit run wild!
- In a spotless bowl, beat the chilled cream cheese with the sifted icing sugar until it becomes smooth and creamy.
- In a separate bowl, whip the cold double cream until it holds firm, stiff peaks.
- Carefully fold the whipped cream and vanilla extract into the cream cheese mixture until everything is smoothly combined. Take care not to deflate the cream by overmixing.
- Once your cheesecake is fully chilled, run a knife around the edge and carefully release it from the springform tin. Spoon the cream cheese topping onto the surface and spread it evenly. You can create lovely swirls using the back of a spoon.
- Finish by decorating with white chocolate shavings, your favourite festive sprinkles, or a light dusting of cocoa powder. Allow it to chill for a further 30 minutes before slicing and serving.
This magnificent dessert is a wonderful choice for any festive menu and pairs well with many main courses. If you’d like a lighter main dish before indulging, our Bruschetta Chicken makes for an excellent pairing.
FAQ
A Festive Finale for Your Holiday Table
So there you have it—our complete guide to creating the most beautiful Christmas Red Velvet Cheesecake. This recipe offers more than just a dessert; it’s about creating a festive experience. It’s the pleasure of holiday baking, the delightful aroma of chocolate and vanilla in your home, and the wonderful reaction from your guests when you bring this masterpiece to the table.
With its gorgeous colours and rich, creamy flavour, this dessert is destined to become a cherished family tradition. So, what are you waiting for? It’s time to put on your apron, preheat the oven, and prepare to bake a dessert that will be the highlight of your Christmas feast. We would be thrilled to see your creations! Please share a photo with us on social media and let us know how you got on.
Recipe Card

Ingredients
- For the Biscuit Base:
- 250g digestive biscuits
- 125g unsalted butter, melted
- 2 tbsp unsweetened cocoa powder
- For the Red Velvet Filling:
- 900g full-fat cream cheese, at room temperature
- 250g caster sugar
- 4 large free-range eggs
- 250g soured cream
- 1 tbsp unsweetened cocoa powder
- 2 tsp vanilla extract
- 1 tsp white vinegar
- 1-2 tbsp red gel food colouring
- For the Cream Cheese Topping:
- 250g full-fat cream cheese, chilled
- 100g icing sugar, sifted
- 200ml double cream
- 1 tsp vanilla extract
Instructions
- Prepare Base: Preheat oven to 160°C (140°C Fan). Mix crushed biscuits, 2 tbsp cocoa powder, and melted butter. Press into a 23cm springform tin, bake for 10 minutes, and let cool.
- Make Filling: Beat 900g cream cheese until smooth. Mix in sugar, then eggs one by one. Gently fold in soured cream, 1 tbsp cocoa, 2 tsp vanilla, vinegar, and red food colouring. Pour over the base.
- Bake & Cool: Bake in a water bath for 60-70 minutes, until the edges are set but the center still jiggles slightly. Turn off the oven and let the cheesecake cool inside for at least 2 hours to prevent cracks.
- Chill: Remove from the oven and water bath. Chill in the refrigerator for a minimum of 6 hours, preferably overnight.
- Make Topping: Beat 250g chilled cream cheese with sifted icing sugar. In a separate bowl, whip double cream to stiff peaks. Fold the whipped cream and 1 tsp vanilla into the cheese mixture.
- Decorate & Serve: Spread the topping over the fully chilled cheesecake. Decorate with white chocolate shavings or festive sprinkles. Chill for another 30 minutes before serving.


