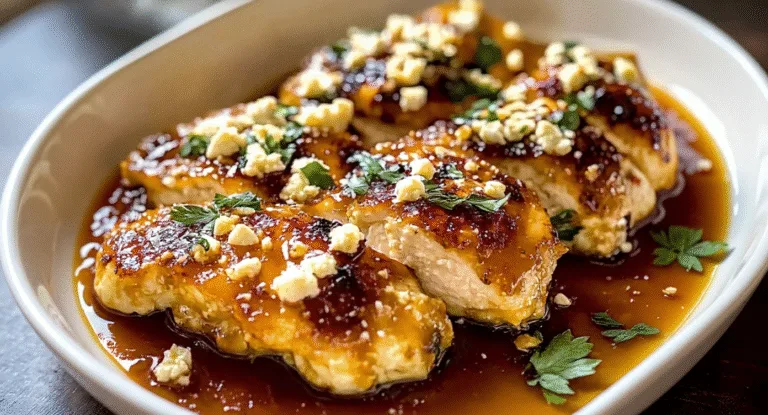
Perfect Chicken Cutlets in Oven: Crispy, Juicy & So Easy!
We’ve all been there, haven’t we? That midweek moment when dinner inspiration feels miles away, yet the craving for something satisfying, crispy, and utterly delicious kicks in. Maybe you remember those golden, pan-fried chicken cutlets from childhood, but the thought of the splattering oil and the lingering smell puts you off. So, what if we told you that you can achieve that same delightful crunch and juicy interior, all with the clean convenience of your oven? Yes, you absolutely can! We’re here to show you how making incredible chicken cutlets in oven is not just possible, but a game-changer for your meal rotation, delivering all the flavour without the fuss.
Key Takeaways
- Cooking chicken cutlets in oven is a healthier, less messy alternative to pan-frying, yielding wonderfully crispy results.
- Proper preparation of the chicken and a well-structured breading station are crucial for perfect oven baked breaded chicken.
- We’ll show you precisely how long to cook chicken cutlets in oven to ensure they’re cooked through yet remain juicy.
- Tips like using panko breadcrumbs and elevating the chicken on a wire rack can significantly enhance crispiness.
- This method is versatile, allowing for numerous flavour variations to suit your taste.
Why We Adore Making Chicken Cutlets in Oven
Let’s be honest, the allure of a perfectly cooked chicken cutlet – that golden, crunchy exterior giving way to tender, flavourful chicken – is hard to resist. For years, the frying pan was the go-to. But we’ve discovered that making chicken cutlets in oven offers a host of benefits that make it our preferred method, especially for busy weeknights or when we’re feeding a crowd.
- Healthier Option: Baking requires significantly less oil than frying, immediately making it a lighter choice without compromising on that satisfying crunch we all crave.
- Less Mess, Less Stress: Say goodbye to oil splatters all over your hob and the lingering smell of fried food. Oven baking is a much cleaner affair.
- Even Cooking: The consistent heat of the oven ensures that your breaded chicken breast in oven cooks evenly from edge to edge, reducing the risk of burnt spots or undercooked centres.
- Hands-Free Convenience: Once the chicken is in the oven, you’re largely free to get on with preparing side dishes or simply relaxing. No need to constantly flip or monitor.
- Scalability: Baking makes it easy to cook a larger batch of chicken cutlets at once, perfect for family meals or meal prepping.
We believe that once you try our method for oven baked breaded chicken, you’ll be a convert too!
Gathering Your Ingredients for Perfect Oven Baked Breaded Chicken
The true appeal of this dish is rooted in its straightforwardness and reliance on common kitchen items. Here’s what we’ll need to create our delicious chicken cutlets in oven:
For the Chicken:
- Chicken *****: We recommend using 2 large boneless, skinless chicken ***** (around 400-500g total). We will be turning these into cutlets. If you happen upon pre-prepared thin chicken cutlets, that’s a great time-saver!
- Plain Flour: About 60g (or 1/2 cup), for the first coating. This helps the egg adhere.
- Eggs: 2 large, lightly beaten. This acts as the binder for our breadcrumbs.
- Breadcrumbs: About 100-120g (or 1 to 1.5 cups). We highly recommend Panko breadcrumbs for superior crispiness, but standard dried breadcrumbs perform adequately too.
- Seasonings for Breadcrumbs: This is where you can get creative! We like:
- 1 tsp salt
- 1/2 tsp black pepper
- 1 tsp garlic powder
- 1 tsp onion powder
- 1/2 tsp dried oregano or Italian herbs
- Optional: A touch of cayenne pepper for a little warmth, or 2 tbsp grated Parmesan cheese blended into the breadcrumbs for extra flavour.
- Oil Spray or Melted Butter/Oil: A light spray of oil (like rapeseed or a light olive oil spray) or about 2 tablespoons of melted butter or oil to drizzle over the chicken. This is key for achieving that golden colour and crisp texture.
Essential Equipment:
- Large baking tray
- Wire rack (optional, but highly recommended for crispier bottoms)
- Three shallow dishes or plates for the breading station
- Meat mallet or rolling pin (if you must flatten the chicken *****)
- Meat thermometer (the most dependable method to check for doneness)
Step-by-Step Guide: How to Cook Chicken Cutlets in Oven to Perfection
Right, let’s get down to the business of creating these wonderfully crispy chicken cutlets in oven. We’ve broken it down into easy-to-follow steps.
1. Prepare the Chicken Cutlets (Approx. 10 minutes)
- Preheat Your Oven: First things first, preheat your oven to 200°C (400°F, Gas Mark 6). If using a wire rack, place it onto your baking tray.
- Create the Cutlets: If you’re starting with whole chicken *****, you’ll need to make them into cutlets.
- Place a chicken breast on a cutting board. Carefully, with your hand flat on top, slice it horizontally through the middle to create two thinner pieces. Repeat with the other breast. You should now have four thinner cutlets.
- If your cutlets are still thicker than about 1cm (just under 1/2 inch), you might want to pound them a little thinner. Position a cutlet between two sheets of cling film or inside a large zip-top bag. Delicately pound it with a meat tenderiser or a rolling pin until it’s an even thickness (around 0.5cm to 1cm or 1/4 to 1/2 inch). This ensures even cooking for your breaded chicken breast in oven. Be careful not to tear the chicken.
- Pat Dry: Delicately dab the chicken cutlets with a paper towel to remove excess moisture. This aids the flour in sticking more effectively.
2. Set Up Your Breading Station (Approx. 5 minutes)
This organised approach makes breading much less messy and more efficient.
- Take your three shallow dishes.
- Dish 1 (Flour): Add the plain flour. You can season this with a little salt and pepper too, if you like.
- Dish 2 (Egg): Lightly beat the eggs.
- Dish 3 (Breadcrumbs): Combine the breadcrumbs with your selected seasonings (salt, pepper, garlic powder, onion powder, herbs, Parmesan if using). Mix well.
3. Bread the Chicken (Approx. 10 minutes)
We prefer employing the “dry hand, wet hand” technique to maintain tidiness. Assign one hand for managing the chicken in the dry components (flour, breadcrumbs) and the alternate hand for the liquid element (egg).
- Take one chicken cutlet and dredge it in the flour, ensuring it’s fully coated on all sides. Shake off any excess flour.
- Transfer the floured cutlet to the beaten egg, turning it to coat completely. Permit any superfluous egg to fall away.
- Finally, place the egg-coated cutlet into the seasoned breadcrumbs. Apply firm pressure so the breadcrumbs adhere well to both sides of the chicken, ensuring complete coverage. Make sure all surfaces are covered.
- Place the breaded chicken cutlet onto the prepared wire rack on the baking tray (or directly onto the baking tray if not using a rack).
- Repeat with the remaining chicken cutlets.
4. Bake to Golden Perfection (Crucial for **how long to bake breaded chicken**)
Now for the magic! Knowing **how long to cook chicken cutlets in oven** is key.
- Oil ‘Em Up: Evenly mist the tops of the breaded chicken pieces with cooking oil spray, or drizzle sparingly with melted butter or oil. This is vital for achieving that beautiful golden-brown colour and crispy texture.
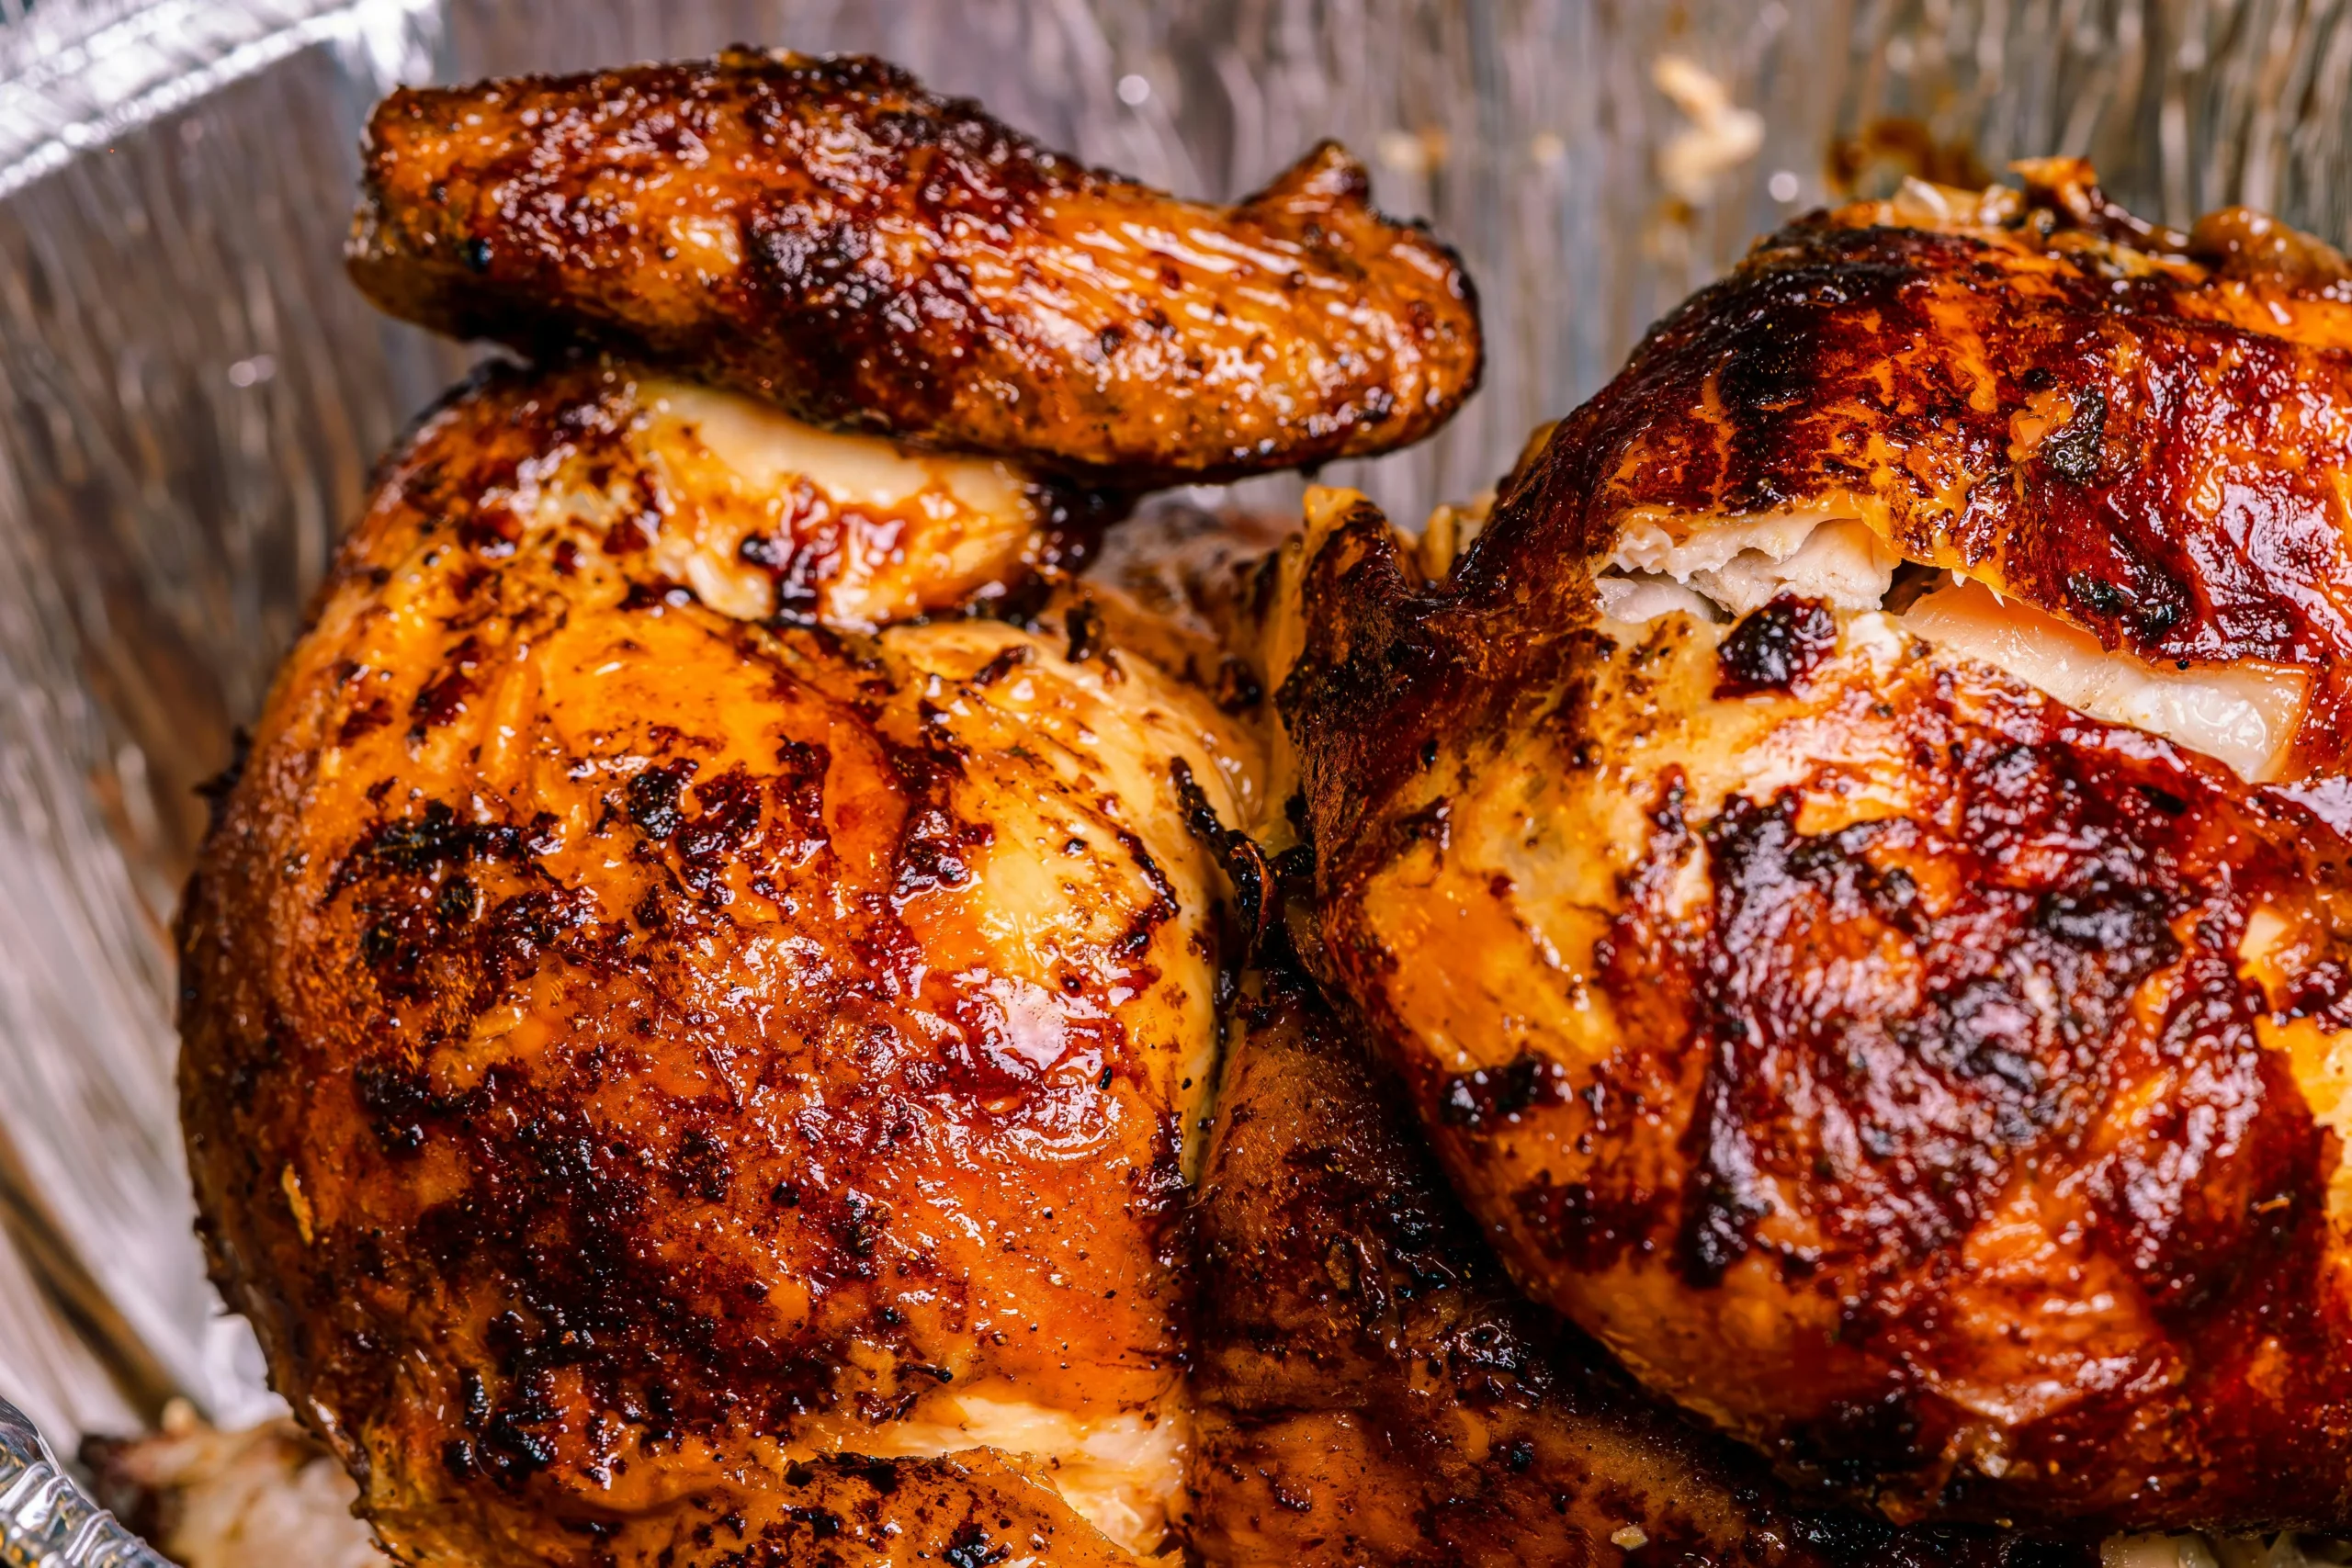
- Bake Time: Place the baking tray in the preheated oven. We find that **chicken cutlets in oven**, when sliced to about 0.5-1cm thickness, will typically take 15-25 minutes to cook through.
- Flip (Optional but Recommended for Even Crisping): About halfway through the cooking time (around the 10-12 minute mark), you can carefully flip the chicken cutlets. If you sprayed the tops with oil, give the new tops a light spray too. This helps both sides get equally crispy.
- Check for Doneness: The most trustworthy way to confirm your **oven baked breaded chicken** is fully cooked is by using a meat thermometer. Insert it into the meatiest section of a cutlet; it should read 74°C (165°F). The chicken should be golden brown and crispy, and its juices should be clear when pierced with a knife. Adjust the baking time slightly if needed, as oven temperatures and cutlet thickness can vary.
Understanding **how long to bake breaded chicken** depends heavily on its thickness. Thinner cutlets cook faster, thicker ones take longer. Always prioritise safe internal temperature over exact timing.
Watch How It’s Done: Making Chicken Cutlets in the Oven
Sometimes seeing is believing! Here’s a helpful video demonstrating a similar process for making crispy **chicken cutlets in oven**:https://www.youtube.com/embed/5LCH_RS0I6w
(Note: This video is a general example. We recommend searching for “crispy oven baked chicken cutlets recipe” on YouTube for more options from trusted cooking channels.)
Top Tips for the Crispiest Chicken Cutlets in Oven
We all want that satisfying crunch! Here are our tried-and-tested secrets for making your **chicken cutlets in oven** exceptionally crispy:
- Panko Power: Japanese Panko breadcrumbs are lighter and flakier than their conventional counterparts, yielding a noticeably crispier coating. We can’t recommend them enough!
- Don’t Crowd the Pan: Ensure there’s space between your chicken cutlets on the baking tray. Overcrowding will cause them to steam rather than crisp up. Use two trays if necessary.
- Use a Wire Rack: Positioning the breaded chicken pieces upon a wire rack situated inside the baking tray permits hot air to circulate all around the cutlets. This helps the bottoms get just as crispy as the tops, preventing sogginess.
- The Magic of Oil/Butter: Don’t skip spraying or drizzling with a little oil or melted butter. Fat is essential for browning and crisping the breadcrumbs.
- Slightly Higher Heat: Baking at 200°C (400°F) provides a good balance, ensuring the chicken cooks through while the breadcrumbs get nicely browned and crispy.
- Toast Your Breadcrumbs (Optional Pro Tip): For an extra layer of flavour and crispness, you can gently toast your breadcrumbs in a dry skillet over medium heat for several minutes until golden before incorporating them into the breading station. Keep a close eye on them as they can burn quickly!
Flavour Variations for Your Oven Baked Breaded Chicken
While our classic seasoning blend is delicious, don’t be afraid to experiment! Here are a few ideas to inspire your next batch of chicken cutlets in oven:
- Spicy Kick: Incorporate 1/2 – 1 teaspoon of cayenne pepper, chilli powder, or smoked paprika into your breadcrumb mixture. A few shakes of hot sauce into the egg mixture also works wonders.
- Lemon Herb Delight: Mix in the zest of one lemon and 1 tablespoon of freshly chopped parsley or dill into the breadcrumbs. Serve with lemon wedges.
- Cheesy Goodness: As mentioned, finely grated Parmesan or Pecorino Romano cheese in the breadcrumbs adds a fantastic savoury, salty note.
- Garlic Lover’s Dream: Increase the garlic powder, or even mix some finely minced fresh garlic (1-2 cloves) into the egg wash.
- Everything Bagel Seasoning: A tablespoon or two of everything bagel seasoning in the breadcrumbs provides a wonderful savoury, seedy crunch.
Serving Your Delicious Chicken Cutlets in Oven
These versatile **chicken cutlets in oven** can be the star of many meals! Here are some of our favourite ways to serve them:
- Classic Dinner: With mashed potatoes, steamed green beans, and a dollop of gravy.
- Chicken Parmigiana Style: After cooking, blanket the cutlets with marinara sauce and a slice of mozzarella, then return to the oven or place under the grill for a few minutes until the cheese is gloriously melted and bubbly. Serve with spaghetti. [Suggested Internal Link: Our Easy Homemade Marinara Sauce Recipe]
- In Sandwiches or Wraps: Sliced and tucked into a crusty roll or soft wrap with lettuce, tomato, and your favourite sauce (mayo, aioli, or a spicy sriracha mayo).
- With a Fresh Salad: For a lighter meal, serve alongside a crisp green salad or a hearty grain salad. [Suggested Internal Link: Quick & Healthy Salad Ideas]
- As Chicken Tenders/Strips for Kids: Slice the cutlets into strips before or after cooking for a kid-friendly meal, served with ketchup or honey mustard dip.
Storing and Reheating Leftovers
If you happen to have any leftover chicken cutlets in oven (it’s rare in our house!), here’s how to store and reheat them:
- Storage: Allow the cutlets to cool completely, then keep them in an airtight container within the refrigerator for a maximum of 3-4 days.
- Reheating for Best Results: To maintain crispiness, the oven or an air fryer is your best bet.
- Oven: Preheat your oven to 190°C (375°F). Place the cutlets on a baking tray (ideally on a wire rack) and bake for 10-15 minutes, or until warmed through and crispy once more.
- Air Fryer: Reheat at around 180°C (350°F) for 5-8 minutes, flipping halfway.
We generally advise against reheating in the microwave if you want to preserve that lovely crispy coating, as it tends to make them soft.
Frequently Asked Questions (FAQ) About Chicken Cutlets in Oven
What’s the difference between a chicken breast and a chicken cutlet?
A chicken breast is the whole, thicker piece of meat. A chicken cutlet is often a chicken breast that has been divided horizontally to yield thinner portions, or it refers to a naturally thinner section of the breast. Sometimes, “cutlet” also implies it’s been pounded to an even thinness, which is ideal for quick cooking and recipes like our chicken cutlets in oven.
How do I know **how long to cook chicken cutlets in oven** if they are different thicknesses?
This is where a meat thermometer is invaluable. While our guideline of 15-25 minutes at 200°C (400°F) is a good starting point for cutlets around 0.5-1cm thick, thinner pieces will cook faster and thicker ones will take longer. Always cook to an internal temperature of 74°C (165°F) to ensure they are safely cooked. The visual cue is golden brown breadcrumbs and clear juices.
Can I make these chicken cutlets in oven gluten-free?
Yes, absolutely! You can substitute the plain flour with a gluten-free all-purpose flour blend, and use gluten-free breadcrumbs or even crushed gluten-free cornflakes or rice cakes for the coating.
My breading keeps falling off! What am I doing wrong?
A few things could be happening:
- Make sure you thoroughly pat the chicken dry before flouring.
- Ensure an even coating at each stage: flour, then egg (let excess drip off), then press breadcrumbs firmly.
- Don’t move the cutlets around too much on the tray once breaded, especially before they start to set in the oven.
Can I prepare the breaded chicken breast in oven ahead of time and bake later?
You can bread the chicken cutlets a few hours in advance. Arrange them in a single layer on a baking sheet, cover with cling film, and refrigerate. However, for the crispiest results, we find baking them fairly soon after breading is best. If breaded too far in advance, the breadcrumbs can sometimes absorb moisture from the chicken and become a bit soft.
Conclusion: Your New Favourite Way to Enjoy Chicken!
Well, there you have it! We’ve walked you through every step to creating absolutely delicious, wonderfully crispy, and perfectly juicy chicken cutlets in oven. From preparing your chicken and setting up an efficient breading station to understanding exactly how long to bake breaded chicken for optimal results, you’re now equipped with all the knowledge you need. We genuinely believe that this method for making oven baked breaded chicken will transform your weeknight meals, offering all the satisfaction of a classic comfort food with far less fuss and a healthier profile.
The versatility of this dish means it can be dressed up for a dinner party or kept simple for a quick family meal. The possibilities for flavour customisation are endless, inviting you to put your own creative spin on it time and time again.
So, what are you waiting for? We wholeheartedly encourage you to give this chicken cutlets in oven recipe a try. We’re confident it will become a staple in your culinary repertoire. Get those ingredients ready, preheat that oven, and prepare for a truly delightful meal!
We would absolutely love to hear how your oven-baked chicken cutlets turn out! Please leave us a comment below with your experiences, any brilliant tweaks you made, or your favourite ways to serve them. And if this recipe hits the mark for you, please share it with fellow food lovers!
For further information on safe chicken cooking temperatures, we always recommend consulting an authoritative source like the Food Standards Agency.