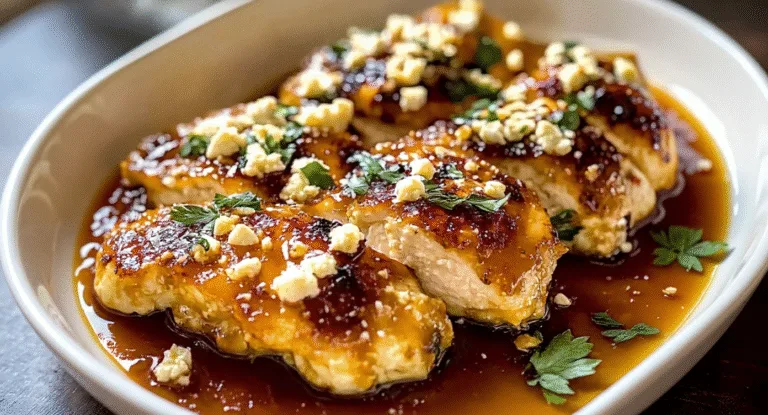
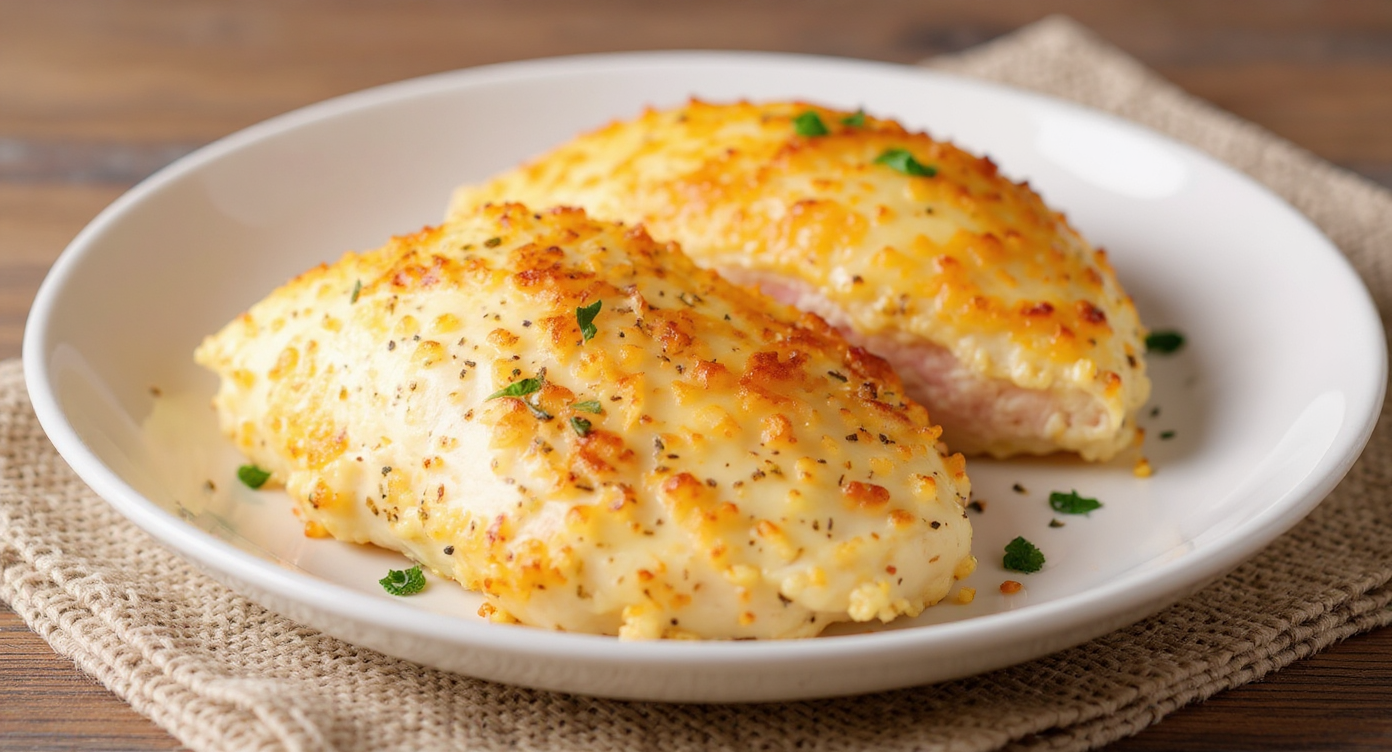
Tasty Chicken Breast Recipe – Delicious & Easy!
Are you fed up with dedicating time to a chicken dinner, only to be left with a dry, tough, and uninspired meal? We’ve certainly been there. That sinking feeling when you slice into a chicken breast that appears perfectly golden but is disappointingly chewy and bland is an experience most of us know well. But what if we told you that creating wonderfully succulent, flavour-packed chicken every single time isn’t a culinary myth? It’s a skill you can easily master, and we’re here to guide you with our ultimate Chicken Breast Recipe.
This particular method is our trusted favourite for a very good reason. It’s straightforward, utterly reliable, and elevates the humble chicken breast into the true hero of your plate. By uniting a swift pan-sear with a final bake in the oven, we manage to seal in all the natural moisture and flavour, ensuring a flawless outcome time after time. It’s time to bid farewell to kitchen uncertainty and welcome your new go-to weeknight dinner.
Why This Method Guarantees the Best Baked Chicken Breast
You might be curious about what makes this recipe so effective. The magic lies in a two-stage cooking technique that provides the best of both worlds: a beautifully browned, flavourful crust and a moist, tender interior. This is a process used by professional chefs, but we have adapted it to be completely straightforward for any home cook.
Here is why this approach is such a game-changer:
- The Pan-Sear: We begin by searing the chicken breasts in a hot, oven-proof pan. The goal here isn’t to cook the chicken all the way through, but rather to develop a gorgeous golden-brown crust. This process, known as the Maillard reaction, creates a depth of savoury flavour that baking alone simply cannot achieve.
- The Oven Finish: Once seared, the entire pan is moved into a preheated oven. The consistent, enveloping heat of the oven cooks the chicken gently from all sides, which stops the outside from drying out before the middle is perfectly cooked. This ensures you get a juicy chicken breast from the very edge to the centre.
- The All-Important Rest: This could well be the most vital yet most frequently overlooked step. Letting the chicken rest for several minutes after it comes out of the oven allows the juices to settle and redistribute throughout the meat. If you slice it open immediately, all of that wonderful moisture will simply pour out onto your board.
Ingredients You Will Need
We are firm believers in using simple, good-quality ingredients to achieve spectacular results. It’s very likely that you already have most of what you need in your kitchen cupboards. This straightforward seasoning blend is our classic choice, but we encourage you to get creative once you’ve perfected the technique!
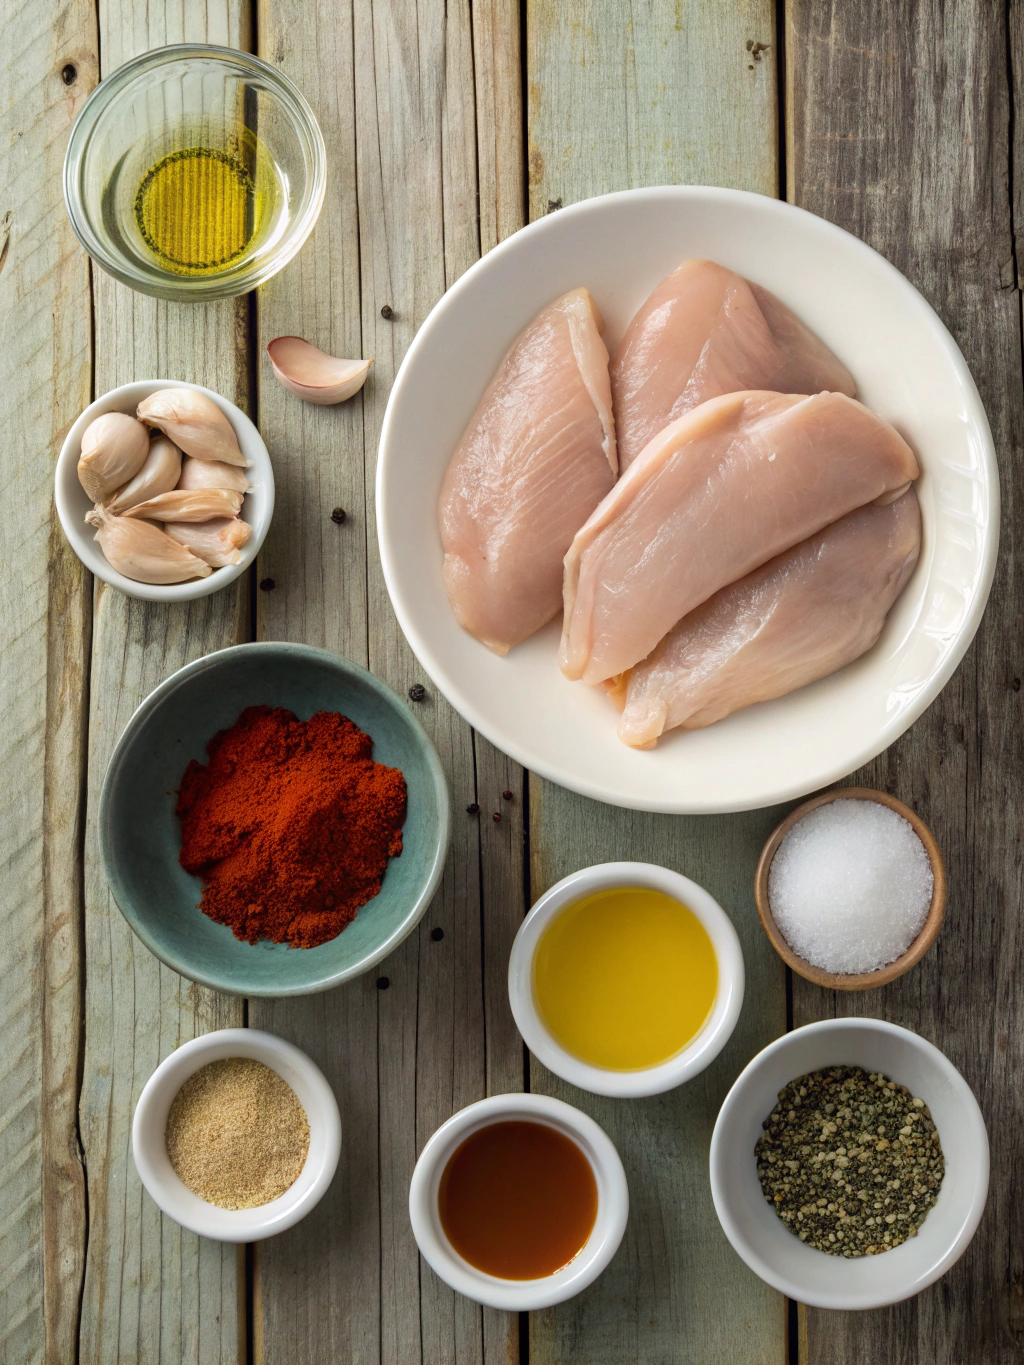
- 2 large chicken breasts (around 200-225g each), skinless and boneless
- 1 tablespoon olive oil
- 1 teaspoon smoked paprika
- 1 teaspoon garlic powder
- ½ teaspoon onion powder
- ½ teaspoon dried oregano or mixed Italian herbs
- ½ teaspoon salt (or to your taste)
- ¼ teaspoon black pepper
Step-by-Step Instructions for the Perfect Baked Chicken Breast
Are you ready to prepare the most delicious chicken you’ve ever had? Just follow these simple stages. We promise this easy chicken recipe will quickly become a cherished staple in your home.
- Preheat and Prepare: To begin, preheat your oven to 200°C (400°F / Gas Mark 6). Remove your chicken breasts from the refrigerator 15-20 minutes before you plan to cook, allowing them to approach room temperature for more even cooking. Pat them thoroughly dry with kitchen paper – a dry surface is essential for a great sear.
- Even Out the Chicken: If your chicken breasts have a noticeable thick end and a thinner one, we recommend placing them between two pieces of baking parchment and gently pounding the thickest section with a rolling pin or meat mallet until they reach a more uniform thickness. This is a critical step for consistent cooking.
- Mix the Seasoning: In a small bowl, add the smoked paprika, garlic powder, onion powder, dried oregano, salt, and black pepper. Stir everything together until well combined to create your delicious spice rub.
- Season Generously: Coat the chicken breasts by drizzling them with olive oil and rubbing it over the entire surface. Next, sprinkle the seasoning blend evenly over all sides, gently pressing the spices into the flesh to ensure they stick.
- Get Searing: Set a large, oven-proof frying pan (a cast-iron skillet is ideal) over a medium-high heat. Allow the pan to get properly hot. A good test is to flick a tiny droplet of water into it; if it sizzles and evaporates immediately, it’s ready. Carefully lay the seasoned chicken breasts in the hot pan. Sear them for 2-3 minutes on each side without disturbing them, until they develop a rich, golden-brown colour. Don’t worry about them being cooked through yet.
- Finish in the Oven: Place the entire pan straight into your preheated oven. Let it bake for 15-18 minutes. The precise cooking time will vary depending on the thickness of your chicken. The chicken is done when it feels firm to the touch and a meat thermometer registers an internal temperature of 74°C (165°F).
- Rest is Best: Take the pan out of the oven. Thoughtfully move the chicken breasts to a clean chopping board and let them rest for a minimum of 5-10 minutes. You can cover them loosely with a piece of foil to retain warmth. This step is absolutely essential for juicy results!
- Slice and Serve: After the resting period, slice the chicken against the grain and serve straight away. Prepare yourself for how wonderfully moist and flavoursome it is!
Tips for Success: Secrets to a Flawless Result
To help you ensure your chicken turns out perfectly every single time, we’ve got a few extra pointers to share. Keep these little secrets in mind as you go through the recipe.
Don’t Skip Pounding the Chicken
We’ve already mentioned this in the instructions, but it bears repeating. Chicken breasts are naturally tapered. Taking a moment to pound the thicker end so it’s a similar depth to the thinner end guarantees that the whole piece of chicken cooks at the same pace. This simple action prevents the thinner part from becoming dry while you wait for the thicker part to cook through safely.
The Importance of a Hot Pan
Using a very hot pan is fundamental to creating that delicious, caramelised crust. If your pan isn’t hot enough when you add the chicken, it will begin to steam in its own liquid instead of searing properly. Have a little patience and let the pan heat up fully. That sizzle you hear upon contact is the sound of flavour being created!
Why You Must Rest Your Chicken
During cooking, the muscle fibres in the meat contract and push moisture towards the centre. If you were to slice into it right away, that concentrated pool of juices would spill out. Resting allows the fibres to relax and reabsorb that moisture, ensuring it’s distributed evenly throughout the meat for a succulent bite every time.
Use a Meat Thermometer for Confidence
The single most effective way to guarantee your chicken is cooked to perfection is by using a digital meat thermometer. It completely removes any guesswork or worry. Chicken is considered safe to eat once it has reached an internal temperature of 74°C (165°F). To get an accurate reading, be sure to insert the probe into the very thickest part of the breast. For further details on food safety, we always rely on the advice from the Food Standards Agency.
Flavour Variations and Customisations
Once you’ve truly mastered this fundamental technique, the creative possibilities are boundless! This recipe serves as a brilliant foundation for a wide range of flavour combinations. Here are a few of our ideas to inspire you:
- Lemon Herb: Replace the smoked paprika with fresh lemon zest and be more generous with dried herbs such as thyme and rosemary. Finish by squeezing fresh lemon juice over the chicken just before serving.
- Cajun Spice: Try a shop-bought Cajun seasoning blend, or create your own with paprika, cayenne pepper, garlic powder, onion powder, and oregano for a fiery kick.
- Smoky BBQ: Use your favourite BBQ rub for seasoning and then brush the chicken with a layer of BBQ sauce during the final few minutes of its time in the oven.
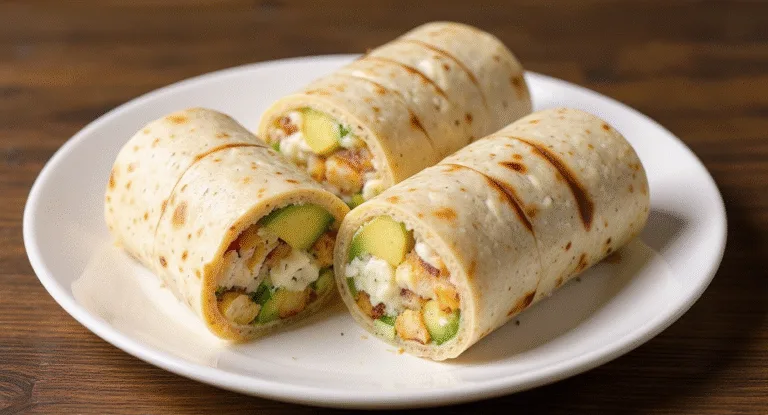
You can also use this perfectly prepared chicken as a component in other wonderful meals. Try shredding it for tacos, slicing it over salads, or dicing it to use as a tasty filling in The Ultimate Easy Creamy Chicken Tortilla Wraps.
What to Serve With Your Perfect Chicken Breast
This wonderfully versatile chicken goes well with almost any accompaniment, which makes it ideal for building a healthy chicken dinner or a more hearty comfort food meal.
- Vegetables: Roasted broccoli, tender-stemmed asparagus, or a crisp green salad.
- Starches: Creamy mashed potatoes, fluffy quinoa, or roasted sweet potato wedges.
- Pasta: Serve it alongside a simple aglio e olio, or make it the star protein in a richer dish like The Ultimate Garlic Butter Chicken Parmesan Pasta Recipe.
Frequently Asked Questions (FAQ)
Can I use frozen chicken breasts for this recipe?
For the best results, we strongly advise using fresh or completely defrosted chicken breasts. Cooking chicken from frozen will hinder a proper sear and lead to an unevenly cooked, often watery, final texture. To thaw frozen chicken safely, we recommend leaving it in the refrigerator overnight.
How do I know when the chicken is cooked without a thermometer?
While using a thermometer is the most reliable method, you can check for doneness by making a small cut into the thickest part of the breast. The juices that emerge should run clear, with no pink traces, and the meat itself should be opaque throughout. Be aware that if you use this method, you will lose some of those lovely juices you worked to keep in!
How can I store and reheat leftovers?
You can store leftover chicken in an airtight container in the fridge for up to 3-4 days. To reheat, we suggest warming it gently in a pan with a splash of water or chicken stock. Alternatively, you can slice it cold and add it to salads or sandwiches.
Can I cook this entirely on the hob?
You can, although it is more challenging to achieve the same juicy result. To cook it solely on the hob, sear both sides as instructed, then reduce the heat, cover the pan with a lid, and let it cook for approximately 10-12 minutes, flipping it once halfway through, until it’s cooked all the way through. The oven method remains our most dependable way to avoid dry chicken.
Is this chicken breast recipe suitable for meal prep?
Absolutely! This recipe works brilliantly for meal preparation. You can cook a batch at the start of the week to have perfectly cooked chicken on hand for speedy lunches and dinners. It keeps very well and is just as delicious served hot or cold.
Your New Go-To Chicken Dinner Awaits
We feel sure that once you give this method a go, you will never return to your old ways of cooking chicken breasts. This recipe truly delivers on its promise of juicy, flavourful, and tender chicken, all with minimal effort and maximum satisfaction. It’s a testament to how simple techniques and quality ingredients are all that’s required to make a meal to remember.
So, why not give this Chicken Breast Recipe a try this week? We are certain you will be delighted with the results. When you do, please drop a comment below and let us know how you got on. We always love hearing from our community of fellow home cooks!