Caramel Cloud Cake
Have you ever imagined a cake that possesses the lightness of a cloud, yet is brimming with the deep, buttery essence of caramel? A sweet treat that dissolves on your tongue, compelling you to take another bite? This might sound like a confection found only in high-end bakeries, but we’re delighted to show you how to create this magic in your own kitchen.
Your search is over. We are going to walk you through the entire process of making the most wonderful caramel cloud cake. This recipe marries an exquisitely light sponge with a profoundly flavourful caramel, which comes together to create a spectacular dessert that is certain to wow your guests. Leave behind those dense, weighty cakes; this is a creation that truly embodies its heavenly name.
What Exactly Is a Caramel Cloud Cake?
In essence, a caramel cloud cake belongs to the foam cake family, similar to an angel food or chiffon cake. Its remarkable lightness is not derived from butter or chemical raising agents like baking powder, but from air that is carefully whisked into egg whites. This process yields a tender, marshmallow-soft crumb that is astonishingly light. It can be considered a more refined and flavourful version of the hugely popular Cloud Cake Recipe.
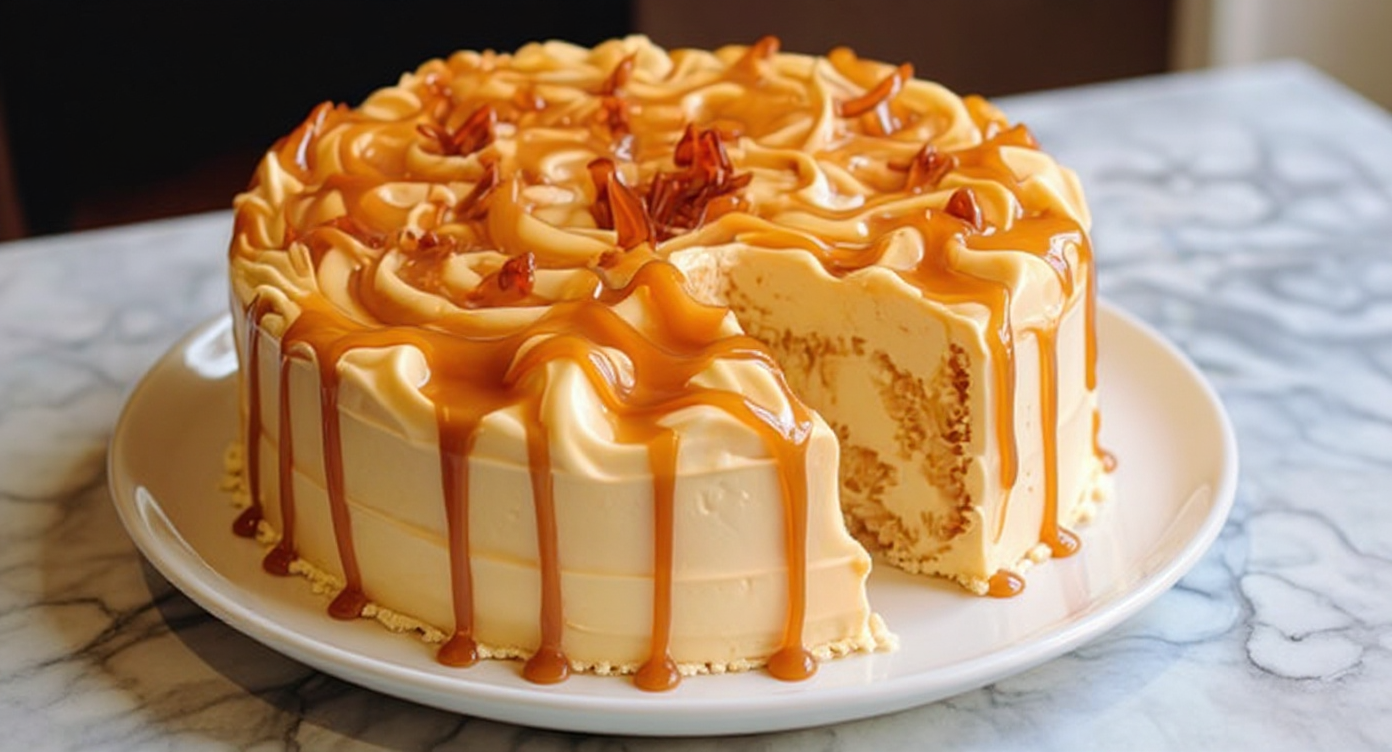
The defining feature of this cake is the infusion of a luscious, golden caramel. A portion of a homemade caramel sauce is folded directly into the batter, lending the sponge a gorgeous amber colour and a subtle, toasted-sugar taste. To finish, the cake is generously drizzled with the rest of the caramel, striking a beautiful harmony between a delicate texture and a rich, indulgent flavour. It has certain things in common with a caramel meringue cake, yet it features a significantly softer, more sponge-like consistency.
Why You’ll Adore This Caramel Cloud Cake Recipe
We are certain this recipe will quickly become a favourite for any special gathering. Here are the reasons we believe you will fall completely in love with it:
- An Unbelievably Airy Crumb: The “cloud” in its name is certainly not an overstatement. This cake is so feather-light and airy that it’s like eating a sweet, caramel-infused cloud. It offers a satisfying end to a meal without ever feeling too heavy.
- Deep, Nuanced Caramel Taste: Our homemade caramel offers a complex, buttery, and slightly toasty flavour that is simply unmatched by shop-bought alternatives. It’s a sophisticated taste that delights palates of all ages.
- A Visually Stunning Centrepiece: With its beautiful golden hue and glossy caramel glaze, this cake is a real head-turner. Your guests will be convinced you laboured for hours, but we know it’s a remarkably straightforward bake.
- Deceptively Simple to Make: Although it appears intricate, the method is broken down into clear, manageable steps. We will lead you through each stage, providing all the tips you need for a perfect result.
Essential Ingredients for Your Cake
The first step towards a perfect bake is gathering high-quality ingredients. Precision is vital for this particular cake, so we strongly suggest you use a digital kitchen scale for the best outcome.
For the Cloud Cake Sponge
- 6 large egg whites, at room temperature
- 1/4 teaspoon cream of tartar
- 150g caster sugar, divided
- 6 large egg yolks, at room temperature
- 60ml vegetable oil
- 80ml milk
- 1 teaspoon vanilla extract
- 150g cake flour, sifted
For the Heavenly Caramel Sauce
- 200g granulated sugar
- 60ml water
- 120ml double cream, warmed
- 60g unsalted butter, cut into cubes
- 1/2 teaspoon sea salt
Step-by-Step Instructions: Baking Your Caramel Cloud Cake
We will now guide you through the process in manageable phases. If you follow these instructions with care, a truly magnificent cake will be your reward.
1. Preparing the Heavenly Caramel Sauce
- Begin by combining the granulated sugar and water in a medium saucepan with a heavy base. Give it a gentle stir just to moisten the sugar.
- Set the pan over a medium heat and allow it to come to a boil without any further stirring. You may, however, gently swirl the pan from time to time to promote even colouring.
- Let the mixture continue to cook until it transforms into a rich amber colour, reminiscent of dark honey. This step demands your attention, so watch it closely to ensure it doesn’t burn.
- As soon as it achieves the perfect colour, take the pan off the heat immediately. Very carefully, pour the warmed double cream into the sugar mixture. It will bubble up vigorously, so be sure to step back.
- Whisk the caramel until it is completely smooth, then add the cubes of butter and the sea salt. Keep whisking until the butter has fully melted and is smoothly incorporated.
- Put the caramel sauce to one side. You’ll be using approximately 60ml for the cake batter, with the remainder reserved for the topping. Let it cool down a little.
2. Creating the Fluffy Cake Batter
- Preheat your oven to 160°C (320°F). It is very important that you do not grease your 20cm (8-inch) tube or chiffon cake tin.
- In a clean, spacious bowl, whisk together the egg yolks and half of the caster sugar (75g) until the mixture is pale, thick, and creamy.
- Next, whisk in the vegetable oil, milk, vanilla extract, and 60ml of the slightly cooled caramel sauce until everything is thoroughly combined.
- Sift the cake flour directly over the wet mixture, then use a spatula to gently fold it in until it is just incorporated. Take care not to overmix at this stage.
- Using a separate, immaculately clean bowl (metal or glass works best), beat the egg whites with an electric mixer on a medium speed until they become frothy. Add the cream of tartar and continue to beat.
- Increase the mixer speed to high and gradually add the rest of the caster sugar (75g), one spoonful at a time. Continue beating until the meringue is glossy and holds stiff, firm peaks. This is the secret to a fluffy caramel cake.
- Add about a third of the stiff meringue to the egg yolk batter and fold it in to lighten the mixture.
- Gently fold in the rest of the meringue in two more batches. Employ a large spatula and a delicate touch, scooping from the bottom of the bowl upwards to prevent deflating the precious air you’ve incorporated.
3. Baking to Perfection
- Carefully pour the finished batter into your ungreased tube tin, then use your spatula to level the surface.
- Firmly tap the tin on your work surface a couple of times to dislodge any large air pockets.
- Bake for 50-60 minutes. The cake is ready when a wooden skewer inserted into the middle comes out clean and the top gently springs back when touched.
- The moment the cake comes out of the oven, you must immediately turn the tin upside down onto a wire rack (if using a tin with feet) or suspend it over the neck of a bottle. This vital step stops the delicate cake from collapsing on itself while it cools.
- Let the cake cool down completely in the inverted tin, which will take at least 1.5 to 2 hours.
4. Assembling Your Masterpiece
- After it has cooled completely, carefully run a thin-bladed knife or an offset spatula around the outer and inner edges of the tin to loosen the cake.
- Gently ease the cake out of the tin and transfer it to a serving plate or cake stand.
- If the remaining caramel sauce has thickened too much, warm it gently. Liberally drizzle the warm sauce over the top of the cake, encouraging it to cascade down the sides.
- Allow the caramel topping to set for several minutes before you slice and serve your creation.
Our Top Tips for a Flawless Caramel Cloud Cake
To guarantee your cake-baking adventure is a resounding success, please keep our expert advice in mind:
- Room Temperature is Non-Negotiable: Make sure your eggs and milk have had time to come to room temperature. Chilled egg whites will not whip up to their maximum volume, which is crucial for the cake’s lift and airy structure.
- The Importance of Sifting: Always take the time to sift your dry ingredients, especially the cake flour. This process eliminates any lumps and aerates the flour, which helps to create a much finer crumb.
- The Gentle Art of Folding: Be both patient and delicate as you fold the meringue into the yolk batter. Your primary aim is to combine them thoroughly while losing as little of that incorporated air as possible.
- Resist Greasing the Tin: While it may go against your baking instincts, you must not grease the cake tin. The batter needs to cling to the sides of the tin as it bakes, allowing it to climb high and achieve its full, impressive volume.
- Becoming a Caramel Master: Creating caramel is a straightforward chemical reaction, but it does demand your undivided attention. For a more in-depth look at the science and method, this guide on how to make perfect caramel from BBC Good Food is a fantastic resource. This is the single most critical step for making a truly delicious light caramel dessert.
Variations and Serving Suggestions
Although this cake is quite spectacular just as it is, you can certainly add your own personal touch.
Flavour Twists
- Salted Caramel Cloud Cake: For that irresistible salty-sweet combination, simply increase the sea salt in your caramel sauce to a full teaspoon.
- Mocha Caramel: Dissolve one teaspoon of instant espresso powder into the warm double cream before you add it to the caramelised sugar for a coffee-infused twist.
- A Nutty Finish: Scatter some toasted, chopped pecans or flaked almonds over the caramel topping to introduce a lovely, crunchy texture. If you are a fan of nutty and sweet treats, you may also like our Almond Joy Cookie Recipe.
Perfect Pairings
We suggest serving a slice of this cake with a generous dollop of unsweetened whipped cream or a spoonful of crème fraîche to provide a tangy counterpoint to the sweetness. It is perfectly complemented by a strong cup of black coffee or a simple pot of breakfast tea.
Frequently Asked Questions (FAQ)
What causes a caramel cloud cake to collapse?
A sunken cake is almost always the result of lost air. This might occur if the egg whites were not whipped to sufficiently stiff peaks, if the batter was overmixed during the folding stage, or if the oven was opened too soon. Crucially, always cool the cake completely upside down, as this allows its delicate structure to set firmly.
Is it possible to prepare this cake in advance?
Yes, absolutely. The cake sponge can be baked the day before you plan to serve it. Store it in an airtight container at room temperature to keep it fresh. We do advise drizzling the caramel over the cake just before serving to ensure the best possible texture and appearance.
How does this differ from a standard caramel cake?
The key distinction lies in the texture. A typical caramel cake will often use butter and baking powder for leavening, which produces a denser, richer crumb. In contrast, our cloud cake is leavened by whipped egg whites, which results in a remarkably light, springy, and airy texture. This makes it an easy caramel cake recipe with a uniquely delicate mouthfeel.
My caramel has a bitter taste. What did I do wrong?
If your caramel tastes bitter, it is a sign that the sugar was cooked for too long and began to burn. You are aiming for a deep amber hue. The transition from perfect to burnt can happen in mere seconds, so you must watch it vigilantly and pull it from the heat the moment it reaches the correct colour.
Conclusion: Your New Favourite Caramel Dessert Awaits
Baking a caramel cloud cake is a truly fulfilling process that results in an exceptionally special dessert. With its cloud-like texture and deep caramel notes, it’s a bake that champions both simplicity and proper technique. We have provided you with all the guidance and advice needed to create this wonderful cake with complete confidence.
So, it’s time to pop on your apron and get ready to bake a little piece of heaven. We can assure you that the end result is worth every bit of effort. We would be thrilled to see your bakes! Please share a picture of your gorgeous caramel cloud cake in the comments section below, or feel free to tag us on social media. Happy baking!


