Buttery Spritz Cookies Christmas Treat
There is something truly magical about the aroma of buttery biscuits baking in the oven, especially as the festive season approaches. For me, that scent is inextricably linked to these delightful Buttery Spritz Cookies. They are the epitome of a classic Christmas treat – delicate, crisp, and so wonderfully rich with the taste of pure butter and vanilla. This is my go-to recipe when I need something that feels special and impressive for a school bake sale or a holiday gathering, but which comes together with minimal fuss.
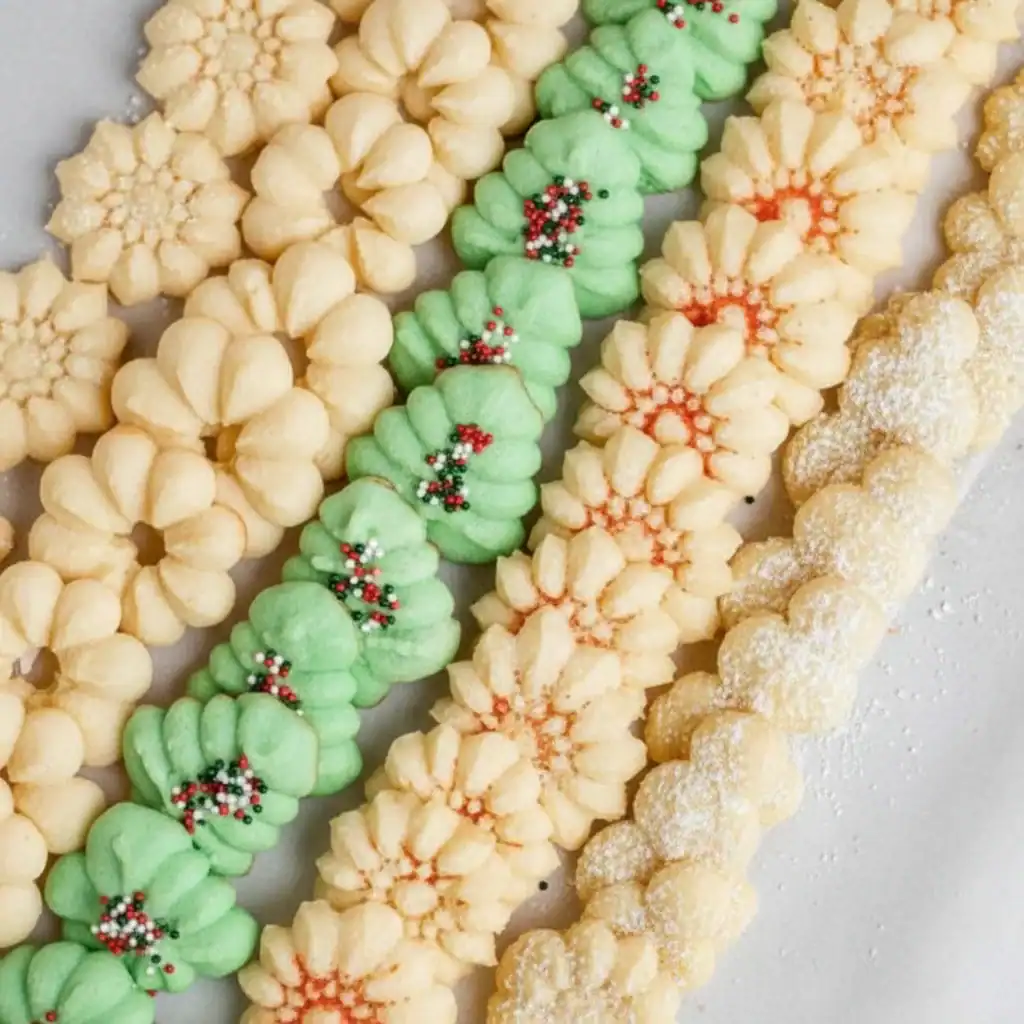
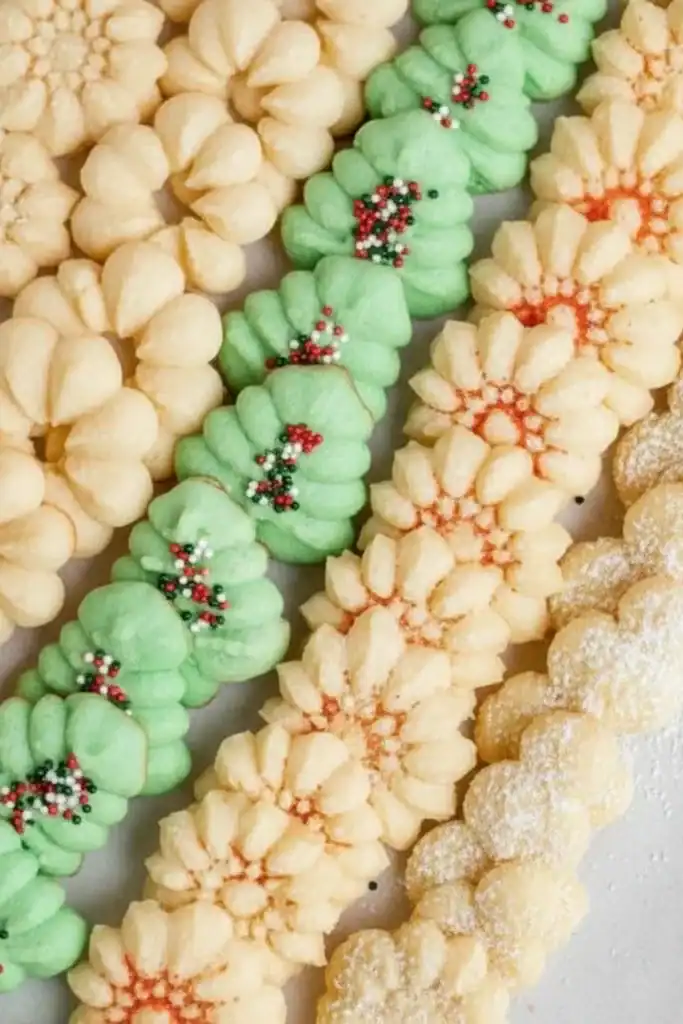
Unlike a standard biscuit that you roll and cut, these are formed using a cookie press, which pipes the soft, rich dough into intricate little shapes. It’s a process that feels both nostalgic and wonderfully efficient. The result is a tray full of beautiful, uniform cookies that melt in your mouth, leaving behind a lingering, sweet buttery flavour. They have a distinctive ‘snap’ when you bite into them, which gives way to a sandy, shortbread-like texture that is utterly addictive.
These cookies are ideal for making with children, who adore helping to press the shapes and, of course, adding a generous scattering of colourful sprinkles before they bake. Whether you’re filling up gift tins for friends and neighbours, preparing for a party, or simply stocking the biscuit tin for the family, this recipe is one you’ll return to year after year. It’s a simple joy that always gets compliments.
Recipe Overview
This recipe produces exceptionally light and buttery spritz cookies with a pronounced vanilla flavour and a crisp, melt-in-the-mouth texture. The dough is specifically formulated to be the perfect consistency for a cookie press, ensuring you get beautifully defined shapes every time. After testing countless batches, I’ve found that a very brief 10-minute chill of the dough is the secret to preventing spread while still keeping it soft enough to press easily.
- Prep Time: 20 minutes
- Cook Time: 10 minutes per tray
- Total Time: 40 minutes
- Servings: Approx. 60 cookies
- Difficulty: Easy
Why You’ll Love These Buttery Spritz Cookies
- Genuine Flavour: The taste is pure, unadulterated butter and high-quality vanilla extract. There are no competing flavours, just a rich, creamy sweetness that is wonderfully satisfying.
- Ready in Under an Hour: The dough itself comes together in about 15 minutes, and with a quick bake time, you can have dozens of cookies ready in less than an hour.
- Flexible Recipe: It’s easy to customise. Add a teaspoon of finely grated lemon zest along with the vanilla for a bright, citrus note, or a quarter teaspoon of almond extract for a classic Bakewell flavour.
- Great for Gifting: These cookies look so professional and pack beautifully into tins or cellophane bags, making them a wonderful homemade Christmas gift. They are also a lovely light sweet to serve after a rich meal like my Bruschetta Chicken.
- Family Tested: My kids absolutely devour these every time I make them. They love choosing the different press discs – the wreath and the Christmas tree are their firm favourites!
Ingredients You’ll Need
The key to phenomenal Buttery Spritz Cookies is using good-quality ingredients, especially the butter. As it’s the star flavour, I recommend using a good European-style unsalted butter with a high fat content for the richest taste and best texture. It really makes a difference.
- 225g unsalted butter, softened to room temperature
- 150g caster sugar
- 1 large free-range egg, at room temperature
- 2 teaspoons high-quality vanilla extract
- 1/4 teaspoon almond extract (optional, but recommended)
- 300g plain flour
- 1/4 teaspoon fine sea salt
- Various sprinkles, nonpareils, or coloured sugars for decoration
Sara’s Tip: Don’t be tempted to use cold butter or a cold egg straight from the fridge. Having these ingredients at room temperature is essential for creating a smooth, light, and properly emulsified dough that will glide through your cookie press.
How to Make Buttery Spritz Cookies
The process is very straightforward. The main thing to remember is to work with a cool, ungreased baking tray, as this helps the dough stick to the surface and release cleanly from the press.
- Preheat your oven to 180°C (160°C Fan / Gas Mark 4). Do not line your baking trays with parchment paper or grease them. Leave them bare.
- In a large bowl or the bowl of a stand mixer fitted with the paddle attachment, cream the softened butter and caster sugar together on medium speed for 2-3 minutes until the mixture is pale, light, and fluffy.
- Add the room temperature egg, vanilla extract, and almond extract (if using). Beat again for another minute until everything is well combined and the mixture is smooth. Scrape down the sides of the bowl to ensure everything is incorporated.
- In a separate bowl, whisk together the plain flour and salt. Add the dry ingredients to the wet ingredients in two batches, mixing on low speed until just combined. Be careful not to overmix, as this can make the cookies tough. The dough should be soft and pliable.
- For the best results, wrap the dough in cling film and chill it in the refrigerator for 10-15 minutes. This helps the cookies hold their shape without making the dough too stiff to press.
- Load the slightly chilled dough into your cookie press, fitted with your desired disc.
- Hold the press flat against the cool, ungreased baking tray. Squeeze the trigger firmly to press out one cookie. Lift the press straight up. Repeat, spacing the cookies about 3-4 cm apart. What works best for me is a confident, single press for each cookie.
- Decorate the unbaked cookies with your chosen sprinkles or coloured sugars.
- Bake for 8-10 minutes, or until the edges are just beginning to turn a pale golden brown. The centres should still be quite pale.
- Let the cookies cool on the baking tray for 2-3 minutes before carefully transferring them to a wire rack to cool completely.
Tips From My Kitchen
- Temperature Control: The temperature of both your dough and your baking trays is key. If the dough is too warm, the cookies will spread. If your trays are warm from a previous batch, the dough won’t stick. I often run my trays under cold water and dry them thoroughly between batches.
- The Secret Step: I learned that if your first few cookies aren’t releasing properly, it’s often helpful to press the first one or two back into the dough bowl. This ‘primes’ the press and seems to get things flowing smoothly.
- Make-Ahead: The dough can be prepared up to 3 days in advance. Wrap it tightly in cling film and store it in the fridge. You will need to let it sit at room temperature for about 30-45 minutes to soften enough to be pressed.
- Storage: Once completely cool, these cookies can be stored in an airtight container at room temperature for up to a week. They also freeze brilliantly for up to 3 months.
Equipment You’ll Need
- Cookie press
- Stand mixer or electric hand mixer
- 2-3 large metal baking trays
- Parchment paper (for storing, not baking on)
- Wire cooling rack
- Mixing bowls
Delicious Variations to Try
While the classic buttery vanilla flavour is hard to beat, this dough is a brilliant canvas for other flavours. Here are a few ideas we love:
- Chocolate Spritz Cookies: Replace 30g of the plain flour with an equal amount of high-quality, unsweetened cocoa powder. Sift it in with the flour for a rich, chocolatey version.
- Warming Spice Cookies: Add 1/2 teaspoon of ground cinnamon and 1/4 teaspoon of ground ginger to the dry ingredients for a wonderfully festive, spiced cookie.
- Zesty Lemon or Orange: Add the finely grated zest of one large lemon or orange to the creamed butter and sugar mixture. It adds a beautiful, fresh aroma and flavour that cuts through the richness. It’s a lovely light option if you’ve had a filling dinner, like our popular Garlic Parmesan Chicken Pasta Recipe.
What to Serve With Buttery Spritz Cookies
These cookies are wonderful on their own, but they also pair beautifully with a variety of drinks and other treats.
- They are the perfect companion to a cup of hot tea or a milky coffee.
- Serve them alongside a rich hot chocolate topped with whipped cream for an indulgent afternoon treat.
- For adults, a small glass of dessert wine or even a creamy Irish liqueur works wonderfully with the buttery notes.
Frequently Asked Questions
Buttery Spritz Cookies
Ingredients
Method
- Preheat your oven to 180°C (160°C Fan / Gas Mark 4). Do not line your baking trays with parchment paper or grease them. Leave them bare.
- In a large bowl or the bowl of a stand mixer fitted with the paddle attachment, cream the softened butter and caster sugar together on medium speed for 2-3 minutes until the mixture is pale, light, and fluffy.
- Add the room temperature egg, vanilla extract, and almond extract (if using). Beat again for another minute until everything is well combined and the mixture is smooth. Scrape down the sides of the bowl to ensure everything is incorporated.
- In a separate bowl, whisk together the plain flour and salt. Add the dry ingredients to the wet ingredients in two batches, mixing on low speed until just combined. Be careful not to overmix, as this can make the cookies tough. The dough should be soft and pliable.
- For the best results, wrap the dough in cling film and chill it in the refrigerator for 10-15 minutes. This helps the cookies hold their shape without making the dough too stiff to press.
- Load the slightly chilled dough into your cookie press, fitted with your desired disc.
- Hold the press flat against the cool, ungreased baking tray. Squeeze the trigger firmly to press out one cookie. Lift the press straight up. Repeat, spacing the cookies about 3-4 cm apart. What works best for me is a confident, single press for each cookie.
- Decorate the unbaked cookies with your chosen sprinkles or coloured sugars.
- Bake for 8-10 minutes, or until the edges are just beginning to turn a pale golden brown. The centres should still be quite pale.
- Let the cookies cool on the baking tray for 2-3 minutes before carefully transferring them to a wire rack to cool completely.
Notes
I do hope you give these Buttery Spritz Cookies a try. They are a true staple of my festive baking for a reason, and they bring so much joy. There’s nothing better than seeing a tin full of these beautiful little treats, ready to be shared. Let me know how you get on in the comments below – I’d love to hear about it! Happy baking, Sara x


