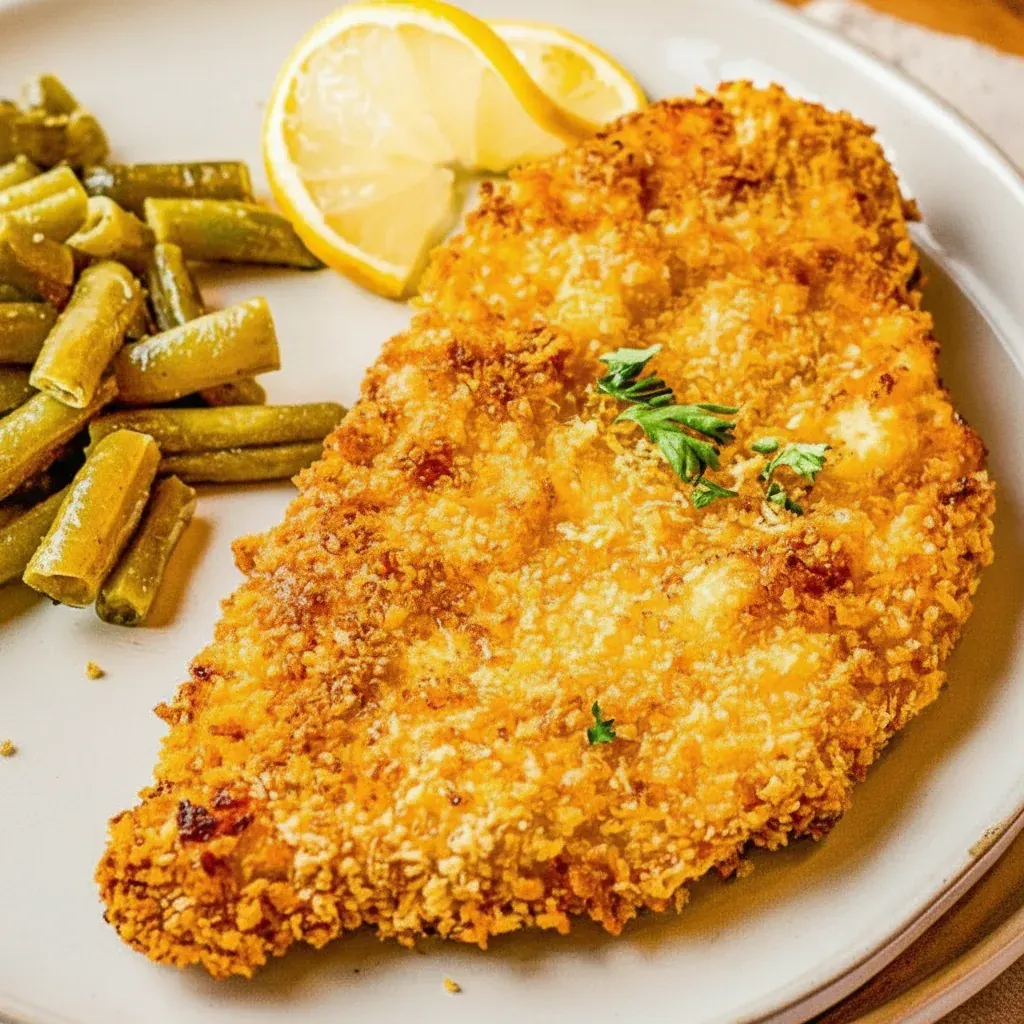
Air Fryer Crispy Chicken Breast

How to Master Air Fryer Crispy Chicken Breast for Flawless Results
Have you ever longed for chicken with a shatteringly crisp coating that gives way to moist, tender meat inside? It’s a culinary goal that often feels just out of reach without resorting to a deep-fat fryer. The usual results can be underwhelming, leaving us with either limp coatings or chicken that’s sadly overcooked. But what if we said you could achieve that perfect texture and taste, with far less oil and in well under half an hour? That’s precisely the promise of an air fryer.
We are excited to walk you through the straightforward process of making the most incredible Air Fryer Crispy Chicken Breast imaginable. It’s time to move past disappointing oven-baked chicken and unhealthy fried alternatives. Our recipe will revolutionise your midweek meals, simplify your meal prep, and allow you to indulge in those crispy cravings without a second thought. Together, let’s turn a simple chicken breast into an extraordinary, crunchy delight.
Why You’ll Love This Recipe
- A Superb Crunch with Less Oil: The air fryer circulates hot air to give the chicken a beautifully golden and crunchy exterior that truly competes with deep-frying, but with a tiny fraction of the fat.
- On the Table in Under 30 Minutes: This is the perfect Quick chicken breast recipe for when you’re short on time. From start to finish, you can have a fantastic meal ready in a flash.
- Perfectly Moist and Delicious: Our technique locks in the moisture, keeping the chicken tender and juicy, while the seasoned coating delivers an explosion of taste.
- Effortless Clean-Up: Forget about scrubbing greasy pans and wiping up oil splashes. The air fryer basket makes cleaning up after dinner remarkably simple.
- A Lighter, Healthier Option: With very little oil needed, you can enjoy all the pleasure of fried chicken as a much healthier, Low fat chicken dish that’s great for the whole family.
Ingredients
- 2 large chicken breasts (about 200g each), skinless and boneless
- 75g plain flour
- 2 large free-range eggs
- 100g Panko breadcrumbs
- 1 tsp smoked paprika
- 1 tsp garlic powder
- 1 tsp onion powder
- 1/2 tsp dried oregano
- 1/2 tsp salt
- 1/4 tsp black pepper
- Olive oil spray or other cooking spray
Essential Equipment for This Recipe
Unsurprisingly, the key piece of equipment is your air fryer. While any brand will do the job, be aware that cooking times might differ a little, so it’s wise to be familiar with your specific model. Aside from that, you just need a handful of common kitchen utensils:
- Three shallow dishes or bowls: These are vital for organising your coating station with flour, egg, and breadcrumbs.
- A meat mallet or rolling pin: This tool is used to flatten the chicken to a consistent thickness, a crucial secret for a juicy outcome.
- A meat thermometer: We cannot overstate the usefulness of this gadget. It’s the only guaranteed way to know precisely when your chicken is perfectly cooked without cutting into it and letting the delicious juices escape.
Step-by-Step Instructions: Your Path to Crispy Perfection
Just follow our straightforward guide below, and you’ll soon be enjoying crispy chicken that tastes like it came from a professional kitchen. Let’s begin!
Step 1: Prepare Your Chicken
To begin, position the chicken breasts between two sheets of baking parchment or in a large food-safe bag. With a meat mallet or a rolling pin, carefully flatten them to a uniform thickness of around 1.5cm. This is a critical step for even cooking and retaining moisture. Afterwards, use a paper towel to pat the chicken completely dry, which is essential for helping the breading adhere well.
Step 2: Set Up Your Breading Station
Prepare your coating station with three shallow bowls. Into the first, add the plain flour, salt, and pepper and stir. In the second, beat the eggs until they are well combined. For the third bowl, mix the Panko breadcrumbs with the smoked paprika, garlic powder, onion powder, and oregano, stirring thoroughly to make sure the seasonings are spread evenly.
Step 3: Coat the Chicken Breast
It’s time for the enjoyable part—coating the chicken. Working with one breast at a time, use this simple three-stage method:
- Dredge: Cover the chicken completely in the flour mixture, then gently shake off any excess.
- Dip: Immerse the floured chicken into the beaten egg, letting any surplus drip away.
- Coat: Press the chicken firmly into the seasoned Panko, making sure every surface is generously coated. Applying gentle pressure here is the secret to achieving a wonderfully textured crust for your Crispy breaded chicken.
Place the coated chicken on a plate or a wire rack as you finish the second breast.
Step 4: Air Fry to Golden Perfection
Warm up your air fryer to 200°C (400°F) for 3 to 5 minutes. Give the air fryer basket a light misting of olive oil spray. Gently arrange the coated chicken breasts inside, ensuring they are in a single layer. It’s important not to overcrowd the basket, so cook them one at a time if you need to. Give the tops of the chicken a quick spray of oil as well, as this helps achieve that lovely golden-brown finish. Cook for 10-12 minutes, then use tongs to carefully turn the chicken over. Continue to air fry for another 5-8 minutes, until the coating is crisp and golden and the chicken is fully cooked. A meat thermometer should register an internal temperature of 74°C (165°F).
Step 5: Rest and Serve
When the chicken is ready, transfer it from the air fryer to a wire rack or chopping board to rest for a minimum of 5 minutes. This vital pause allows the juices to settle back into the meat, ensuring every mouthful is succulent and tender. After it has rested, you can slice it and serve straight away.
Tips for the Juiciest Air Fryer Chicken Breast
To take your crispy chicken from great to truly exceptional, remember these helpful pointers.
- Give It Space: Leaving room between the chicken breasts is key. This lets the hot air flow properly, which is what creates that perfectly crisp finish on all sides. If your basket is small, it’s best to cook in batches.
- Use a Meat Thermometer: The window between perfectly cooked and dry chicken is very small. A meat thermometer eliminates any uncertainty and guarantees a perfect result. For reliable food safety advice, the NHS provides excellent guidance on safe chicken preparation.
- Choose Panko for Crunch: Although standard breadcrumbs work, Japanese Panko breadcrumbs have a lighter, airier texture that results in a much crunchier and more satisfying coating.
- Ensure an Even Thickness: We can’t stress this enough. Flattening the chicken to a uniform thickness is the most important secret to ensuring it cooks evenly and remains incredibly juicy.
Delicious Serving Suggestions
This wonderfully versatile Air Fryer Crispy Chicken Breast goes well with almost any accompaniment. Here are some of our favourite serving ideas:
- A Classic Main Course: Present it whole alongside some fluffy mashed potatoes and steamed green beans for a comforting meal.
- With a Fresh Salad: Slice the chicken and arrange it over a crisp Caesar or garden salad for a fulfilling yet light lunch.
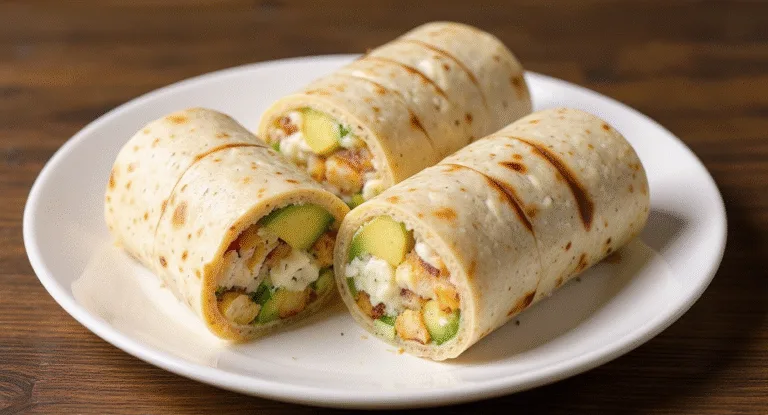
- In a Sandwich or Wrap: Layer slices into a brioche bun with fresh lettuce, tomato, and a dollop of mayonnaise for the perfect chicken sandwich.
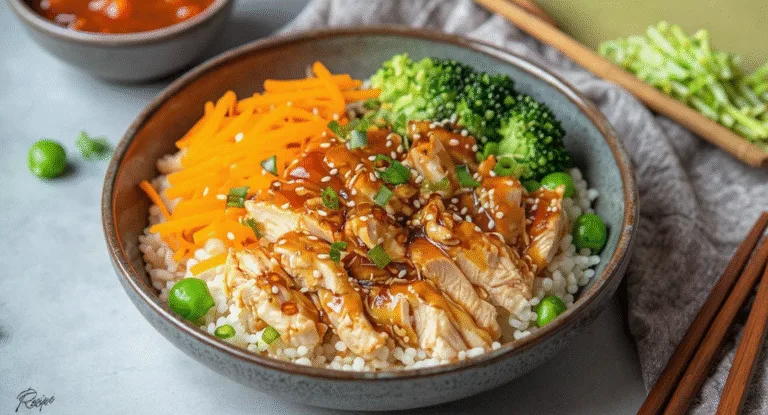
- As Dippable Strips: Cut the cooked chicken into strips for dipping in your preferred sauces, such as honey mustard, smoky BBQ, or a creamy aioli.
- With Pasta: For added protein and a lovely crunch, you can also slice it and toss it through our Garlic Parmesan Chicken Pasta Recipe.
Variations and Substitutions
Don’t hesitate to experiment with this recipe; it serves as an excellent foundation for a variety of flavour profiles.
- Add Some Heat: For a spicy version, mix half a teaspoon of cayenne pepper or chilli flakes into the breadcrumb coating.
- Make It Cheesy: Stir 2-3 tablespoons of finely grated Parmesan into the Panko mix for a savoury, nutty depth. If you’re a fan of cheesy chicken, you may also like our Low Carb Chicken Casserole.
- Gluten-Free Option: This recipe is easily made gluten-free by swapping in a gluten-free plain flour blend and gluten-free Panko breadcrumbs.
- Add Fresh Herbs: For a fresh twist, incorporate a tablespoon of finely chopped fresh parsley or chives into the breadcrumbs.
FAQ
The Easiest, Crispiest Chicken You’ll Ever Make
There you have it—a dependable guide to making golden, crunchy, and succulent chicken breast using your air fryer. We are certain that after trying this recipe once, it will secure a spot in your regular meal rotation. It’s accessible enough for kitchen novices, speedy enough for busy weeknights, and tasty enough to please the whole table.
It’s time to put your air fryer to good use and prepare a meal the entire family will adore. This recipe is more than just a list of steps; it’s your new go-to for effortless, winning dinners. We would be delighted to hear how your chicken turns out, so please leave a comment and a rating below to share your experience!
Recipe Card
Ingredients
- 2 large chicken breasts (about 200g each), skinless and boneless
- 75g plain flour
- 2 large free-range eggs, beaten
- 100g Panko breadcrumbs
- 1 tsp smoked paprika
- 1 tsp garlic powder
- 1 tsp onion powder
- 1/2 tsp dried oregano
- 1/2 tsp salt
- 1/4 tsp black pepper
- Olive oil spray
Instructions
- Flatten chicken breasts to an even 1.5cm thickness and pat completely dry.
- Set up three bowls: one with flour, salt and pepper; one with beaten eggs; and one with Panko breadcrumbs, smoked paprika, garlic powder, onion powder, and oregano mixed together.
- Dredge each chicken breast in the flour, dip in the egg, then press firmly into the Panko mixture to coat all over.
- Preheat air fryer to 200°C (400°F). Lightly spray the basket with oil. Place chicken in a single layer and spray the tops with oil.
- Air fry for 10-12 minutes, flip, and cook for another 5-8 minutes, or until the internal temperature reaches 74°C (165°F).
- Rest the chicken on a wire rack for 5 minutes before slicing and serving.